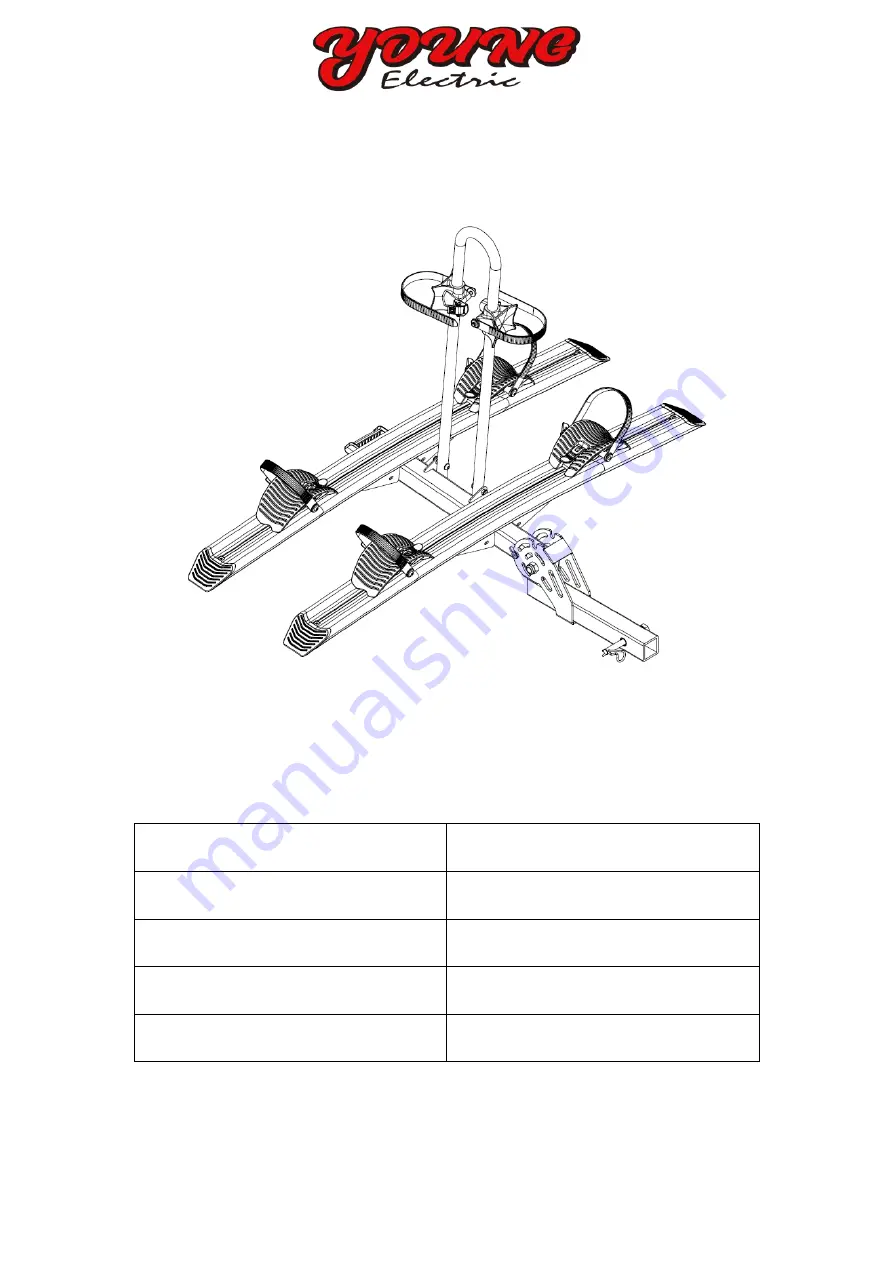
Aluminum Hitch-Mounted Bike Carrier
Item# 10104098
Technical Specifications
*-Do not use on RV.
Property
Specification
Length
51.5
″
Width
37.2
Height
38.6
Maximum Weight Capacity
200LBS*
Page 1: ...Aluminum Hitch Mounted Bike Carrier Item 10104098 Technical Specifications Do not use on RV Property Specification Length 51 5 Width 37 2 Height 38 6 Maximum Weight Capacity 200LBS...
Page 2: ...d Tube 1 2 Supporting Tube 1 9 M8x40 Hexagon Bolt 2 3 M16x80 Hexagon Bolt 1 10 M16 Shockproof Bolt 1 4 M16 Lock Nut 1 11 16 Spring Washer 1 5 Crossbeam 2 12 16 Flat Washer 1 5 1 M8x20 Carriage Bolt pr...
Page 3: ...ries from the bicycles prior to transporting This will help reduce the weight supported by the carrier During long trips frequently check the straps and bike position especially if traveling on rough...
Page 4: ...ding connector 1 then connect the two parts by inserting the M16 80 hexagon bolt 3 through the holes Secure the bolt in place by screwing on the M16 lock nut 4 CAUTION To ensure the rack will fold smo...
Page 5: ...supporting tube Locate the M8 20 carriage bolts in the crossbeam and align each of them with a slot in the supporting tube Place 8 Flat Washers 6 below the supporting tube and secure the bolt and was...
Page 6: ...Step 3 Install the other crossbeam 5 on the supporting tube 2 farthest from the folding connector Follow the steps outlined in Step 2...
Page 7: ...40 hexagon bolt 9 through a 8 Nylon Washer 14 the holes on the U Shaped Tube another 8 Nylon Washer 14 and the hole on the supporting tube Secure the bolt in place by screwing an M8 lock nut 7 onto it...
Page 8: ...e s 2 hitch receiver then connect the two parts as shown below Place an M16 shockproof bolt 10 through the 16 Spring Washer 11 16 Flat Washer 12 and the aligned holes Secure the bolt in place with the...
Page 9: ...driver s side of the vehicle STEP 2 Adjust the wheel cradles based on the distance of the bicycle s wheel base ensuring the cradles are wide enough apart to support the bicycle tires To move the crad...
Page 10: ...d on the design of the bicycle frame so that the block will rest comfortably against the bicycle Then press the buckle to release the strap from the block Wrap the strap around the frame of the bicycl...
Page 11: ...h blocks so that both blocks can rest comfortably against a bicycle frame Then re wrap the strap around the frame of the first bicycle and re insert the strap into the innermost block Pull the strap a...
Page 12: ...w Ensure that each block faces the inside of the U Shaped Tube Then pull up on the buckle to release the strap tightly loop it around the closest crossbeam and re insert the strap into the buckle Pres...
Page 13: ...ing Status 2 Pull the handle in the direction the arrow shows to fold the bike rack vertically or to unfold it so it sits flat The bike rack will automatically stop when it reaches a fixed position Ha...