5-1
IM 701730-01E
Vertical and Horizontal Axes
5
5.1
Turning Channels ON and OFF
Procedure
ACTION
DELAY
X - Y
MENU
MENU
PHASE
SEARCH
HORIZONTAL
VERTICAL
TRIGGER
TRIG D
HELP
ESC
SELECT
RESET
SIMPLE
MODE
POSITION
MATH
MISC
FILE
CLEAR
TRACE
HISTORY
MEASURE
SETUP
PRESET
DISPLAY
CURSOR
CH
1
CH
2
CH
3
CH
4
POWER
COPY IMAGE SAVE
SHIFT
ZOOM
GO/NO-GO
ENHANCED
ACQ
START/STOP
SNAP
SHOT
V DIV
TIME DIV
• To exit the menu during operation, press
ESC
located above the soft keys.
• For a description of the operation using a USB
keyboard or a USB mouse, see section 4.3.
1.
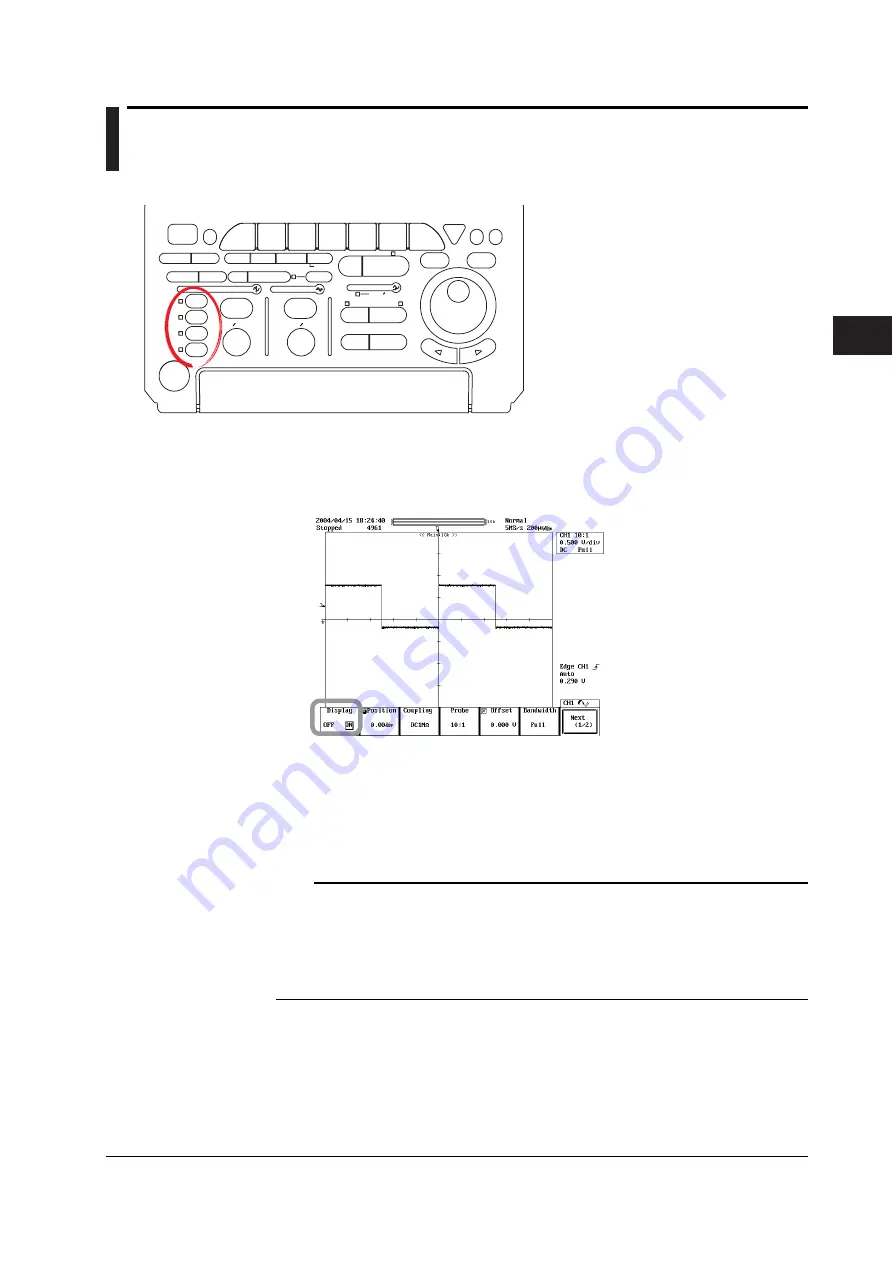
Press one of the
CH1 to CH4(2)
keys to select the channel. The CH menu
appears.
2.
Press the
Display
soft key to select ON or OFF. You can also turn ON/OFF the
channel by pressing
CH1 to CH4(2)
twice.
Explanation
For channels that are turned ON, the LED to the left of the channel key illuminates.
You can simultaneously display the waveforms input on channels 1 through 4 (or
channels 1 and 2 for the DL1720E).
For channels that are turned ON, the LED to the left of the channel key illuminates.
Note
•
The screen can be split into up to six display areas (or up to three on the DL1720E) using the
DISPLAY menu (see section 8.1). Scale values (see section 8.8) and waveform labels (see
section 8.9) can also be displayed.
•
If waveforms are recalled from the history waveforms or loaded from a storage medium such
as a floppy disk or PC card, the input waveform cannot be displayed. To compare them, you
can use the Snapshot function (see section 8.6).
Chapter 5
Vertical and Horizontal Axes


