YG48Q-5A Maintenance Manual
Inspection and adjustment
29
Valve clearance
Notice:
While adjusting the valve clearance, the engine shall
be cold.
(Temperature
<
35
℃
)
Noise will stem from too big valve clearance. However if
there is too small gap or even no gap at all, closing of
the valve will be hindered, which will cause many
problems such as engine stall, power loss, etc. Therefore,
the valve clearance must be checked periodically.
The valve clearance should be inspected and adjusted on
a cold engine by the following procedures:
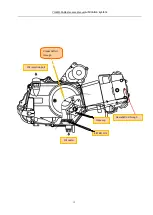
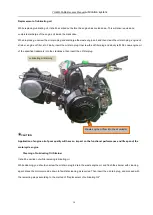
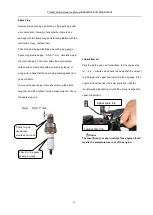
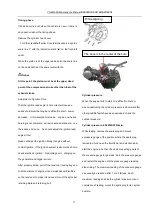
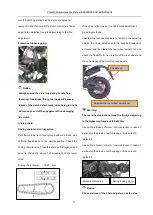
Remove the caps of the central hole and the ignition
timing observation hole on the left crankcase cover.
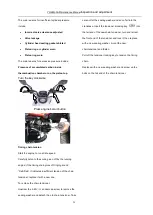
Remove the caps of the two air valves on the cylinder
head.
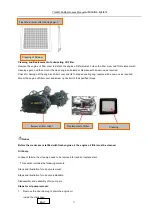
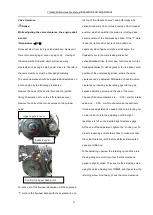
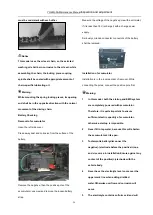
Turn the nut of the flywheel clockwise until the engraved
“T” mark on the flywheel aligns with the engraved line on
the top of the crankcase cover, and both intake and
exhaust rock arms do not move but stop at their loosest
position, which shows that the piston is in its top dead
center position of the compressing stroke. If the
“T” mark
is near its right position but rock arms will move
apparently when flywheel rotate a small angle, the
flywheel is not in the compressing stroke but
exhaust/intake stroke. In this case, continuously turn the
flywheelclockwise for 360 degrees to the top dead center
position of the compressing stroke, where the valve
clearance can be adjusted. Afterwards, check the valve
clearance by inserting a clearance gage into the gap
between adjusting screw and the end of the valve.
The specified valve clearance is :
(
0.05
)
mm for intake
valve and
(
0.05
)
mm for exhaust valve respectively.
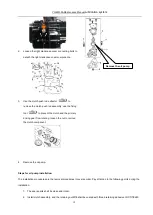
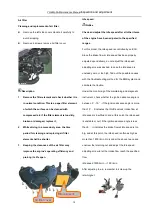
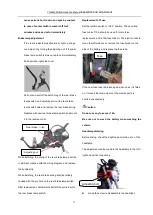
If clearance adjustment is needed, loosen the locking nut
on the rock arm, turn the adjusting nut till a slight
resistance is felt on the inserted right clearance gage.
At the end of the adjustment, tighten the
“Locking out ”to
prevent loosening and another check to make sure that
the valve clearance is OK before all those dismounted
caps are refitted on.
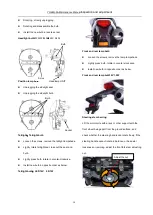
While adjusting, unscrew the retaining nut and then turn
the adjusting screw until you feel that the clearance
gauge is slightly pulled. Then secure the adjusting screw
using the valve adjusting tool
, and then screw the
retaining screw. And finally, check the valve clearance.
Upper eyehole cover
ole
cover
Eyehole cover
Confirm the upper dead point
Summary of Contents for YG48Q-5A
Page 38: ...YG48Q 5AMaintenance ManualFuel system 41 4 Fuel system...
Page 92: ...YG48Q 5AMaintenance ManualFrame and exhaust system 105 10 Frame and exhaust system...
Page 123: ...YG48Q 5A Maintenance ManualIllumination signal system 136 Circuit schematic drawing...
Page 126: ...YG48Q 5A Maintenance ManualIllumination signal system 139...
Page 133: ...YG48Q 5A Maintenance ManualEngine management system 146 Major parts and components...
Page 134: ...YG48Q 5A Maintenance ManualEngine management system 147...
Page 144: ...YG48Q 5A Maintenance ManualElectrical System Diagram 157 19 Electrical System Diagram...

