Technical data
6
-
34
6.4
Adjustable working area
The work area of the s-axis may be changed depending on the type of application.
If any modification is necessary, please contact the local YASKAWA branch office.
6.4.1
Instructions for Installing the Mechanical Limit
NOTICE
Always use the specified components when installing the S-axis limit
Switch OFF the supply voltage before you start mounting.
•
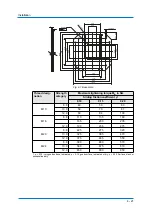
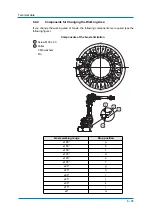
Mount the mechanical limit of S axis so that as shown in the figure "Components of the
S axis limit".
•
When inserting the pin in the limit, apply Loctite 242 on the screw-on surface of the pin.
•
Fasten the dog on the S-head using 3 screws M20 x 40 (Strength category 12.9).
Tighten the screws with a tightening torque of 167 Nm.
•
With a working area of ±180°, the stop must be mounted (as shown in the figure
"Components of the S axis limit").
•
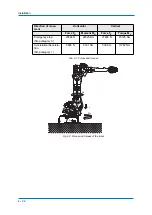
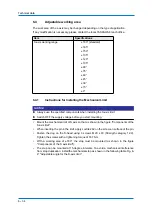
The stop can be mounted at 15-degree intervals. To avoid a mechanical interference
from stop duplication, install the mechanical stop as shown in the following table Fig. 6-
2: "Adjustable angle for the S-axis limit".
Item
Specifications
S-axis working range
± 180° (standard)
± 165°
± 150°
± 135°
± 120°
± 105°
± 90°
± 75°
± 60°
± 45°
± 30°
± 15°
± 0°


