


IMPORTANT:
Read and follow all safety rules and
operating instructions before using
this product.
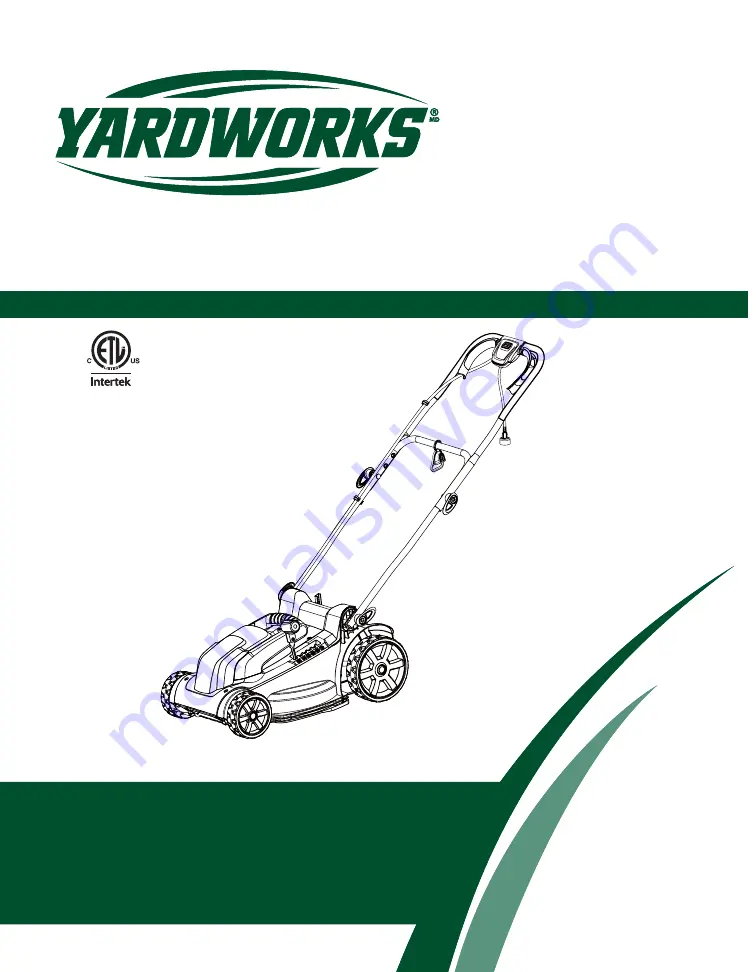
Electric Lawn Mower
Toll-free: 1-866-523-5218
Instruction Manual
IMPORTANT:
Read and follow all safety rules and
operating instructions before using
this product.
3084514
Conforms to UL STD 1447
Certified to CAN/CSA STD.
C22.2 No. 147-M90
model no. 060-1700-4