5. Inspection and Servicing of Basic Engine Parts
115
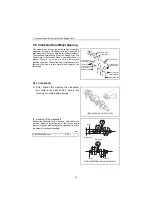
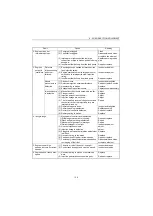
5.5.2 Main bearing
(1) Inspecting the main bearing
Check for flaking, seizure or burning of the contact
surface and replace if necessary.
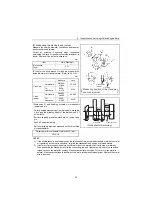
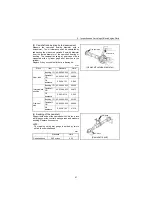
(2) Measuring the inner diameter of metal
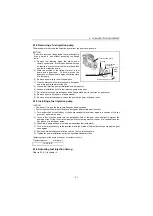
Tighten the cap to the specified torque and measure the
inner diameter of the metal.
NOTE:
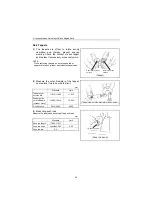
When assembling the bearing cap, keep the following in mind.
1) The lower metal (cap side) has no oil groove.
2) The upper metal (block side) has an oil groove.
3) Check the cylinder block alignment number.
4) The “FW” on the cap lies on the flywheel side.
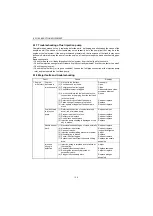
mm
Inspection item
Standard
Limit
Crank journal
(Selective pairing)
Journal outside diameter
49.952-49.962
49.902
Metal inside diameter
51.000-51.010
-
Metal thickness
1.995-2.010
-
Clearance
0.038-0.068
0.150
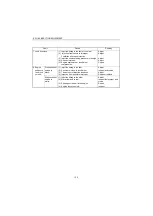
N•m(kgf•m)
Tightening torque
96-100 (9.8-10.2)
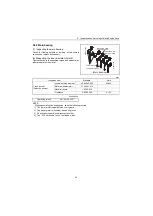
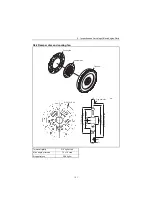
Thrust metals
Block side main
bearing metals
Cap side main
bearing metals
(Main bearing)
Wheel side
Gear side
Main bearing bolt


