5. Inspection and Servicing of Basic Engine Parts
104
5.3 Piston and Piston Pins
Pistons are made of a special light alloy with superior
thermal expansion characteristics, and the top of the
piston forms a swirl type toroidal combustion chamber.
IMPORTANT:
Piston shape differs among engine models. If any
incorrect piston is installed, combustion performance
will drop. Be sure to check the applicable engine
model identification mark “V88” on the piston for
3JH4E series to insure use of the correct part.
5.3.1 Piston
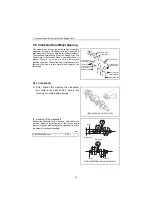
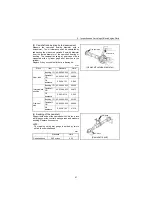
(1) Piston head and combustion surface
Remove the carbon that has accumulated on the piston
head and combustion surface, taking care not to scratch the piston. Check the combustion surface for
any damage.
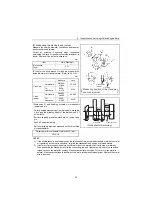
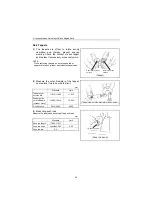
(2) Measurement of piston outside diameter/
inspection
1) Replace the piston if the outsides of the piston or
ring grooves are worn.
2) Measure the outside diameter in the position of
22mm from the piston bottom in the right angle
direction of the piston pin.
If the piston outside diameter exceed the limit, replace the piston with new one.
Selective pairing of cylinder and piston
Piston must be paired with cylinder according to the below table. The size mark of a piston is shown on
the top surface of the piston and the size mark of a cylinder block is shown on the non-operating side of
the cylinder block. The service parts of pistons are provided.
ID marks for piston
ML
MS
Piston outside diameter
Standard
Limit
Clearance between
piston and cylinder
87.950-87.960
87.900
0.045-0.075
Piston outside diameter.
D2=87.955 mm
Tolerance
below+0.005
0 min.
below 0
-0.005 min.
Size mark
ML
MS
Cylinder inside
diameter
D1=88.000 mm
+0.030 max.
+0.020 min.
L
{
X
below
+0.020
+0.010 min.
M
{
{
below
+0.010
0 min.
S
X
{
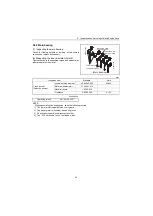
1st compression ring
2st compression ring
Oil ring
I.D. mark
Piston
Piston pin
Circlip
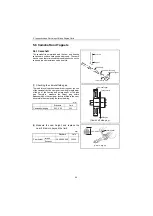
(Piston outside diameter)
Measurement
position
22 mm


