MULTICYLINDER ENGINES
113
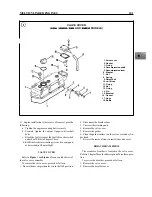
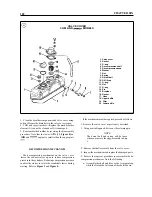
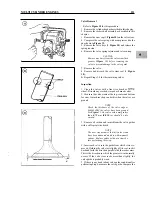
OIL PICKUP
AND
MODELS)
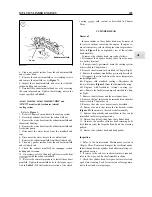
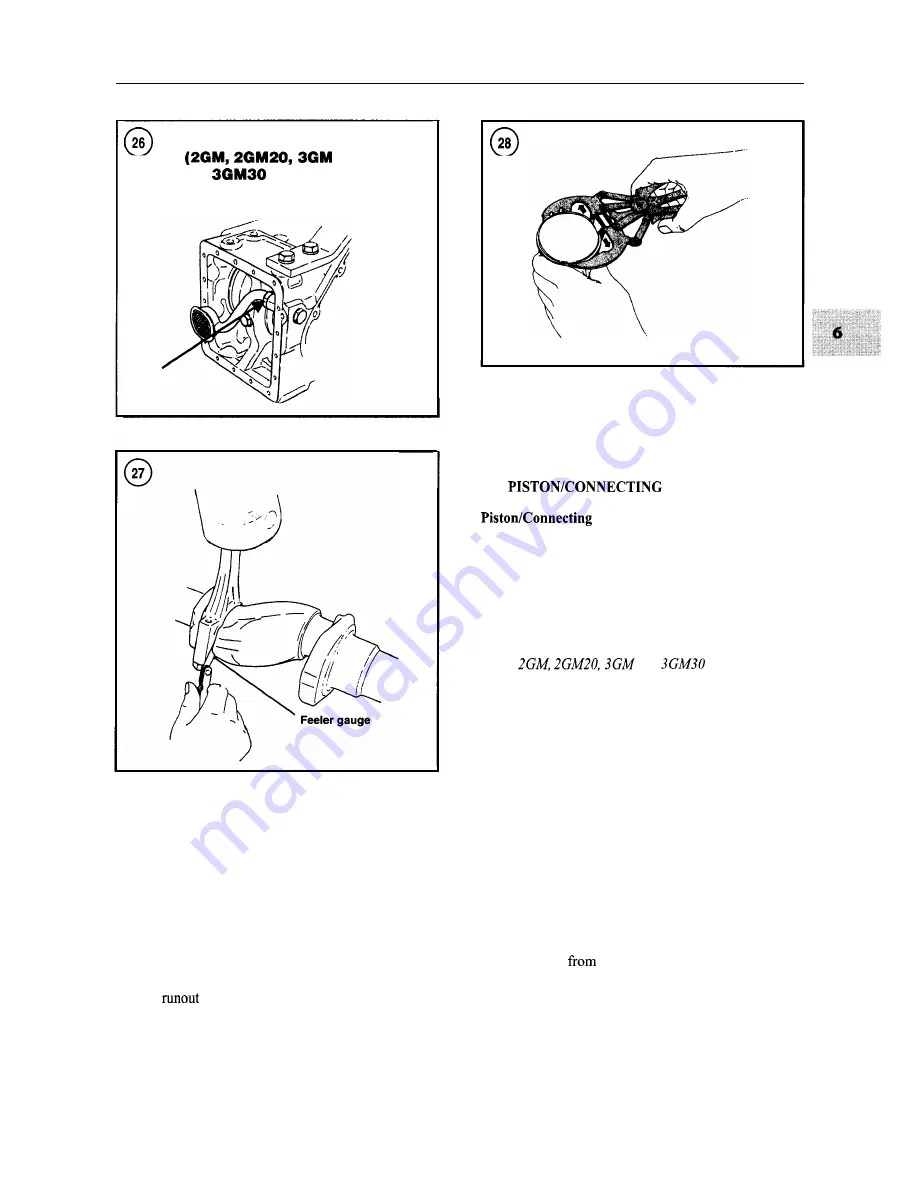
When installing the valve guides, the grooved end must
be toward the top of the cylinder head. The groove must
be flush with the head surface as shown in Figure 25.
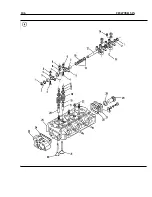
PUSH RODS
1 . Remove the rocker arms as previously described.
2. Remove the push rods and mark them so they can be
reinstalled in their original positions.
3. Inspect the push rod ends for damage. Maximum al-
lowable
is 0.03 mm (0.0012 in.).
4. Reinstall the push rods by reversing the removal pro-
cedure. Adjust valve clearance as described in Chapter
Three.
ROD ASSEMBLY
Rod Removal
1.
Remove the engine as described in this chapter.
2. Place a suitable container under the oil pan and remove
the drain plug. Let the crankcase oil drain, then reinstall
the drain plug.
3. Remove the cylinder head as described in this chapter.
4. Remove the oil pan.
5. On
and
models-Loosen
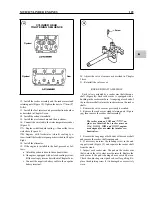
the oil pickup jam nut (Figure 26) and remove the oil
pickup.
6. Rotate the crankshaft until the piston is at bottom dead
center. Pack the cylinder bore with clean shop rags. Re-
move the carbon ridge at the top of the cylinder bore with
a ridge reamer. These can be rented for use. Vacuum out
the shavings, then remove the shop rags.
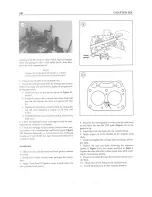
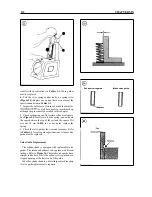
7. Rotate the crankshaft until the connecting rod is cen-
tered in the bore. Measure the clearance between the con-
necting rod and the crankshaft journal flange with a flat
feeler gauge (Figure 27). If the clearance exceeds specifi-
cations (Tables
1-3), replace the connecting rod during re-
assembly.
8. Remove the connecting rod bolts. Lift off the cap, to-
gether with the lower bearing insert.
9. Use a wooden hammer handle to push the piston and
connecting rod
the bore.
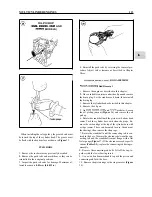
10. Remove the piston rings with a ring remover (Figure
28).
Summary of Contents for 1GM10
Page 1: ...YANMAR DIESEL INBOARD SHOP MANUAL ONE TWO 8 THREE CYLINDER ENGINES...
Page 6: ......
Page 7: ......
Page 9: ......
Page 10: ......
Page 11: ......
Page 12: ......
Page 13: ......
Page 16: ......
Page 17: ......
Page 18: ......
Page 19: ......
Page 20: ......
Page 21: ......
Page 22: ......
Page 23: ......
Page 24: ......
Page 25: ......
Page 26: ......
Page 27: ......
Page 28: ...GENERAL INFORMATION 21 Bearing Blocks Press Shaft arm Bearing Spacer Press k 4 bed...
Page 36: ...30 CHAPTER TWO CHARGING SYSTEM TYPICAL Battery switch...
Page 39: ......
Page 44: ...38 CHAPTER TWO LUBRICATION SYSTEM 2GM AND 2GM20 MODELS...
Page 46: ......
Page 50: ......
Page 52: ......
Page 54: ......
Page 55: ......
Page 57: ......
Page 58: ......
Page 64: ......
Page 66: ......
Page 70: ......
Page 71: ......
Page 77: ......
Page 78: ......
Page 79: ......
Page 80: ......
Page 81: ......
Page 82: ......
Page 89: ......
Page 90: ......
Page 91: ......
Page 92: ......
Page 93: ......
Page 94: ......
Page 95: ......
Page 96: ......
Page 97: ......
Page 98: ......
Page 99: ......
Page 100: ......
Page 101: ......
Page 102: ......
Page 112: ...106 CHAPTER SIX...
Page 114: ......
Page 123: ......
Page 124: ......
Page 125: ......
Page 126: ......
Page 129: ......
Page 130: ......
Page 131: ......
Page 133: ......
Page 134: ......
Page 135: ......
Page 136: ......
Page 145: ...FUEL INJECTION AND GOVERNOR SYSTEMS 139 FUEL INJECTION SYSTEM Fuel tank hose fuel pipe...
Page 148: ......
Page 149: ......
Page 150: ......
Page 151: ......
Page 152: ......
Page 153: ......
Page 154: ......
Page 155: ......
Page 156: ......
Page 157: ......
Page 158: ......
Page 165: ......
Page 170: ...164 CHAPTER EIGHT CLOSED COOLING SYSTEM TYPICAL rnlxlng elbow Joint...
Page 172: ......
Page 174: ......
Page 175: ......
Page 176: ......
Page 177: ......
Page 184: ......
Page 190: ......
Page 196: ......
Page 197: ......
Page 201: ......
Page 202: ......
Page 204: ......
Page 205: ......
Page 208: ......
Page 209: ......
Page 219: ......
Page 224: ...218 CHAPTER ELEVEN...
Page 231: ......
Page 235: ......


