CHAIN DRIVE
4-31
NOTICE
ECA19090
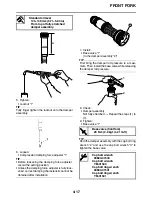
• This vehicle has a drive chain with small
rubber O-rings “1” between the drive chain
side plates. Never use high-pressure water
or air, steam, gasoline, certain solvents
(e.g., benzine), or a coarse brush to clean
the drive chain. High-pressure methods
could force dirt or water into the drive
chain’s internals, and solvents will deterio-
rate the O-rings. A coarse brush can also
damage the O-rings. Therefore, use only
kerosene to clean the drive chain.
• Do not soak the drive chain in kerosene for
more than ten minutes, otherwise the O-
rings can be damaged.
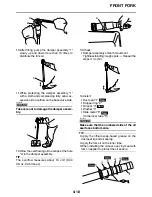
4. Check:
•
O-ring “1”
Damage
Replace the drive chain.
•
Drive chain roller “2”
Damage/wear
Replace the drive chain.
•
Drive chain side plate “3”
Damage/wear
Replace the drive chain.
5. Lubricate:
•
Drive chain
EAM30077
CHECKING THE DRIVE SPROCKET
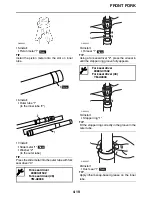
1. Check:
•
Drive sprocket
More than 1/4 tooth wear “a”
Replace the
drive sprocket and the rear wheel sprocket as
a set.
Bent tooth
Replace the drive sprocket and
the rear wheel sprocket as a set.
EAM30078
CHECKING THE REAR WHEEL SPROCKET
Refer to “CHECKING AND REPLACING THE
REAR WHEEL SPROCKET” on page 4-3.
EAM30558
INSTALLING THE DRIVE CHAIN (for YZ250)
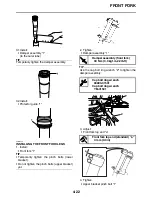
1. Install:
•
Master link “1”
•
Master link plate “2”
•
Master link clip “3”
NOTICE
ECA14310
• The closed end of the master link clip must
face in the direction of drive chain rotation.
• Never install a new drive chain onto worn
drive chain sprockets; this will dramatically
shorten the drive chain’s life.
G088940
G088941
G088943
Recommended lubricant
Chain lubricant suitable for O-
ring chains
b. Correct
1. Drive chain roller
2. Drive sprocket
G088904
New
Summary of Contents for YZ250 2021
Page 5: ...EAM20162 YAMAHA MOTOR CORPORATION U S A YZ MOTORCYCLE LIMITED WARRANTY ...
Page 6: ......
Page 8: ......
Page 10: ...MOTORCYCLE CARE AND STORAGE 1 16 CARE 1 16 STORAGE 1 17 ...
Page 42: ...TIGHTENING TORQUES 2 13 ...
Page 70: ...CHASSIS 3 26 ...
Page 106: ...CHAIN DRIVE 4 34 ...
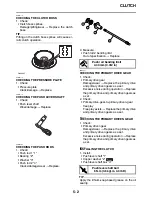
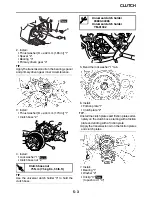
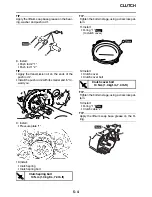
Page 112: ...CLUTCH 5 5 ...
Page 113: ...1 2 3 4 5 6 7 8 9 10 ELECTRICAL SYSTEM WIRING DIAGRAM 6 1 COLOR CODE 6 1 ...
Page 128: ...TROUBLESHOOTING 7 13 ...
Page 146: ...CHASSIS 8 17 ...

