22
En
1
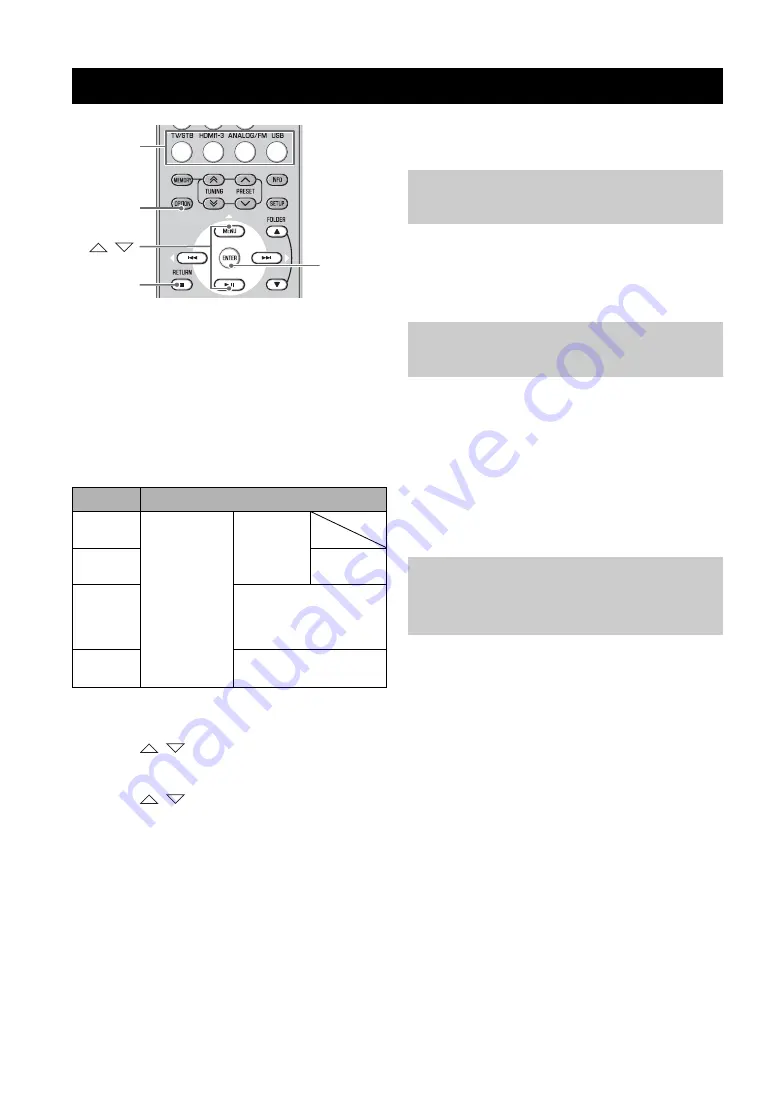
Press input button to select the desired input
to change the setting.
2
Press OPTION to enter option menu.
The option menu is displayed in the front panel
display.
Option menu items
The following menu items are provided for each
input.
*1 See the page 13 for details.
*2 See the page 17 for details.
3
Press
/
to select the menu and press
ENTER.
4
Press
/
to change the setting value
and press ENTER.
5
Press OPTION to exit the option menu.
Press RETURN to return to the previous menu.
The option menu items are listed below. These settings are
applied to the currently selected input source.
Menu: 1.VOLUME TRIM
Adjust the input level for each jack to compensate for
variations in volume between different input devices.
Adjustable range: –6 to +6 (Default setting: 0)
Menu: 2.AUDIO DELAY
Flat panel display TV images sometimes lag behind the
sound. You can use this function to delay the sound output
to synchronize it with the video image.
Adjustable range: 0ms to 500ms, AUTO
(Default setting: “AUTO”)
“AUTO”: If you operate HDMI connection to a TV with
the function to automatically adjusting the audio delay,
you can adjust the delay time automatically.
Menu: 3.AUDIO ASSIGN
If a component’s HDMI jack does not carry audio signal,
select HDMI input and use the optical/coaxial input jack
connection for audio.
Available options (Default setting: HDMI)
“HDMI”: Selects HDMI audio signal
“OPTICAL”: Selects the audio signal from optical input
jack
“COAXIAL”: Selects the audio signal from coaxial input
jack
Settings for each input source (Option menu)
Input
Menu item
TV/STB/
ANALOG
1.VOLUME
TRIM
2.AUDIO
DELAY
HDMI1-3
3.AUDIO
ASSIGN
FM
2.AUTO PRESET
3.CLEAR PRESET
4.STEREO/MONO
5.TRAFFIC PROG
*1
USB
2.REPEAT
3.SHUFFLE
*2
OPTION
ENTER
/
RETURN
Input
Adjusting input level of each jack
(VOLUME TRIM)
Adjusting the audio delay
(AUDIO DELAY)
Assigning the audio input to
optical/coaxial digital input
(AUDIO ASSIGN)


