


Useful features
24
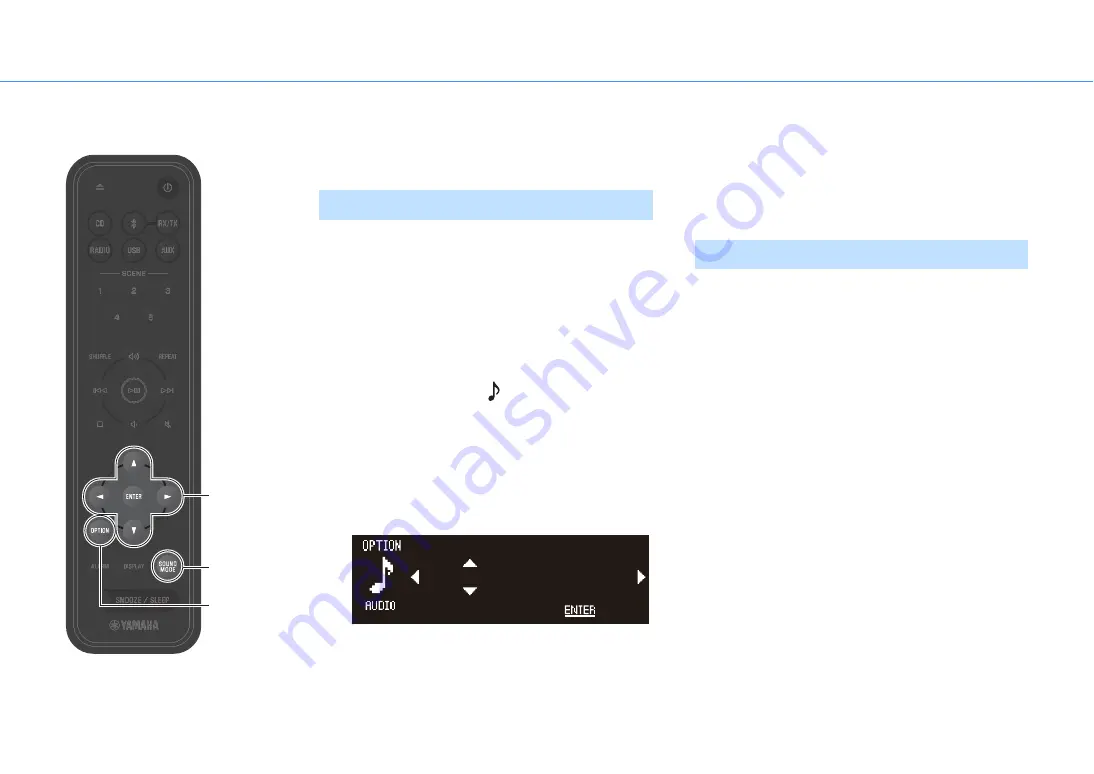
Adjusting sound quality
Adjust audio parameters as needed to suit individual preferences.
Adjust the level at which low, middle, and high tones are
output.
Note
Press
OPTION
to cancel setup before it is completed.
1
Press
OPTION
.
2
Use
e
/
r
to select
and press
ENTER
.
3
Use
q
/
w
to select
EQ Setting
and press
ENTER
.
4
Adjust low, middle, and high tones.
Use
q
/
w
to change the level. Use
e
/
r
to select
another tone. Press
ENTER
to complete setup.
Default: 0
Adjustable level: -10 to +10
5
Press
OPTION
to exit the settings display.
Two sound modes are available—Bass Boost and Standard.
•
Bass Boost (default)
Best for music
•
Standard
Best for human voices (talk radio, etc.)
Adjusting tones
AUDIO
EQ Low
L: 00 M: 00 H: 00
SAVE
Selecting the sound mode
qwer
ENTER
SOUND
MODE
OPTION