Note
When using this unit at a video conference, do not
suspend the computer. When the computer is resumed,
the camera image may not be displayed properly.
1
Connect this unit to the computer using
the supplied USB cable.
n
Note
Do not connect more than one PJP-CAM1 to the
computer at the same time.
2
Start the computer.
The PJP-CAM1 Controller automatically starts
up and
appears in the task tray (the lower
right screen).
Tip
If the PJP-CAM1 Controller does not start up automatically,
the default setting may be changed. In this case, select
[Start] – [All Programs] – [YAMAHA PJP-CAM1 Camera
Driver] – [PJP-CAM1 Settings] to start it.
Basic Operations
This chapter describes how to operate the basic functions of this unit.
3
Right-click
, and then select “Show
Controller”.
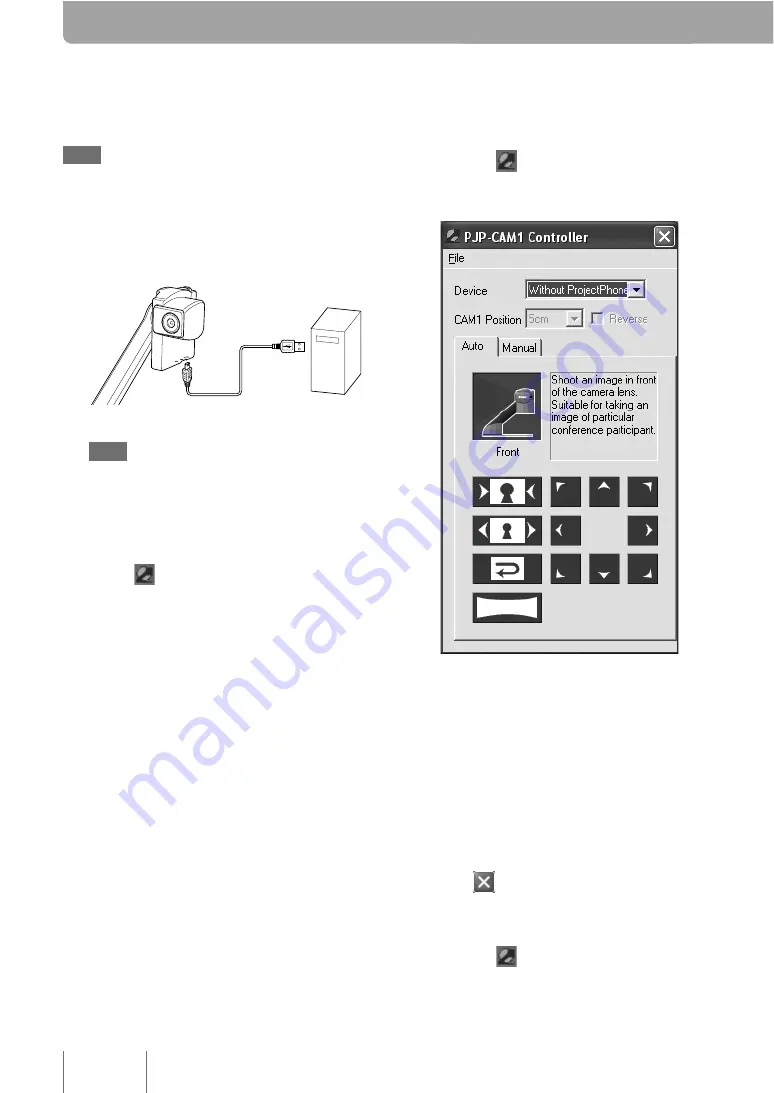
The “PJP-CAM1 Controller” screen appears.
4
Configure the settings.
Change the settings of this unit according to
the use environment.
To quit the PJP-CAM1 Controller
Follow the procedure below to quit the PJP-CAM1
Controller.
1
From the menu bar of the “PJP-CAM1
Controller” screen, select [File] – [Close],
or click
at the top right corner of the
screen.
The “PJP-CAM1 Controller” screen closes.
2
Right-click
in the task tray, and then
select “Exit”.
The PJP-CAM1 Controller exits.
6


