8-33
8
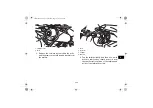
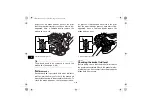
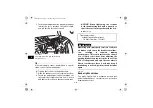
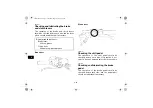
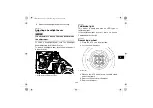
5. Turn the parking brake free play adjusting nut
in direction (a) to increase the cable length,
and in direction (b) to decrease it.
TIP
If the cable length cannot be adjusted to specifi-
cation, consult a Yamaha dealer.
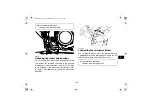
6. Tighten the locknut on the brake cable.
7. Slide the rubber cover to its original position.
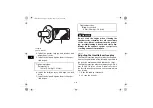
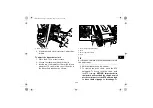
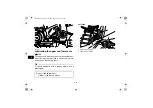
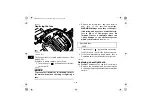
8. Turn in the adjusting bolt at the rear brake cal-
iper until it feels tight, then turn it out 1/8 turn
and tighten its locknut to the specified torque.
NOTICE:
When tightening the locknut,
hold the adjusting bolt with a wrench so
that it does not turn together with the lock-
nut.
[ECB00522]
WARNING
EWB02091
Operating with improperly serviced or adjust-
ed brakes could cause the brakes to malfunc-
tion, resulting in reduced braking
performance. This could increase the chance
of a collision or accident. After adjusting the
parking brake free play, block the rear of the
ATV off the ground and spin the rear wheels.
Check to make sure there is no brake drag. If
brake drag is noticed, perform the adjustment
again.
EBU24744
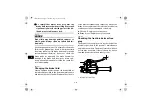
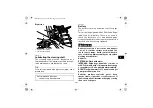
Brake light switches
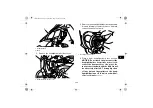
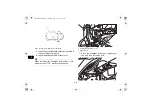
The brake light, which is activated by the brake
pedal and brake lever, should come on just before
braking takes effect.
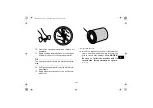
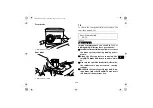
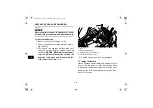
1. Locknut
2. Parking brake free play adjusting nut
3. Rubber cover
1
2
3
(b)
(a)
Tightening torque:
Locknut (rear brake caliper):
16 Nm (1.6 m·kgf, 12 ft·lbf)
U1TD62E0.book Page 33 Monday, May 18, 2015 9:20 AM

