Using the console
port
The product can be configured with console
commands from a PC that is connected to the
console port of the product using a serial cable.
In the “Configure users and access limits” screen,
you can prohibit access from Web browsers (HTTP),
TELNET, SSH, and SFTP software programs
(page 100) to make the product accessible only
by means of physical connection. This restricts
users who can change settings, and helps enhance
security.
You can also specify, from the terminal software, a
configuration file to be used upon startup.
NOTE
• As Windows Vista and other later Windows operating
systems do not include the hyper terminal utility, you
should use a terminal software program supplied
from a vendor to control its serial devices.
• For more details on how to use the terminal software,
please refer to the instruction manual attached to
each software program.
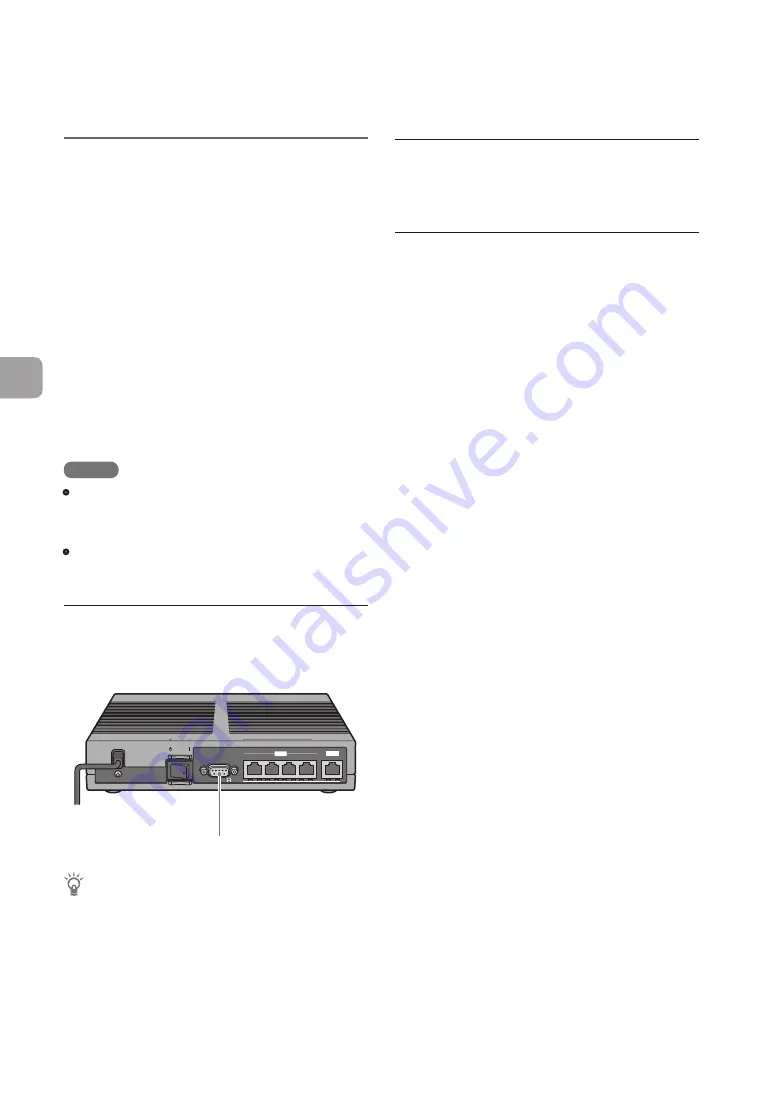
Connect the console port to your PC
Connect the console port of the product to the
serial port of your PC with a cross type serial cable.
ON
ST
ANDB Y
LAN 2
4
3
2
1
CONSOLE
LAN 1
1
2
3
LAN 2
CONSOLE
STANDBY
ON
SPEED
LINK/DATA
4
LAN 1
Console port
Tip
One of the connectors attached to the serial cable
must match the 9-pin D-sub male connector of the
product, and the other connector must match the port
type of your PC.
Check the console port number
Check the COM port number to which the serial
port of your PC is assigned.
Specify the console port and
establish a connection
Log in to the product by using the terminal software
on the PC connected to the console port, and send
console commands to configure the settings.
146
FWX120 Operation Manual
7
Operating and managing the product


