


3
Adjustment
3-11
4.
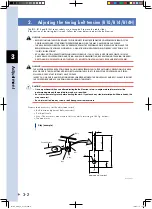
Adjusting shutter looseness (T4L/T4LH/T5L/T5LH/T6L)
The shutter may elongate with continued use. In such cases, adjust as follows.
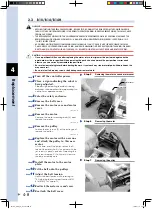
c
CAUTION
Be sure to wear safety gloves before starting the work. If you touch any steel material part with bare hands, this
may cause rust.
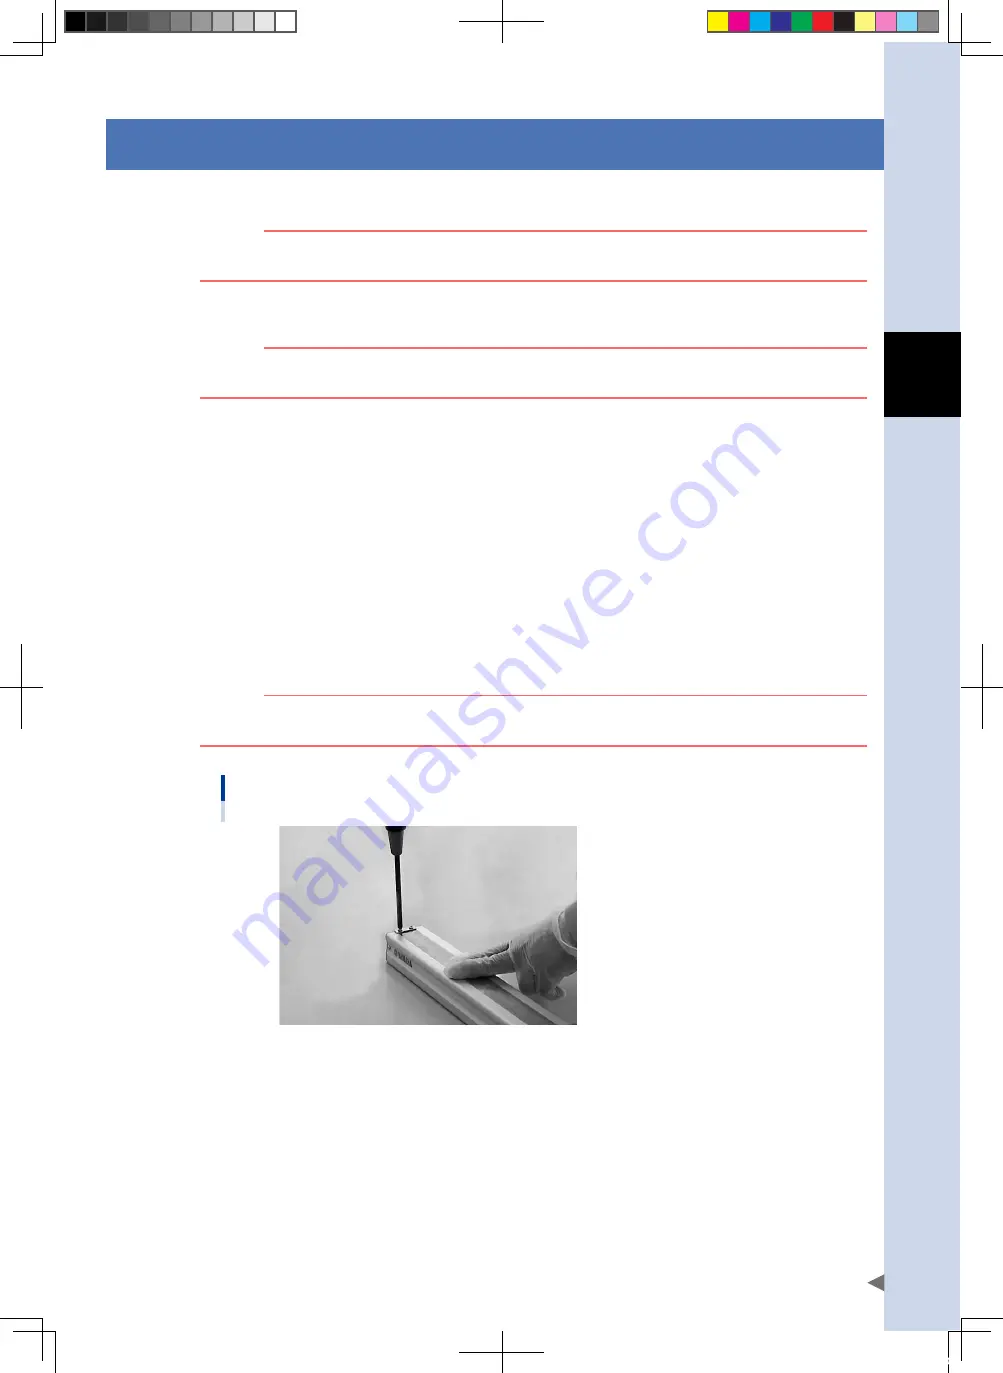
Prepare an appropriate Phillips screwdriver.
c
CAUTION
When the robot is installed vertically, slowly move the robot at a jOG speed to check the position where the
shutter becomes loose mostly before entering the safety enclosure.
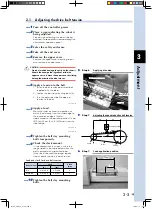
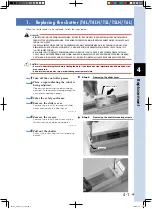
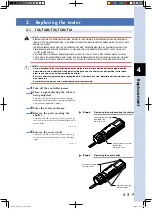
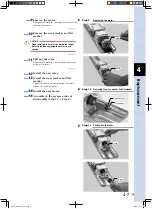
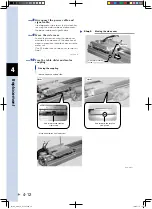
1
Turn off the controller power.
2
Place a sign indicating the robot is being adjusted.
Place a sign indicating the robot is being adjusted, to keep others from operating the controller or
operation panel.
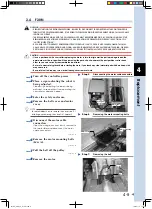
3
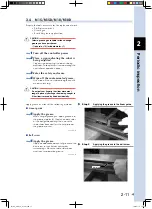
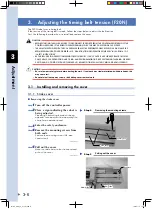
Enter the safety enclosure.
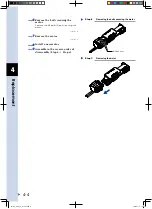
4
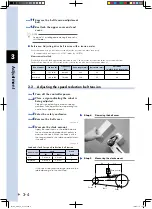
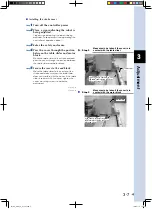
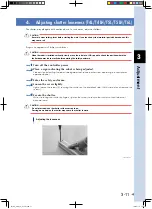
Loosen the screw lightly.
Lightly loosen the screws (2) securing the shutter on the end block side. (At this time, do not remove the
screws.)
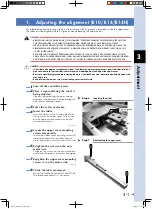
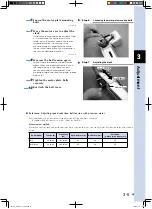
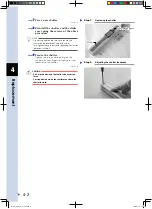
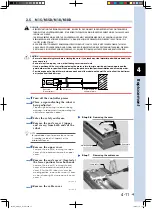
5
Secure the shutter.
While stretching the shutter by fingers, tighten the screws to secure the shutter so that it does not
become loose.
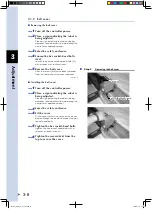
c
CAUTION
Do not press down on the shutter with excessive force.
Pressing down hard on the shutter may cause the shutter to warp.
Adjusting the looseness
53303-A1-00
FLIP-X_maint_E_V1.50.indb 11
18/05/15 15:01
Summary of Contents for FLIP-X Series
Page 2: ...FLIP X_maint_E_V1 50 indb 2 18 05 15 15 00...
Page 40: ...FLIP X_maint_E_V1 50 indb 2 18 05 15 15 01...
Page 41: ...Chapter 1 Overview Contents 1 Overview 1 1 FLIP X_maint_E_V1 50 indb 1 18 05 15 15 01...
Page 42: ...FLIP X_maint_E_V1 50 indb 2 18 05 15 15 01...
Page 44: ...FLIP X_maint_E_V1 50 indb 2 18 05 15 15 01...
Page 46: ...FLIP X_maint_E_V1 50 indb 2 18 05 15 15 01...
Page 60: ...FLIP X_maint_E_V1 50 indb 2 18 05 15 15 01...
Page 72: ...FLIP X_maint_E_V1 50 indb 12 18 05 15 15 01...
Page 74: ...FLIP X_maint_E_V1 50 indb 2 18 05 15 15 01...
Page 104: ...FLIP X_maint_E_V1 50 indb 2 18 05 15 15 01...


