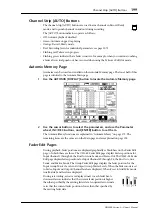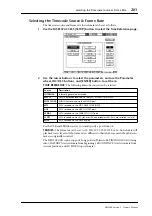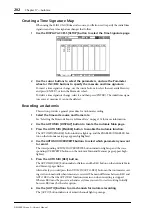
194
Chapter 17—Automix
DM2000 Version 2—Owner’s Manual
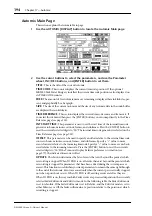
Automix Main Page
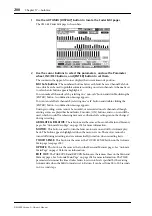
This section explains the Automix Main page.
1
Use the AUTOMIX [DISPLAY] button to locate the Automix Main page.
2
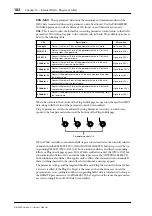
Use the cursor buttons to select the parameters, and use the Parameter
wheel, INC/DEC buttons, and [ENTER] button to set them.
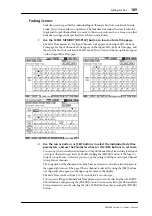
TITLE:
This is the title of the current Automix.
TIME CODE:
This counter displays the current timecode position. If the optional
MB2000 Peak Meter Bridge is installed, the current timecode position is also displayed on
its TIME CODE counter.
FREE:
The amount of free Automix memory remaining is displayed here in kilobytes, per-
cent, and graphically by a bargraph.
SIZE:
The size of the current Automix and the size of any Automix data in the undo buffer
are displayed here in kilobytes.
TIME REFERENCE:
This section displays the current timecode source and frame rate. If
you select this item and then press the [ENTER] button, you can jump directly to the Time
Reference page (see page 201).
INT START TIME:
This parameter is used to set the start time of the internal timecode
generator in hours, minutes, seconds, frames, and subframes. Press the [ENTER] button to
reset the currently selected digits to “00.” The internal timecode generator is selected on the
Time Reference page (see page 201).
OFFSET:
This parameter can be used to specify an offset relative to the external timecode
source in hours, minutes, seconds, frames, and subframes. Specify a “+” value to move
events forward relative to the incoming timecode. Specify a “–” value to move events back-
ward relative to the incoming timecode. Press the [ENTER] button to reset the currently
selected digits to “00.” If the Timecode Display Relative preference is turned on (see
page 277), the indicated timecode is offset.
UPDATE:
This button determines the fate of events that exist beyond the point at which
rerecording is stopped. When TO END is on, all events that exist beyond the point at which
rerecording is stopped for parameters that have been edited during the current pass are
erased. This function is useful when you want parameters to remain the same right through
to the end of the Automix. Events are erased only when the current pass is actually stopped,
not when a punch out occurs. When TO END is off, existing events are left as they are.
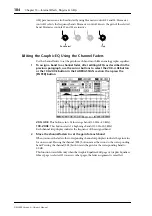
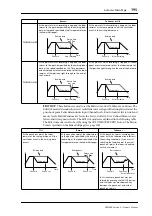
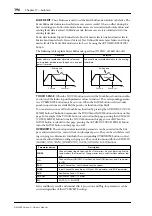
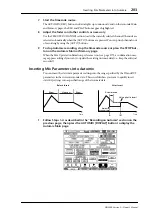
When TO END is on, the way in which Fader events are processed depends on the currently
selected Fader Edit mode and Edit Out mode. In the following table, the Fader Edit mode
is set to Absolute. If the Fader Edit mode is set to Relative, and the Edit Out mode is set to
either Takeover or Off, the fader will remain at a position relative to the position at which
recording is stopped.


