100
Chapter 7—Input Channels
DM2000 Version 2—Owner’s Manual
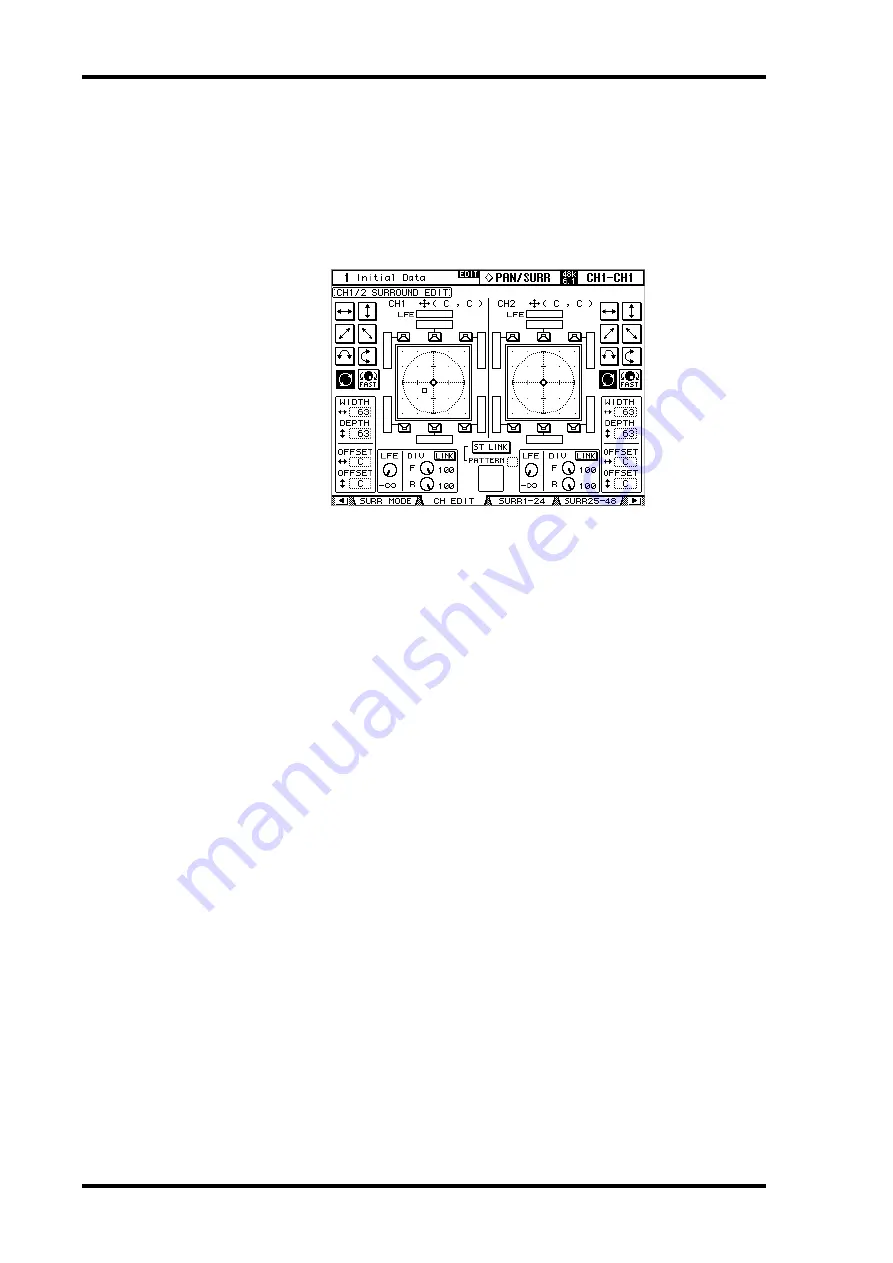
Selected Channel Surround Edit Page
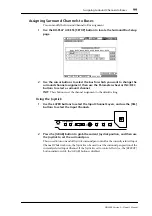
Surround pan settings can be viewed and set on the Input Channel Surround Edit page. If
the Auto PAN/SURROUND Display preference is on, and a Surround Pan mode other than
Stereo is selected, this page appears automatically when a PAN/SURROUND control other
than the [EFFECT] button is operated. See “Auto PAN/SURROUND Display” on page 275.
1
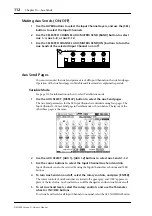
Use the SELECTED CHANNEL PAN/SURROUND [DISPLAY] button to select
the Surround Edit page.
2
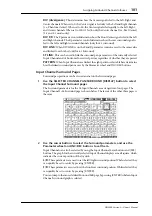
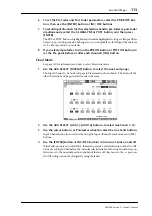
Use the LAYER buttons to select the Input Channel Layers, and use the [SEL]
buttons to select the Input Channels.
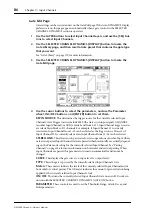
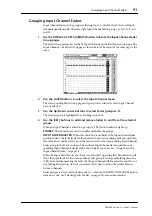
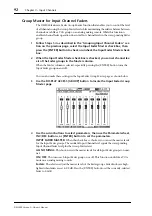
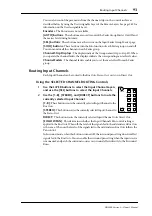
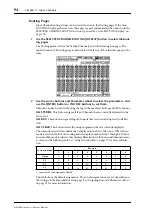
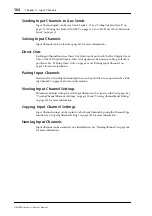
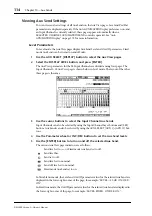
The Surround Edit page displays surround pan parameters for the currently selected Input
Channel and its horizontal or vertical partner. The current surround pan position of each
Input Channel is indicated by a small circle. It’s also indicated numerically next to each
Input Channel number, for example, “CH1 (L9, R10).”
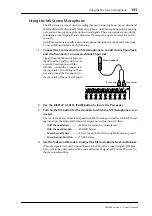
The graph of the currently selected Input Channel displays a small square, which indicates
the current position of the Joystick. If the Auto Grab preference is on (see page 276), when
the Joystick is moved to the current surround pan position, the Joystick kicks in as surround
pan control and the small square disappears.
The number of speaker icons and meters around the surround graph depends on the cur-
rently selected Surround mode. The meters indicate Bus Out signal levels.
You can move the surround pan directly to one of the speaker icons, including the box icons
without speakers, by selecting its icon, and then pressing [ENTER].
3
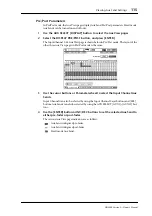
Use the cursor buttons to select the parameters, and use the Parameter
wheel, INC/DEC buttons, and [ENTER] button to set them.
Patterns:
These buttons are used to select the seven patterns that determine how the sur-
round pan moves by the Parameter wheel and INC/DEC buttons.
FAST:
This sets the speed of surround pan control when using the Parameter wheel and
INC/DEC buttons.
WIDTH:
This sets the left-to-right width of the selected pattern.
DEPTH:
This sets the front-to-rear depth of the selected pattern.
WIDTH OFFSET:
This can be used to offset the left-to-right direction of the selected pat-
tern.
DEPTH OFFSET:
This can be used to offset the front-to-rear direction of the selected pat-
tern.
LFE:
This sets the level of the LFE (Low Frequency Effects) Channel (5.1 and 6.1 mode
only).

