28
CLP-970/CLP-970M/CLP-970C/CLP-970A/CLP-970AM/CLP-970AC
1. Preparation
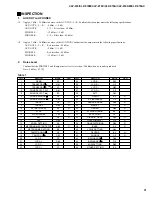
To check the unit using the test program, the following measuring instruments and jigs will be required:
Level meter (IHF- C cave)
Frequency counter
Notes: Impedance must be 1Mohm or above.
Use stereo plugs, and connect 33 ohm load at PHONES terminal.
Unit setting:
MASTER VOLUME :
Maximum
Tone :
PIANO 1
Pedal :
OFF
Reverb :
OFF
AUX IN, AUX OUT:
Plug the test plugs in all of the terminals (connect 10 kohm load at each terminal).
PHONES Terminal:
Plug the test plugs in either channel (connect 33 ohm load at each terminal, either L or R channel).
2. How to enter the Test Program
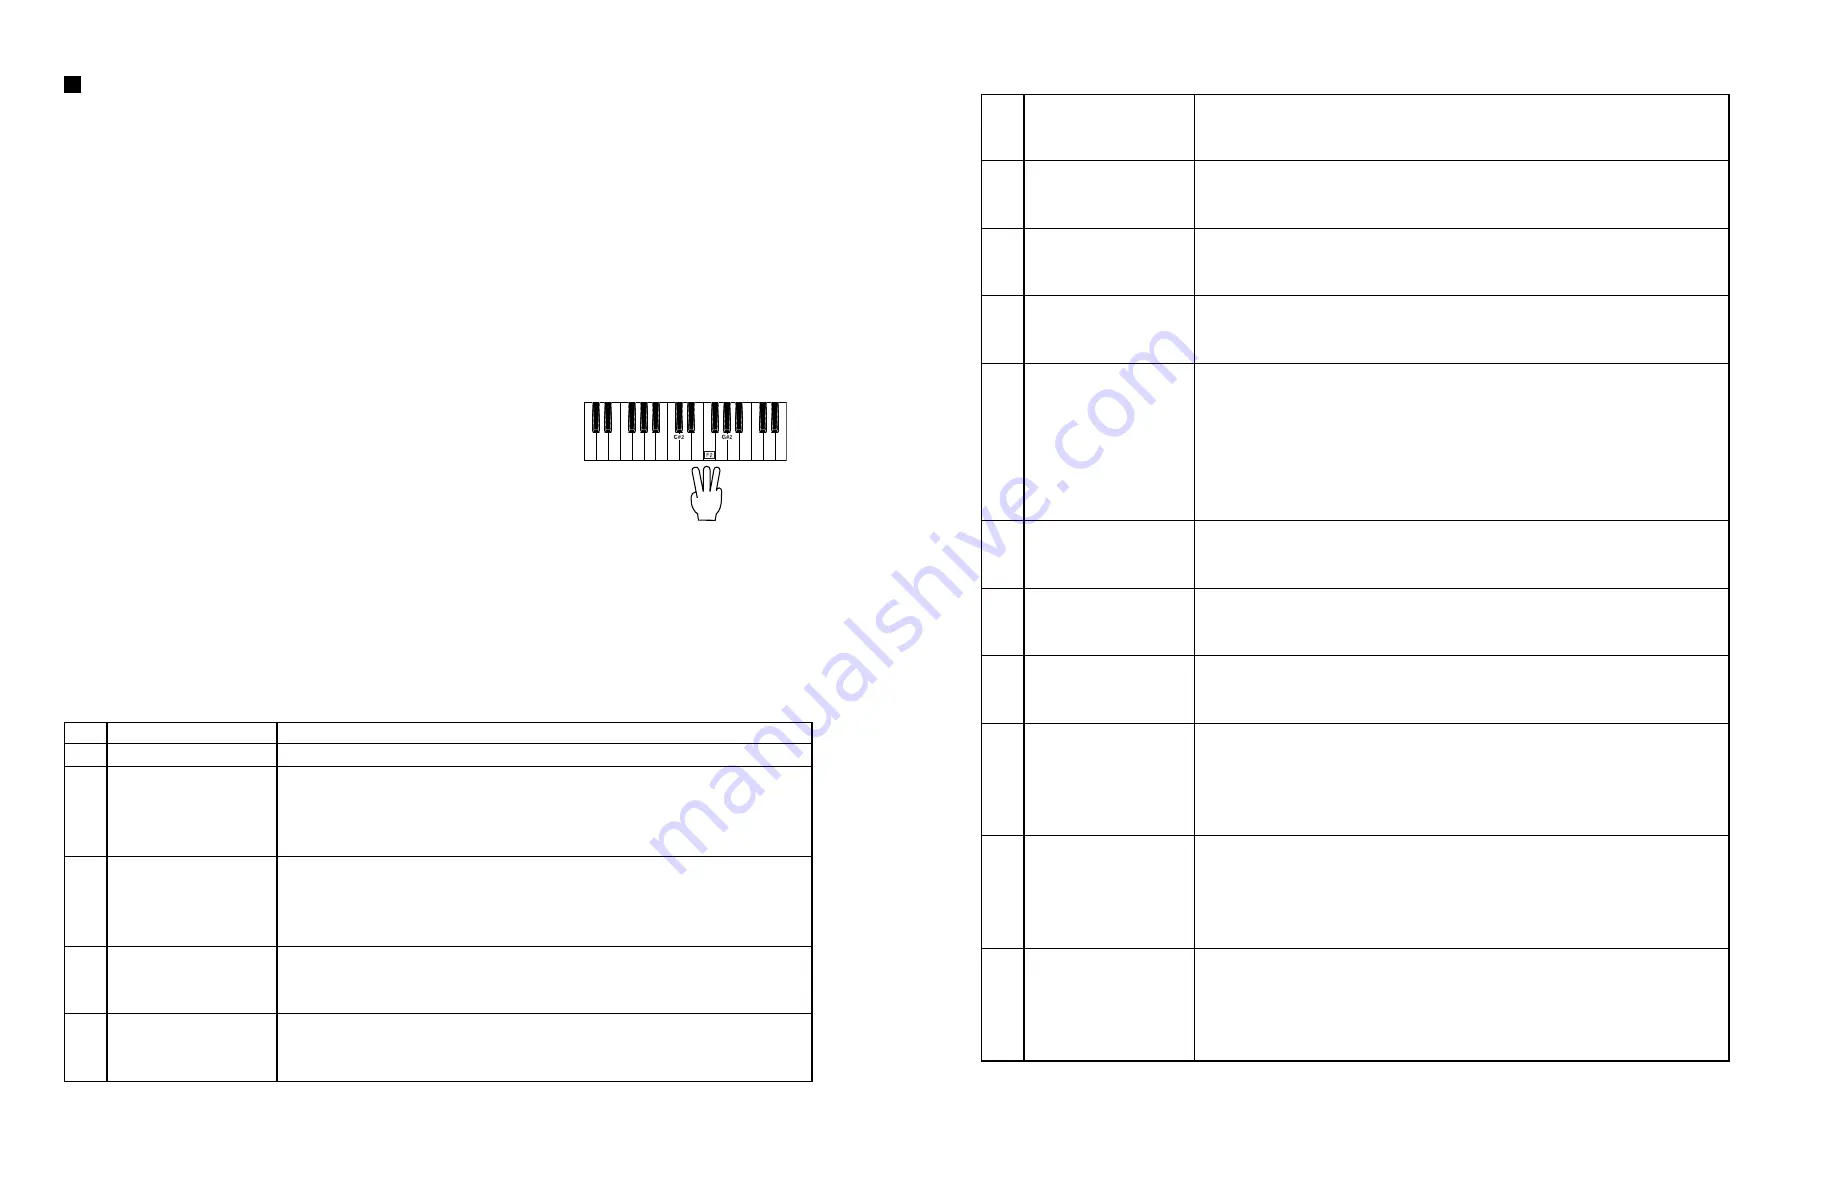
While depressing the [C2#], [F2] and [G2#] keys, turn the power switch ON.
3. Proceeding through the Test Program
When the test program is activated, the sign "TEST" is indicated on the LCD display.
Press [UP] or [DOWN] buttons of [TEMPO] to select the menu of the test program.
Press [START/STOP] buttons of [METRONOME] to execute the test program. When the test program is completed, press
[START/STOP] buttons of [METRONOME] to return to the menu of the test program.
When the test has not been executed appropriately, the failure codes will appear on the LCD display in 2 lines, such as shown
below:
“TEST No: xxx” (<xxx> indicates the test number currently being executed.)
“xxx NG”
If the failure codes appear, press [DEMO] button to return to the menu of the test program.
Always make sure to execute “Factory set (TEST No.46)” test before exiting from the test program.
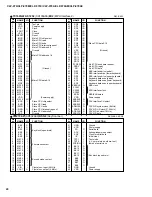
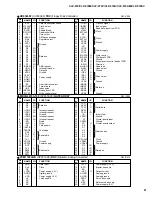
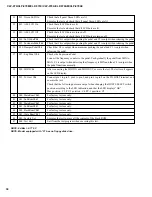
Test items
No.
LED display for each test
Test Function and Judgment criteria
1
001: Main Version
Displays version for Main ROM. (PROGRAM) .
2
002: Sub Version
Displays version for Sub ROM if test resuit is OK,
Check the virsion displayed on the LED.
Upper:
A: 100 C: 100
Lower:
E: 100 F: 100 XG: 100
3
003: Wave Version
Displays version for Wave ROM if test resuit is OK,
Check the virsion displayed on the LED.
Upper:
A: 100 C: 100
Lower:
E: 100 F: 100 XG: 100
4
004: Main Rom Chk1
Check the Main ROM.
Check all the ROMs on the buses of the Main CPU.
Check the LED display's “Main Rom Chk1 OK”
5
005: Sub Rom Chk1
Check the Sub ROM.
Check all the ROMs on the buses of the Sub CPU.
Check the LED display's “Sub Rom Chk1 OK”
TEST PROGRAM
6
006: Main Ram Chk1
Check the Main RAM.
Check all the RAMs on the buses of the Main CPU.
Check the LED display's “Main Ram Chk1 OK”
7
007: Sub Ram Chk1
Check the Sub RAM.
Check all the RAMs on the buses of the Sub CPU.
Check the LED display's “Sub Ram Chk1 OK”
8
008: Flash Rom Chk1
Check the Flash ROM.
Check all the ROMs on the buses of the Main CPU.
Check the LED display's “Flash Rom Chk1 OK”
9
009: WaveRom Chk1
Check the Wave ROM.
Check all the ROMs on the buses of the CPU.
Check the LED display's “Wave Rom Chk1 OK”
10
010:FDD Chk
Checks the Floppy Disk Drive.
Tests the writing to the FDDs (both 2HD and 2DD).
The test will be executed immediately if an FDD is inserted in the drive. After complet-
ing the test for one FDD, replace it with another to continue the test.
Diplays “FDD TEST OK” if the test result is OK. Displays “NO FD” and stands by for
FDD insertion if an FDD is drawn out before completion of the test.
NOTE: Model equipped with “A” has no floppy disk drive.
11
011: Eff1Ram Chk
Checks the Effect1 (Reverb) RAM (SUB A).
Outputs the sine wave MAX at the send level and MIN at the drive level.
Checks if there is no noise or abnormal sound.
12
012: Eff2Ram Chk
Checks the Effect2 (Brilliance) RAM (SUB F).
Outputs the sine wave MAX at the send level and MIN at the drive level.
Checks if there is no noise or abnormal sound.
13
013: Eff3Ram Chk
Checks the Effect3 ( XG Reverb) RAM (SUB XG).
Outputs the sine wave MAX at the send level and MIN at the drive level.
Checks if there is no noise or abnormal sound.
14
014: TG A Chk
Checks the Sound Source A (Autoscale) (SUB A).
Sequentially outputs the sine wave starting from the lower keys by switching the note
of the sound source. Checks if there is no noise or abnormal sound. When completing
the autoscaling, a note is output when a key is depressed (A certain note is output when
a respective note button is pressed).
16
016: TG C Chk
Checks the Sound Source C (Autoscale) (SUB C).
Sequentially outputs the sine wave starting from the lower keys by switching the note
of the sound source. Checks if there is no noise or abnormal sound. When completing
the autoscaling, a note is output when a key is depressed (A certain note is output when
a respective note button is pressed).
18
018: TG E Chk
Checks the Sound Source E (Autoscale) (SUB E).
Sequentially outputs the sine wave starting from the lower keys by switching the note
of the sound source. Checks if there is no noise or abnormal sound. When completing
the autoscaling, a note is output when a key is depressed (A certain note is output when
a respective note button is pressed).

