42
Advanced Functions
Handling Song Files
1.
Select a User Song.
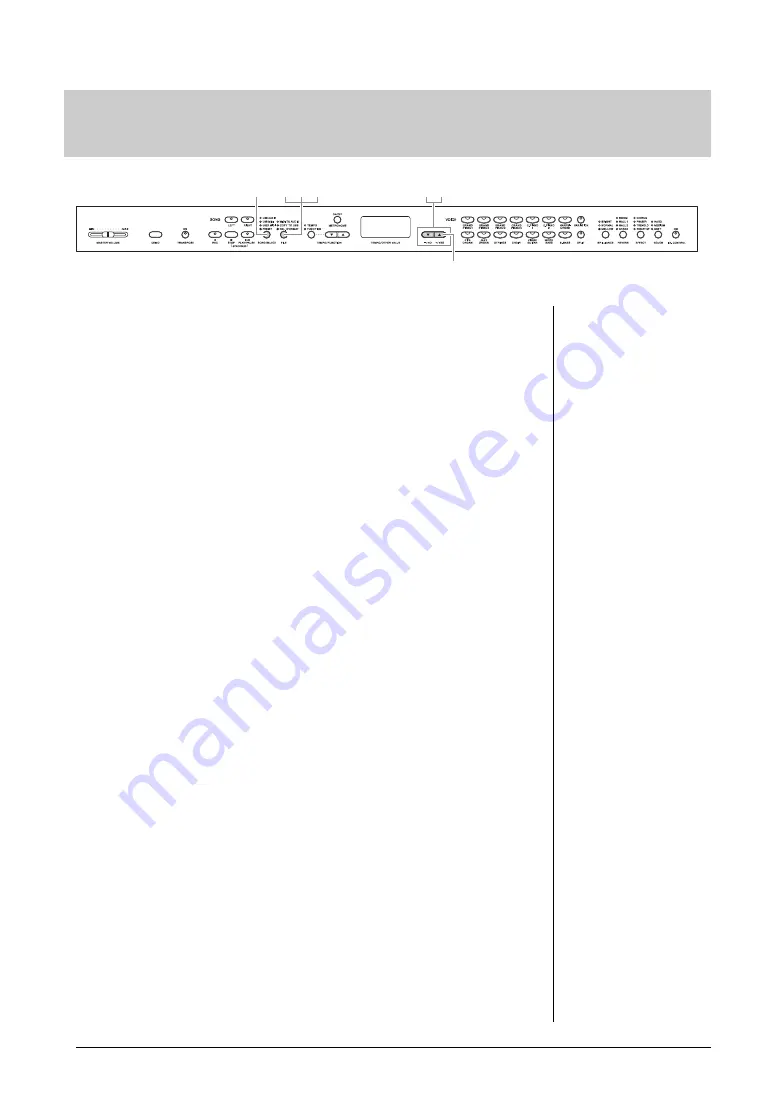
Press the [SONG SELECT] button so that the USER MIDI lamp lights,
then use the [-/NO]/[+/YES] buttons to select the User Song to be copied.
2.
Call up the File mode.
Press the [FILE] button so that the COPY TO USB lamp lights.
3.
Select a User Song number as destination after copying.
Hold down the [FILE] button then use the [-/NO]/[+/YES] buttons to
select the User Song number (U.00 – U.99). When you select a Song
number containing data, three dots (like “U.x.x” ) are shown in the display.
To overwrite the selected Song, go to step 4. To avoid overwriting, select
another Song then go to step 4.
4.
Copy the Song.
If an empty Song is selected in step 3, release the [FILE] button then press
the [+/YES] button. If a Song containing data is selected in step 3, release
the [FILE] button then press the [+/YES] button twice. This operation
starts the Copy operation. When the Copy is completed, “End” will appear
followed by “---” in the display.
To cancel the Copy operation, press the [-/NO] button in response to “n y”
or “n¯y.”
NOTICE
When dashes appear in the display in succession, do not turn off the power of the instrument or
disconnect the USB storage device.
5.
Exit from the File mode.
Press the [FILE] button several times until its lamp is turned off.
Copying User Songs in the instrument to a USB storage
device
1
2 3 5
3
1
4
NOTE
If the “_ _ _” flashes indicating that
the User Song is not selected in
step 1, press the [FILE] button
several times until its lamp is
turned off, then return to step 1 to
select a User Song.
NOTE
Preset Songs and protected MIDI
Songs cannot be copied to the
USB storage device. If you try to
copy such a Song, “Pro” appears
in the display.
NOTE
When there is insufficient free
memory capacity in the USB
storage device, the copied Song
cannot be saved. To ensure
sufficient memory, try erasing
unnecessary files (page 43).


