Let’s record on the AW2816
50
Chapter
3
Operation section
Adjusting the monitor level
Now we will send the signal of the rhythm machine
(drum recording mics) via monitor channels 1/2 to the
stereo bus, and monitor it from the MONITOR OUT
jacks or PHONES jack.
1
Press the RECORDER [1-8] key.
Monitor channels 1–8 are selected as the mixing
layer that will be controlled by the panel control-
lers.
2
Set monitor channels 1/2 as a stereo pair.
By simultaneously pressing adjacent odd-num-
bered
→
even-numbered [SEL] keys, you can pair
monitor channels in the same way as input chan-
nels.
3
Press the [PAN] key
→
[F2] key.
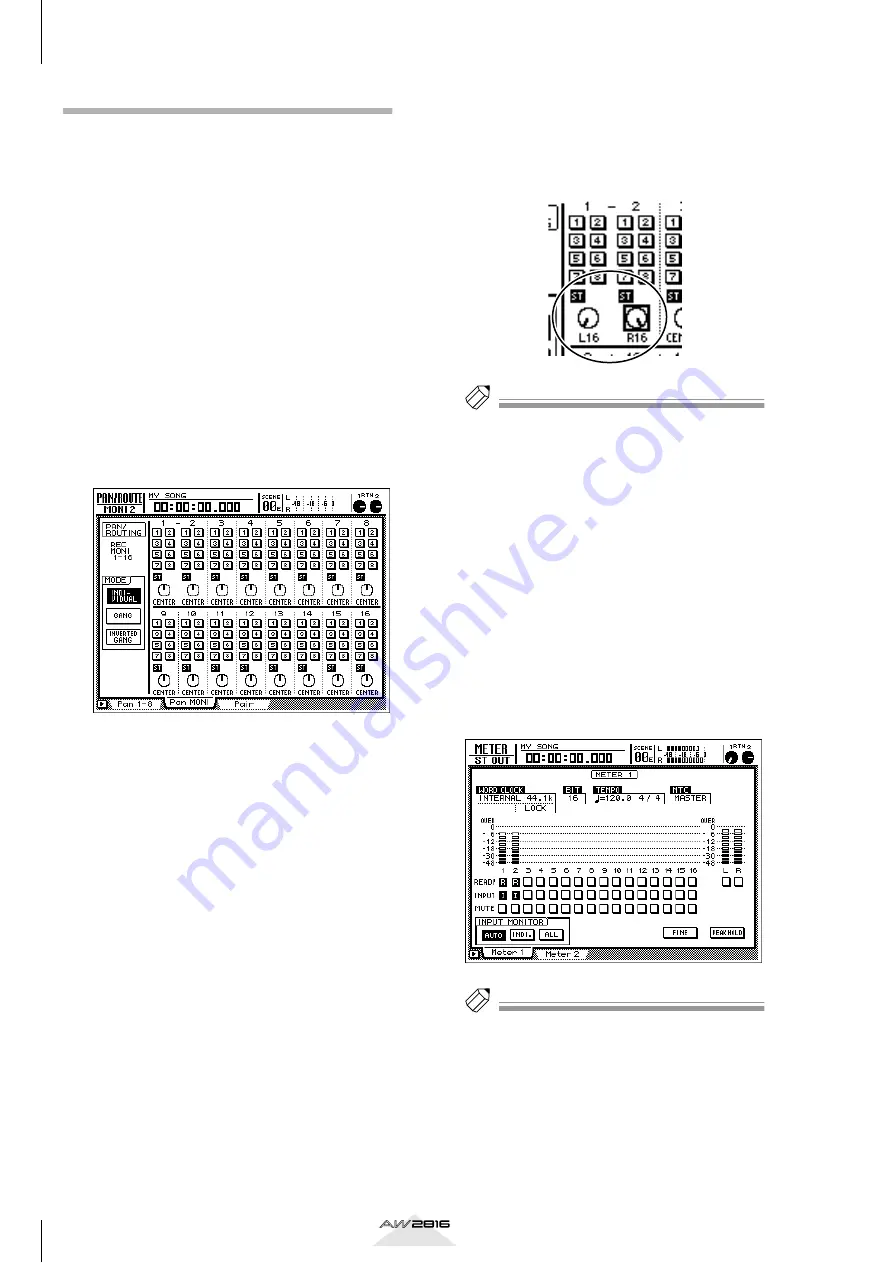
The PAN/ROUTE screen Pan MONI page will
appear. In this page you can make pan settings
and bus assignments for monitor channels 1–16.
4
In the monitor channel 1/2 area, make sure
that the ST buttons are on and the 1–8
buttons are off.
The signal of the rhythm machine (drum record-
ing mics) will be sent via monitor channels 1/2 to
the stereo bus.
5
Move the cursor to the PAN knob of moni-
tor channel 1, and turn the [DATA/JOG]
dial to set the pan value to “L16” (far left).
In the same way, set the PAN knob of mon-
itor channel 2 to “R16” (far right).
Tip!
Even when channels are paired, the PAN knob, phase,
and effect insert settings will not be linked.
6
Make sure that [ON] keys 1/2 and the STE-
REO [ON] key are turned on.
7
Press the [METER] key to display the METER
screen.
8
While playing sounds on your instrument,
raise faders 1/2 and the STEREO fader. Also
use the [MONITOR OUT] control/
[PHONES] control to adjust the monitor
level.
The signal of the stereo bus can be monitored
through your monitor system or headphones. If
the L/R level meters reach the OVER location,
lower the STEREO fader.
Tip!
The monitor channels affect the signal after it has
passed through the recorder. This means that operat-
ing the pan, fader, and [ON] keys of the monitor
channels will not affect the signal recorded on the
recorder.


