MIDI
200
Chapter
13
Operation section
Remotely switching AW2816 scenes
By sending program change messages from an exter-
nal device to the AW2816, you can switch the scene
memories of the AW2816. Program change messages
can also be transmitted to an external device when
you switch scenes on the AW2816.
1
Connect the AW2816’s MIDI IN connector
to the MIDI OUT connector of the external
device, and connect the AW2816’s MIDI
OUT/THRU connector to the MIDI IN con-
nector of the external device. (Alterna-
tively, connect the AW2816’s TO HOST
connector to the serial port of your com-
puter.)
For details on connections and settings, refer to
page 189 to 190.
2
Press the [MIDI] key
→
[F1] key.
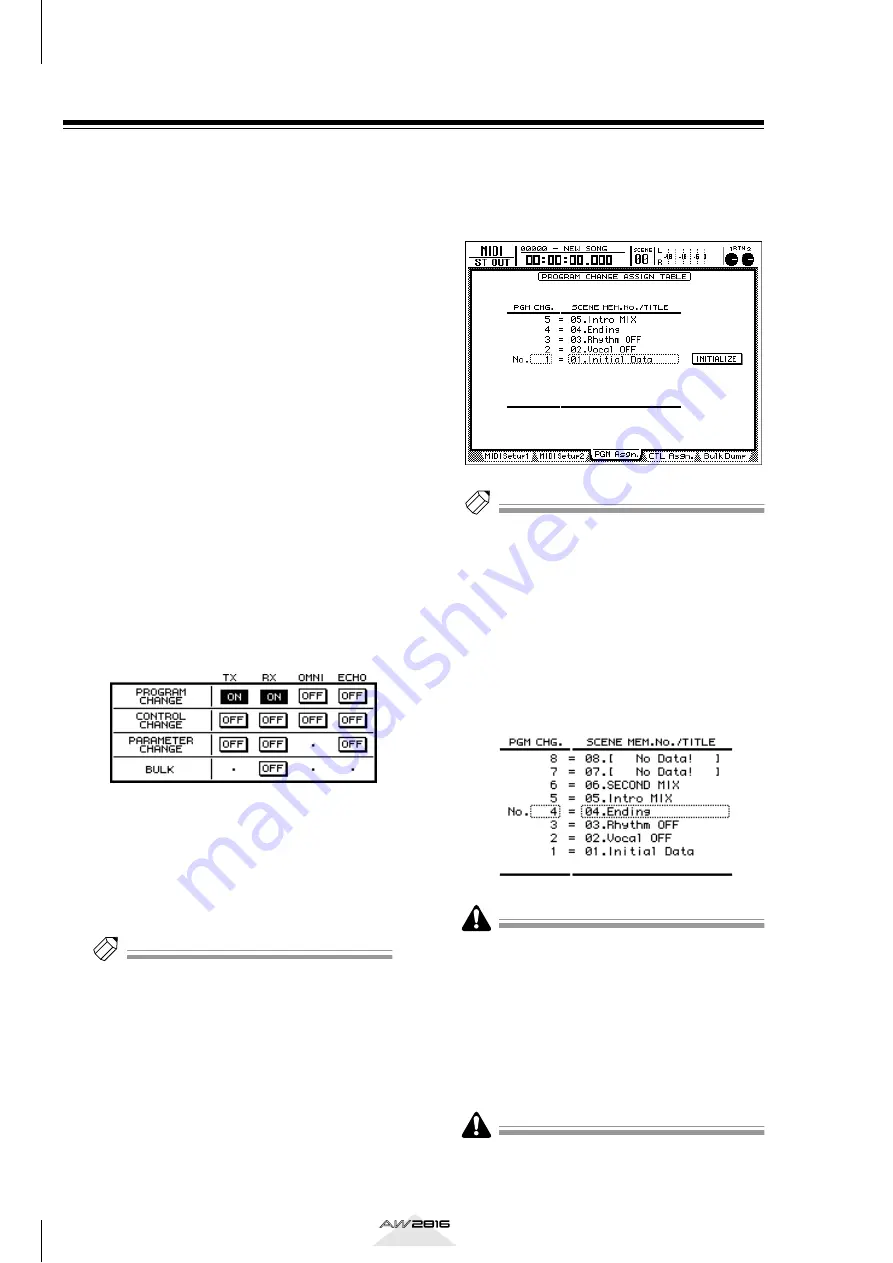
The MIDI screen/MIDI Setup 1 page will appear.
3
Move the cursor to the TX (transmit) but-
ton in the PROGRAM CHANGE area, and
press the [ENTER] key to switch the button
ON. In the same way, switch the RX
(receive) button in the PROGRAM
CHANGE area ON as well.
With these settings, program changes can be
transmitted and received.
4
Move the cursor to the Tx CH numerical
box in the MIDI CH. area, and set the MIDI
channel that will be used for transmission.
Then move the cursor to the numerical
box of the Rx CH, and set the MIDI chan-
nel for reception.
Tip!
• Normally you will use the same setting for the trans-
mit and receive MIDI channels.
• If the OMNI button is turned ON in the PROGRAM
CHANGE area, program changes on all MIDI chan-
nels will be received, regardless of the specified
MIDI reception channel.
5
Press the [F3] key.
The MIDI screen/PGM Asgn. page will appear. In
this page you can assign a scene number to each
program change number 1–128.
Tip!
• With the default settings, scene numbers 01–96 are
assigned to program numbers 1–96, and scene num-
ber 00 is assigned to program number 100. (All
other program change numbers will be displayed as
“-NO ASSIGN-”.)
• You can use the INITIALIZE button located in the
right of the display to return all program change
number assignments to their default setting.
6
Move the cursor to the PGM CHG. area,
and use the [DATA/JOG] dial to select a
program change number (1–128).
If the same scene number is assigned to more than
one program change number, recalling the corre-
sponding scene will cause only the lowest-numbered
program change message to be transmitted.
7
Move the cursor to the right, and use the
[DATA/JOG] dial to select the scene num-
ber (00–96) that you want to assign to the
program change number selected in step
6.
If you select a scene number in which no scene data
has been stored, the TITLE area will indicate “[No
Data!].”


