195
MIDI
13
Operation section
Tip!
• In order to use MIDI Clock to synchronize opera-
tions with another device, you must first make
tempo settings and time signature settings on the
AW2816 so that the tempo and current location will
be specified correctly. This is done in the SONG
screen/Tempo Map page.
• It is difficult to specify the tempo afterward, based
on an already-recorded audio track, so if you want
to use the counter in measure display mode or to
use MIDI Clock to synchronize the operation with
another device, you should make Tempo Map set-
tings before you record.
7
Move the cursor to the METER fields, and
use the [DATA/JOG] dial to set the time sig-
nature of the first measure.
The numerator can be set in the range of 1–8,
and the denominator can be set as 2, 4, or 8.
8
If you want the time signature to change
during the song, move the cursor to the
NEW button located below the METER
area, and press the [ENTER] key.
New time signature data will be added at step 2.
Move the cursor to the METER area, and use the
[DATA/JOG] dial to specify the measure at which
you want the time signature to change (MEA-
SURE setting). Additional time signature data can
be added in the same way.
Tip!
• A maximum of 26 steps of time signature data can
be input in the METER area.
• If you want to edit time signature data that is at a
different location, move the cursor to the STEP set-
ting, and turn the [DATA/JOG] dial to select the
desired step number.
• To delete the currently selected time signature data,
move the cursor to the DEL button located below
the METER area and press the [ENTER] key.
It is not possible to change the measure location of
the time signature at step number 1, or to delete it.
9
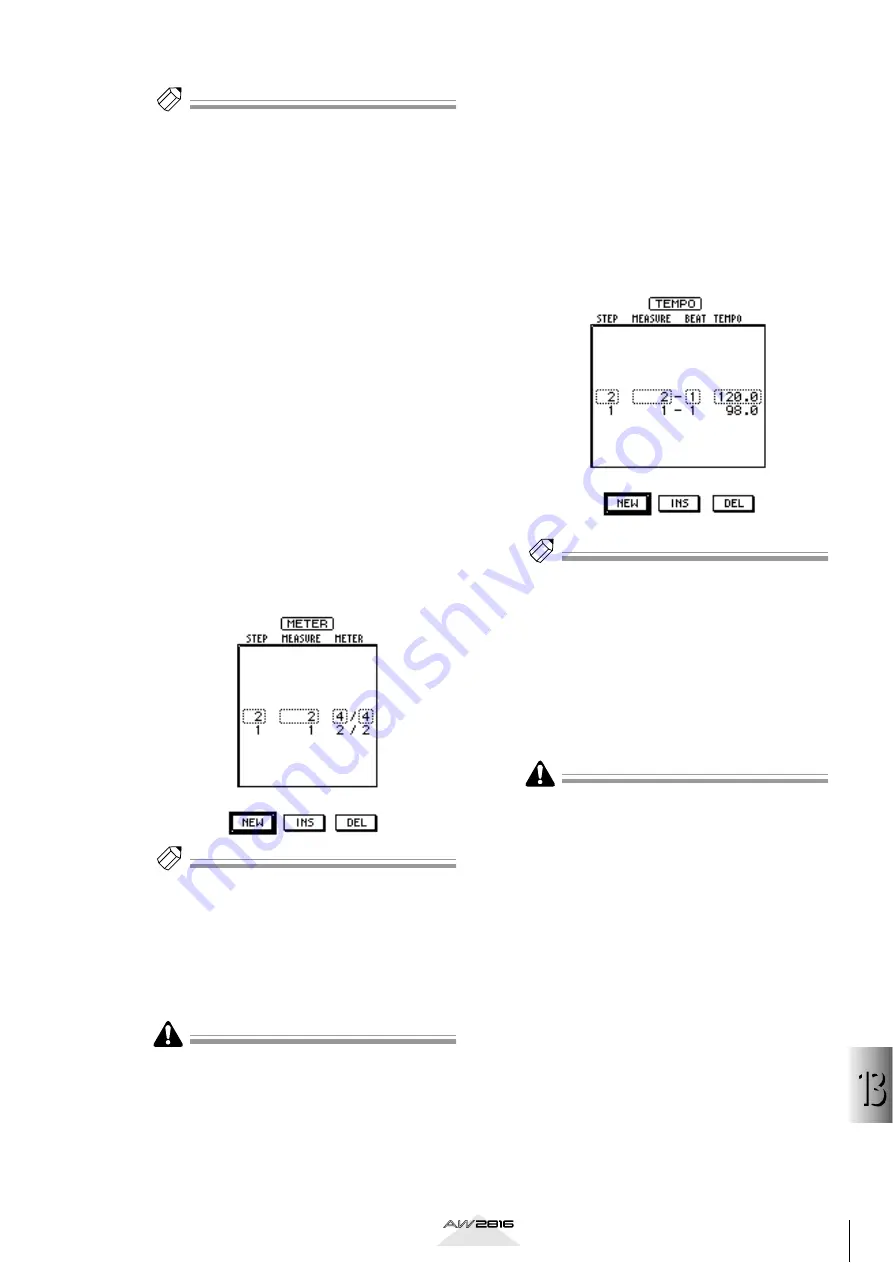
Move the cursor to TEMPO in the tempo
map, and use the [DATA/JOG] dial to spec-
ify the tempo for the first measure.
The tempo (BPM) can be set in a range of 20.0–
300.0.
10
If you want the tempo to change during
the song, move the cursor to the NEW but-
ton located below the TEMPO area, and
press the [ENTER] key.
New tempo data will be added at step 2. Move
the cursor to the TEMPO area, and use the
[DATA/JOG] dial to specify the measure location
(MEASURE and BEAT fields) and tempo (TEMPO
field) of the desired tempo change. Use the same
procedure to add additional tempo data as
desired.
Tip!
• A maximum of 26 steps of tempo data can be input
in the TEMPO area.
• If you want to edit tempo data that is at a different
location, move the cursor to the STEP setting, and
turn the [DATA/JOG] dial to select the desired step
number.
• To delete the currently selected tempo data, move
the cursor to the DEL button located below the
TEMPO area and press the [ENTER] key.
• The internal metronome will sound according to the
time signature data and tempo data specified in this
page.
It is not possible to change the measure location of
the tempo data at step number 1, or to delete it.
11
Make settings on your external device so
that it will follow the incoming MIDI Clock
data, and put it in playback-ready mode.
12
Play back the song on the AW2816.
When the AW2816 song begins playing, a MIDI
Start message and then MIDI Clock messages
will be transmitted from the MIDI OUT/THRU
connector or the TO HOST connector, and the
external device will begin operation in synchro-
nization with the MIDI Clock tempo. When the
AW2816 song stops, a MIDI Stop message will
be transmitted, and the external device will also
stop running.
When you perform a locate operation on the
AW2816, a MIDI Song Position Pointer message
will be transmitted to indicate the current loca-
tion in terms of measure/beat/clock, and the
external device will also locate to the corre-
sponding location.


