


BEFORE USING THE UNIT
How to use this manual
How to use this manual
When reading this manual, mind the following items.
• The illustrations of the main unit used in this manual are of the U.S.A. model, unless
otherwise specified.
• Some features are not available in certain regions.
• Due to product improvements, specifications and appearance are subject to
change without notice.
• This manual mainly explains operations using the menu displayed on the TV screen.
Operations with the TV screen menu are only available when your TV is connected
to the unit via HDMI.
• This manual explains operations using the supplied remote control.
• This manual describes all the “iPod touch”, “iPhone” and “iPad” as the “iPhone”.
“iPhone” refers to “iPod touch”, “iPhone” and “iPad”, unless otherwise specified.
WARNING
:
Indicates precautions for the possibility of death or serious injury.
CAUTION
:
Indicates precautions for the possibility of minor or moderate injury.
NOTICE
:
Indicates precautions for use to avoid the possibility of malfunction/damage to the unit.
NOTE
:
Indicates instructions and supplementary explanations for optimum use.
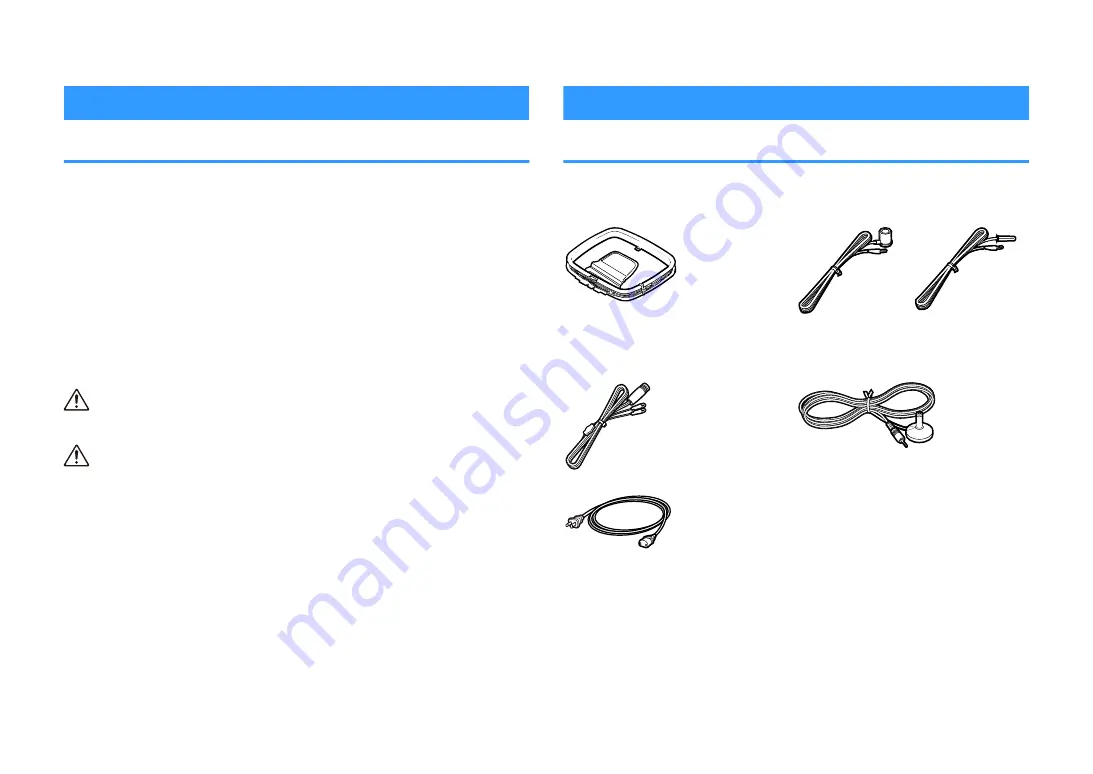
Checking the accessories
Checking the accessories
Check that the following accessories are supplied with the product.
£
AM antenna (Except for U.K., Europe, Russia,
Middle East and Australia models)
£
FM antenna (Except for U.K., Europe, Russia,
Middle East and Australia models)
* One of the above is supplied depending on
the region of purchase.
£
DAB/FM antenna (U.K., Europe, Russia,
Middle East and Australia models)
£
YPAO microphone
£
Power cable
£
Remote control
* The supplied power cable varies depending
on the region of purchase.
£
Batteries (AAA, R03, UM-4) (x2)
£
Quick Start Guide
NOTE
Access the Yamaha Downloads site to download the latest Owner's Manual and Quick Start Guide.
http://download.yamaha.com/
En
8


