96
1
2
3
4
5
6
7
8
9
10
11
12
13
14
15
16
94
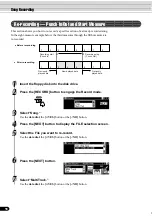
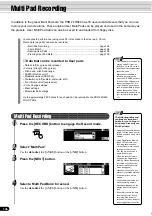
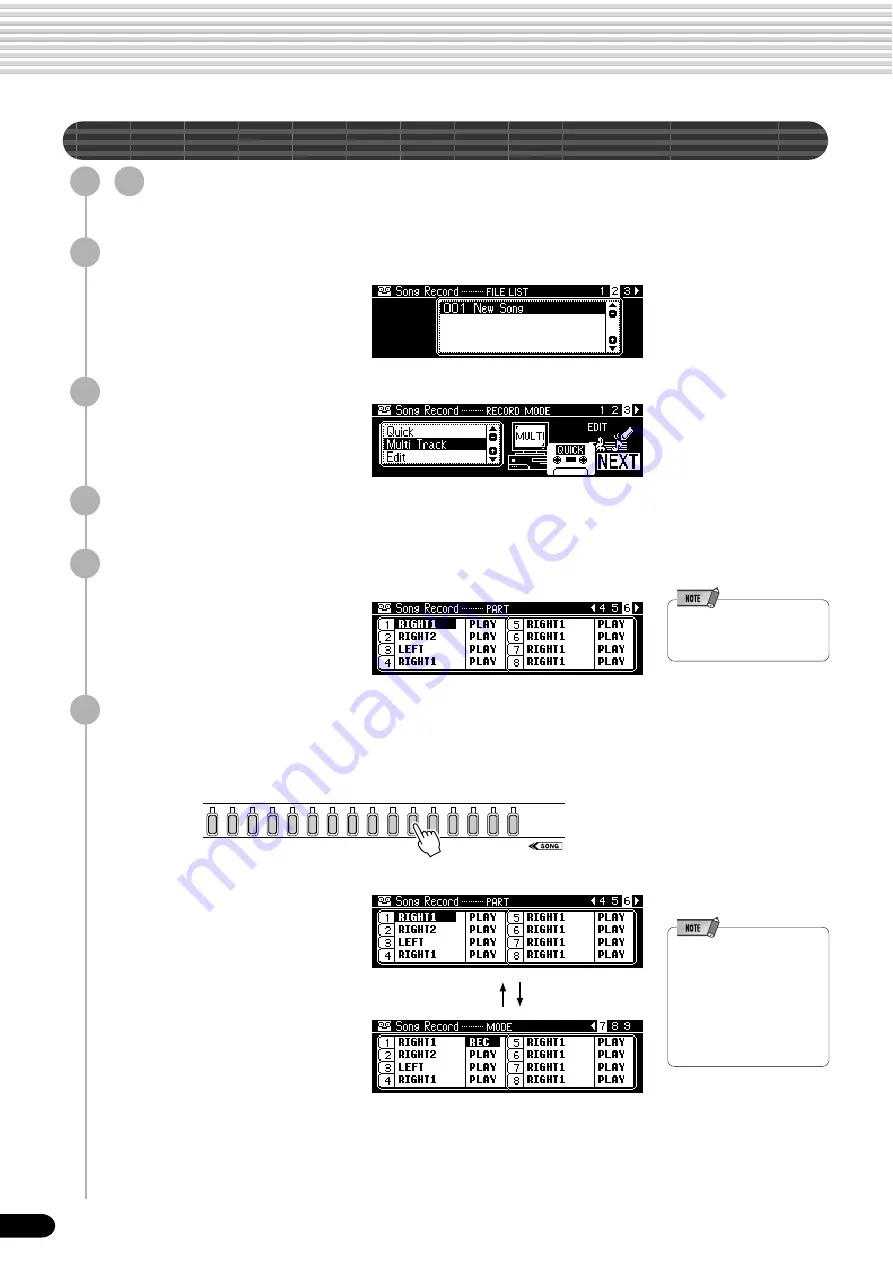
Multi Track Recording
1
-
3
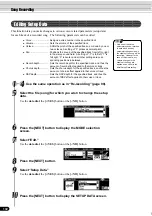
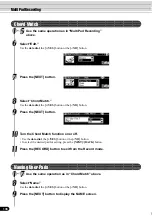
Use the same operation as in “Quick Recording” (page
94).
4
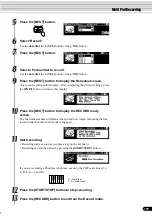
Press the [NEXT] button to display the FILE selection screen.
5
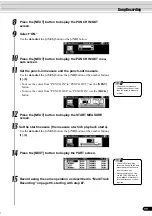
Press the [NEXT] button.
8
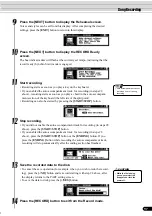
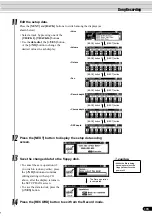
Select the desired track and part for recording.
• For information on the punch
in and start measure
functions, see pages 98.
1) Select a track.
Press one of the [TRACK1]-[TRACK16] buttons.
2) Select a part.
Use the data dial, the [+/YES]
button or the [-/NO] button.
3) Set the desired track to
“REC.”
Press the [NEXT] button and use
the data dial, the [+/YES]
button or the [-/NO] button.
• Make all necessary settings to each track by repeating steps 1) through 3)
above.
• For information on track
assignments, see page 93.
• To record auto accompani-
ment data, set the [ACMP]
button to ON.
• The same part cannot be set
to more than one track for
recording.
Song Recording
[BACK] button
[NEXT] button
6
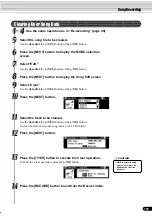
Select “Multi Track.”
Use the data dial, the [+/YES] button or the [-/NO] button.
7
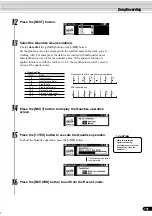
Press the [NEXT] button three times to display the PART
setting screen.
Summary of Contents for 640
Page 1: ......


