P
anel Oper
ation and Displa
y
s
Utility Displays
DME64N/DME24N Owner’s Manual
45
Utility Display Operation
The general procedure for operating the Utility displays
is outlined below.
1.
Press the [UTILITY] button for longer than
2 seconds from the Main display to go to
the Utility display.
2.
Press the [UTILITY] button as many times
as necessary until the desired parameter
page appears.
3.
Use the cursor buttons – [
E
]
[
]
[
]
[
F
]
– to select the parameter you want to edit.
4.
Press the [ENTER] button.
This either confirms a selection or edit, or calls the
appropriate parameter edit page.
Info Page
1
Label
Shows the name. The name can be changed via the
DME Designer application running on a computer
connected to the unit.
2
Program Version
This is the current firmware version number.
3
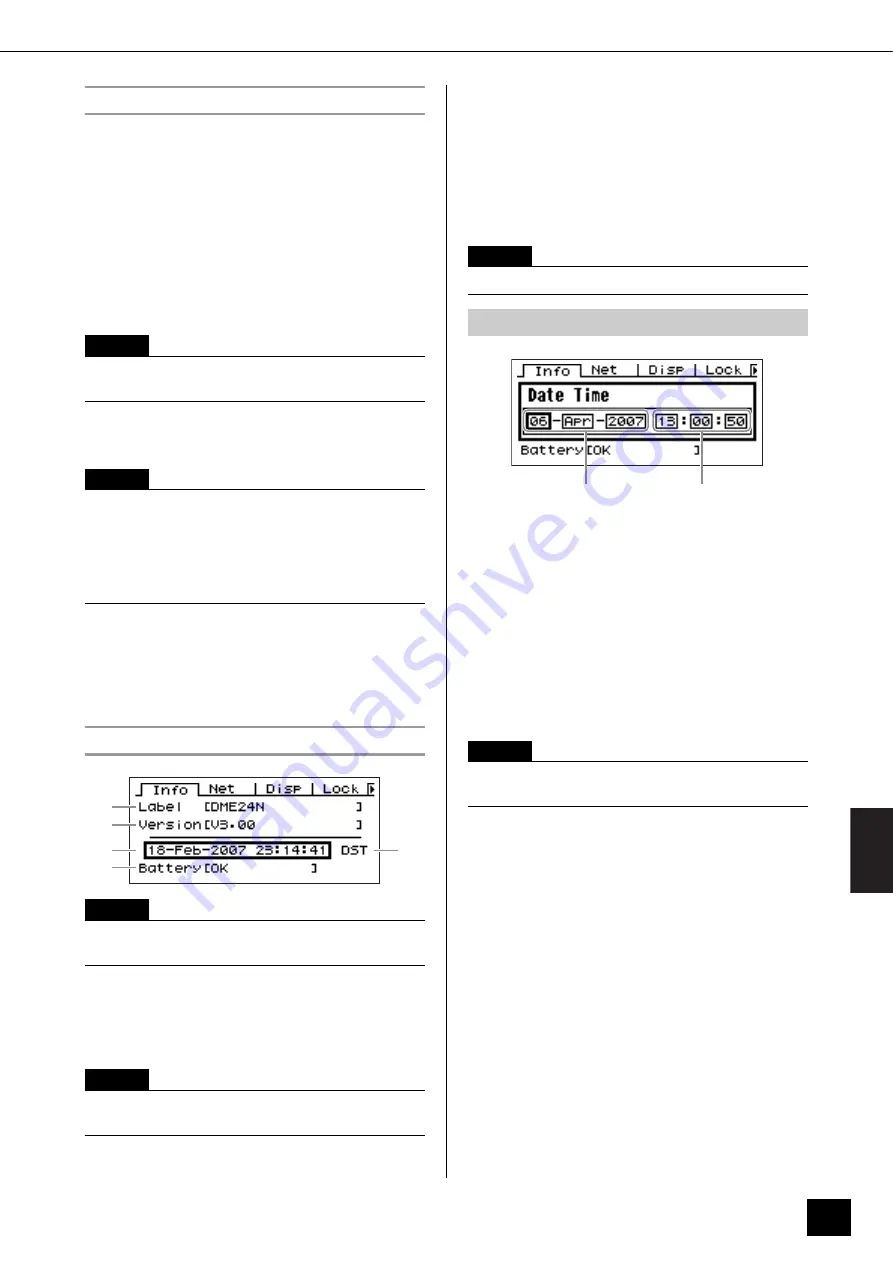
Date
Shows the currently set date and time. The internal clock
and calendar can be set here.
Edit using the “Numeric Parameters” editing procedure
described on page 36.
4
Battery
Shows the status of the internal battery. “Low Battery”
will appear when the battery needs to be replaced, and
“No Battery” will appear when no battery is present in
the device.
5
Daylight Saving Time
If you enable daylight saving time, the display will
indicate “DST.”
You can enable daylight saving time using DME
Designer from a connected computer.
NOTE
Press the [CANCEL] button to display the pages in
reverse order.
NOTE
On the ICP1 the function buttons are used in place of the
cursor buttons as follows:
[F1] button: Left
[F2] button: Up
[F3] button: Right
[F5] button: Down
NOTE
The date and time (
3
) and the internal battery status
(
4
) are not shown on the ICP1 control panel display.
NOTE
The name can not be changed from the DME64N/24N
controls.
1
2
3
5
4
NOTE
“Zone slave” cannot be used to set this parameter.
Date/Time Parameter Edit Dialog
NOTE
Daylight saving time cannot be set on the DME64N/24N
itself.
Day - Month - Year
Hour : Minute : Second


