


88
Auxiliary Channels
Digital Recording Console 02R User’s Guide
POST
– the auxiliary send signal is sourced after the channel fader. This
means that the signal is controlled by the channel fader as well as the send
level. In order to send a signal to the auxiliary bus, you must have that
fader raised as well. This enables the channel-to-mix and channel-to-effects
signal levels to be controlled together, with the former supplying the dry,
unaffected signal and the latter supplying the wet, affected signal. This is
useful when, for example, you fade-out a channel, since the channel-to-mix
and channel-to-effects signals are reduced together.
PRE
– the auxiliary send signal is sourced before the channel fader. The
send signal is unaffected by the channel fader and its level can be set
independently.
Monitor Mix
The Digital Recording Console 02R has two different monitoring outputs –
the control room outputs (including the PHONES output) and the studio
outputs.
Often during a multitrack recording session, what you want to listen to in
the control room is very different from what the musicians need in the
studio. For example, while recording a rhythm section, the bass player and
the drummer may want to hear the kick drum at a much higher volume
than you need in the control room.
To cater to this requirement, the 02R allows you to create a monitor mix
using either AUX5 or AUX6.
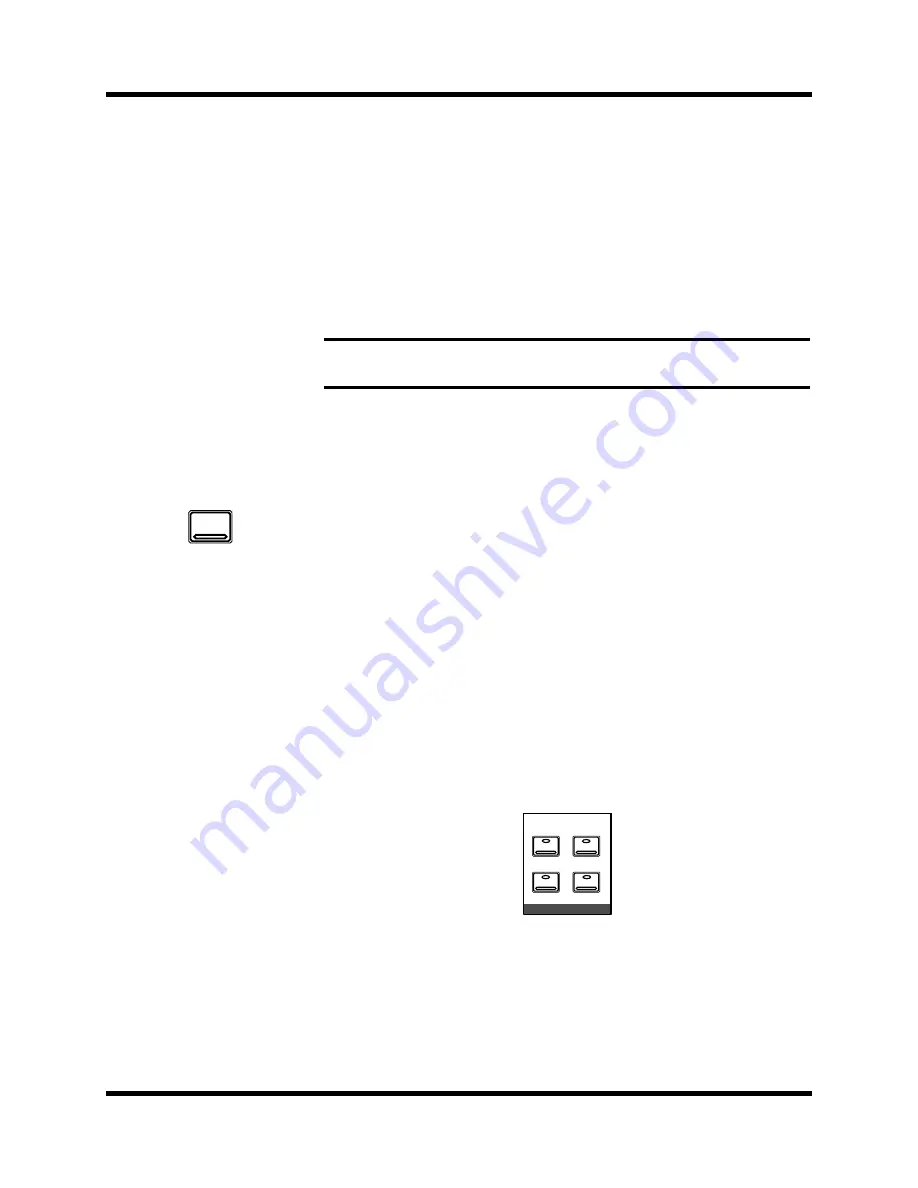
Use the STUDIO buttons to select the monitor signal sent to the studio
monitor system. You can monitor the signal on the stereo bus with the [ST]
button or select the auxiliary channels (AUX5 or AUX6). You can select any
combination of the [ST], [AUX5], and [AUX6] buttons:
You can also use the [C-R] button to send the signal being monitored in the
control room to the studio outputs.
Use the CONTROL ROOM buttons to select the monitor signal sent to the
control room monitor system. See “Monitor Selector Switches” on page 29
and “Monitor Level Controls” on page 30 of the
details.
Note:
Pre or post-fader selection can only be made from the corresponding
display function.
1.
Press the [AUX 5] button.
The AUX 5 display
function appears.
2.
Select a channel using
the [SEL] buttons or the
CURSOR buttons.
3.
Set the send on and set it
to pre/post fader as
detailed previously.
4.
Press the [AUX 5] button
of the STUDIO buttons
group.
5.
Adjust the STUDIO LEVEL
control, then adjust the
channel level using the
appropriate faders or
rotary encoders.
AUX 5
C-R
AUX 5
ST
AUX 6
STUDIO
Summary of Contents for 02R
Page 1: ...DIGITAL RECORDING CONSOLE E...
Page 7: ...DIGITAL RECORDING CONSOLE User s Guide User s Guide...
Page 21: ...12 Introduction to the 02R Digital Recording Console 02R Getting Started Guide...
Page 27: ...18 Getting Started Digital Recording Console 02R Getting Started Guide...
Page 49: ...40 Introductory Recording Tutorial Digital Recording Console 02R Getting Started Guide...
Page 75: ...66 Secondary Recording Tutorial Digital Recording Console 02R Getting Started Guide...
Page 103: ...94 Index Digital Recording Console 02R Getting Started Guide...
Page 104: ...DIGITAL RECORDING CONSOLE Getting Started Guide Getting Started Guide...
Page 106: ...ii Sections Digital Recording Console 02R User s Guide...
Page 126: ...16 Controls and Connections Digital Recording Console 02R User s Guide...
Page 192: ...82 Dynamics Digital Recording Console 02R User s Guide...
Page 222: ...112 Internal Effects Digital Recording Console 02R User s Guide...
Page 232: ...122 Scene Memories Digital Recording Console 02R User s Guide...
Page 262: ...152 Groups and Pairs Digital Recording Console 02R User s Guide...
Page 335: ...224 Specifications Digital Recording Console 02R User s Guide...
Page 343: ...232 Glossary Digital Recording Console 02R User s Guide...