K386
Fitting Kit
EN
Fitting Instructions for Basic Carrier
x 4
x 2
Revision No: 6F
1
Page 1: ...K386 Fitting Kit EN Fitting Instructions for Basic Carrier x 4 x 2 x 2 x 4 x 4 Revision No 6F 1...
Page 2: ...s 88 lbs SX4 4dr Sedan 06 13 EU 40 kgs 88 lbs 40 kgs 88 lbs SX4 4dr Sedan 08 13 US 40 kgs 88 lbs 40 kgs 88 lbs SX4 VCR Sport 4dr Sedan 08 13 US 40 kgs 88 lbs 40 kgs 88 lbs SX4 4dr Sedan Sep 07 13 NZ 4...
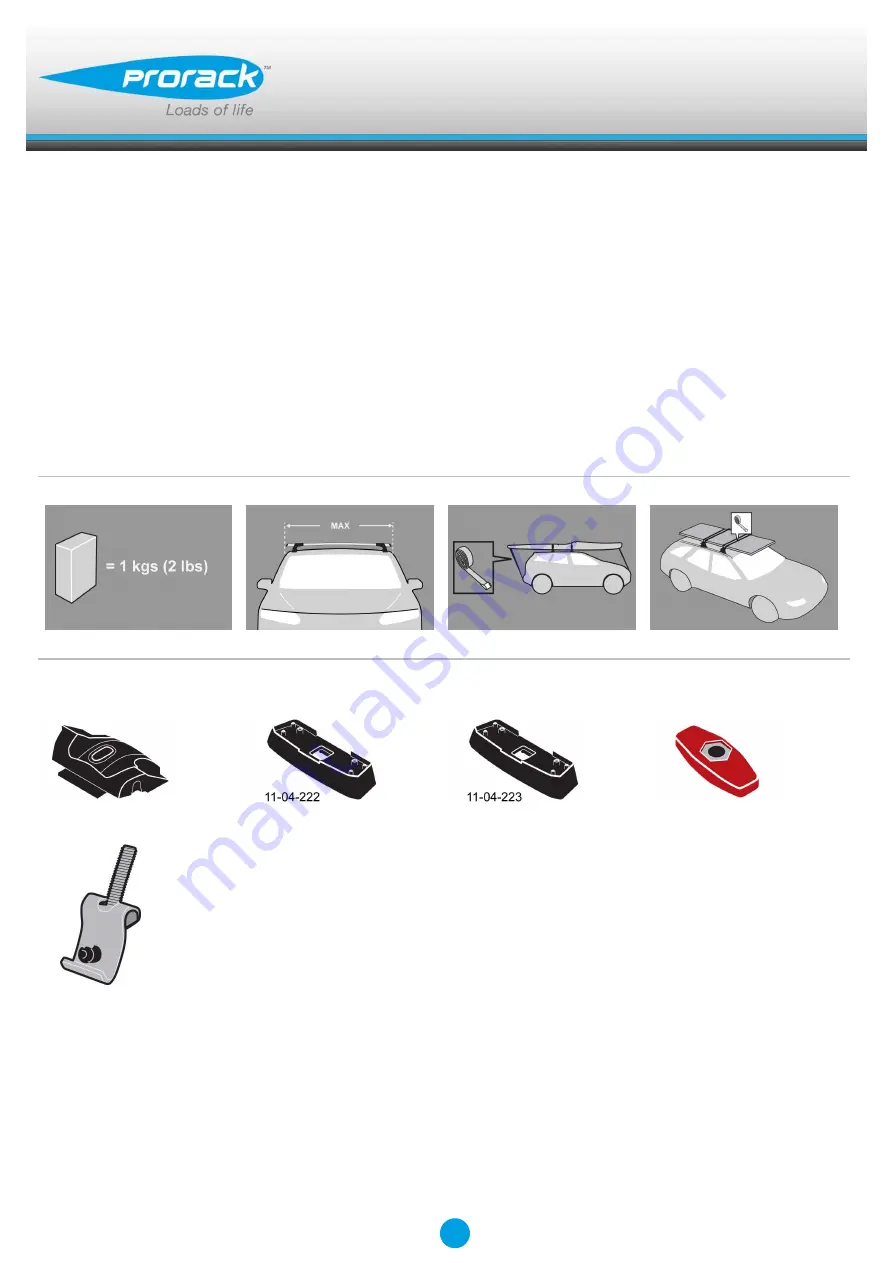
Page 3: ...Remove parts from inside the package and check Contact your dealer if any parts are missing or damaged This kit fits type A B C and D These instructions show type A crossbar fitted They also apply to...
Page 4: ...gs out Refer to the crossbar instructions for crossbar adjustment method Ensure each end of the crossbar is adjusted equally Adjust crossbar in or out to suit vehicle Refer to the crossbar instruction...
Page 5: ...o 5 Nm 3 7 ft lb hand tight Remove plastic clamp block by gripping bar leg with fingers and push firmly with thumbs until clamp block drops out behind leg Select plastic internal block from fitting ki...
Page 6: ...tters refer to the pad part numbers and position Note Pads may be different to that shown Pad Part Number A 11 04 222 B 11 04 223 Fit rubber pads supplied with fitting kit to foot Pad may vary in shap...
Page 7: ...Fitment Open or remove fixed point covers Store items away in a safe place Hook clamps into the fixed points on the vehicle Ensure internal clamp sits upright Repeat for all four positions Mount cros...
Page 8: ...stic knob The side with the nut showing should be facing up Ensure the plastic knob is in the position shown when fully tightened Repeat for all legs Check crossbar is securely attached to the vehicle...
Page 9: ...Fitting Kit EN K386 CAUTION Recheck all fasteners immediately after a load is applied to the crossbars Regularly check screws are tight 9...
Page 10: ...le manufacturers roof load rating if it is lower than the maximum load capacity specified in the fitting instructions Loads should not overhang the sides of the product and be evenly distributed with...
Page 11: ...itted Lubricate locks and adjusting screws at regular intervals Remove the products from the vehicle when not in use Make sure all loose parts are stored safely Yakima Australia Pty Ltd 17 Hinkler Cou...
Page 12: ...s 30 1 4ths 29 5 8ths SX4 4dr Sedan 08 13 US 120mm 570mm 769mm 752mm 4 3 4ths 22 7 16ths 30 1 4ths 29 5 8ths SX4 4dr Sedan 08 13 US 120mm 570mm 769mm 752mm 4 3 4ths 22 7 16ths 30 1 4ths 29 5 8ths SX4...
Page 13: ...e warranty cover defects loss or damage resulting from accidents unlawful use of the vehicle or defects inconsistencies in the vehicle on which the product or component is fitted Liability for direct...
Page 14: ...those instructions and of returning the product to Yakima or the Prorack dealer will be borne by you Following receipt of the product and purchase invoice or receipt Yakima or the Prorack dealer must...