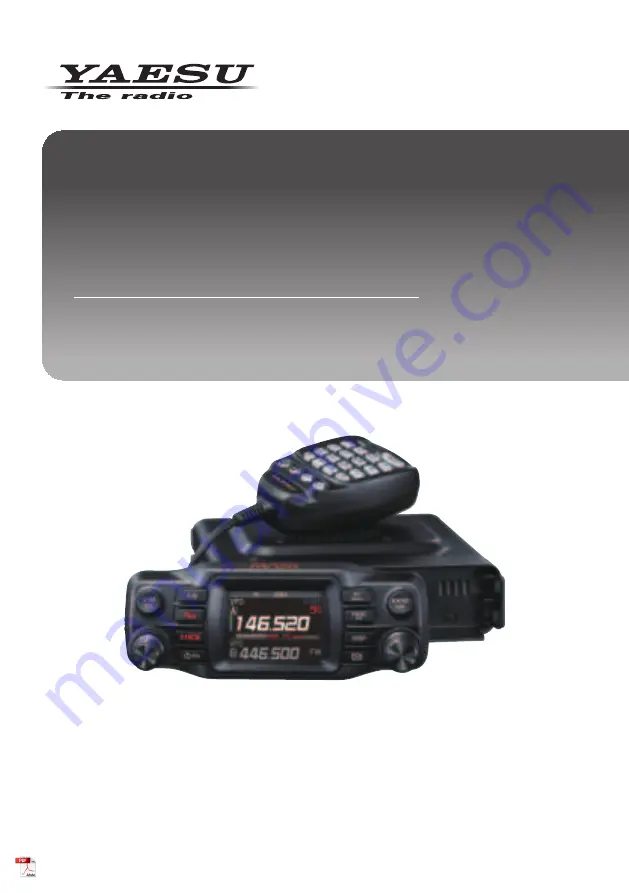
C4FM/FM 144/430MHz DUAL BAND DIGITAL TRANSCEIVER
FTM-200DRFTM-200DE
Instruction Manual(GM Edition)
Page 1: ...C4FM FM 144 430MHz DUAL BAND DIGITAL TRANSCEIVER FTM 200DR FTM 200DE Instruction Manual GM Edition...
Page 2: ...reen 5 Registering the Location Information of a Partner Station 6 Checking Received Messages and Images 7 Sending massages or images 9 Creating and sending a new message 9 Using Standard Messages 10...
Page 3: ...s dis played and you can check each other s position distance and moving direction You can also use GM functions to send data such as messages and images with your friends When the GM function is acti...
Page 4: ...ose with their GM function in operation that are within communications range will be displayed Stations within the sphere of communications callsigns are displayed in white and are displayed in descen...
Page 5: ...splayed on the APL screen The displayed sta tions are listed on the left side of the screen with the first six characters of the callsign and the direction from your own station The direction of membe...
Page 6: ...PLAY 6 COMPASS Press the DIAL knob then rotate the DIAL knob to select the screen display method direction to ward the top of the screen from HEADING UP or NORTH UP The default setting is HEADING UP H...
Page 7: ...y 4 Press the F menu then rotate the DIAL knob to select MEM then press the DIAL knob L1 and L2 will start blinking 5 Rotate the DIAL knob to select the L1 or L2 then press the DIAL knob 6 Press the B...
Page 8: ...knob LOG VOICE MESSAGE PICT Select MESSAGE or PICT to display the LOG MSG list or LOG PICT list The icons on the left side of the LOG list indicate the following Message received unread Message receiv...
Page 9: ...efer to Replying to the Sender of the Checked Message or Image Data page 12 Press the F menu key then rotate the DIAL knob to select DEL then press the DIAL knob to display DELETE Rotate the DIAL knob...
Page 10: ...n rotate the DIAL knob to select LOG then press the DIAL knob JQ1YBF 0AB JH1YPC FGH JA2YSO 789 JA1YOE 123 JA7YWC 022 JA1ZRL CDE 3 Rotate the DIAL knob to select MESSAGE then press the DIAL knob Displa...
Page 11: ...is within communication range select the member callsign Messages cannot be sent to members outside of communication range The address designation to is merely for displaying ALL or the call sign of...
Page 12: ...hat have been saved as default 1 Follow steps 1 to 7 in Creating and sending a new message on page 9 to dis play the message entry screen 2 Press the F menu key then rotate the DIAL knob to select SAV...
Page 13: ...b Sends the reply message to the sender of the MESSAGE PICT data Forwarding the Checked Message or Image Data After reviewing the message or image data you may forward the data to other members 1 Sele...
Page 14: ...to select PICT then press the DIAL knob Displays the list of images saved on the microSD memory card JA1YOE 13 05 05 JA6YPC 7 04 18 JA1YOE 13 04 10 JQ1YBF 9 03 27 JQ1YBG 14 03 27 JA1ZRL 9 03 14 LOG PI...
Page 15: ...DP ID function uses this individual ID information When communicating with another transceiver if the DP IDs of the sta tions are registered in both transceivers they can communicate even though the D...
Page 16: ...s a list of messages and images sent or received as well as re corded audio VOICE Display the list of recorded audio MESSAGE Displays the list of messages sent and received PICT Displays the list of i...
Page 17: ...without the permission of YAESU MUSEN CO LTD YAESU MUSEN CO LTD Tennozu Parkside Building 2 5 8 Higashi Shinagawa Shinagawa ku Tokyo 140 0002 Japan YAESU USA 6125 Phyllis Drive Cypress CA 90630 U S A...