88XX Series Folder Operator Manual
D692103X
Rev 1.6
Page 1: ...88XX Series Folder Operator Manual D692103X Rev 1 6...
Page 2: ...Stacker Submenu 21 Punching Submenu 22 Manual Feed Submenu 23 Counter Submenu 24 Manual Feed Procedure 25 Folding Using Host Or Scanner 27 How to Recognize Title Block and Document Orientation 27 Usin...
Page 3: ...____________________________________________________________________ _______________________________________________________________________________________________________________________ ___________...
Page 4: ...rom the type of power source indicated on the marking label at the power source If you are not sure of the type of power available consult your power company The power supply cord is the disconnecting...
Page 5: ...s for this operation are given below X only media rolls 22 594mm 24 620mm Y with title block location 1 and 2 between 409 and 460 Y with title block location 3 and 4 only media rolls 17 420mm 18 Media...
Page 6: ...ding and feeding is important LEF Long Edge Feeding SEF Short Edge Feeding LEF means that the print enters into Fan Folder long edge feeding SEF means that the print enters into Fan Folder short edge...
Page 7: ...that exits as shown in illustration 1 is called Portrait Style where a b The print that exits as shown in illustration 2 is called Landscape Style where a b Folding Style Definitions Depending on the...
Page 8: ...Control Panel they will appear in this manual with the following different characters Numeric Control Panel IDLE messages idle Alphanumeric Control Panel IDLE message IDLE Acronyms Acronyms are used...
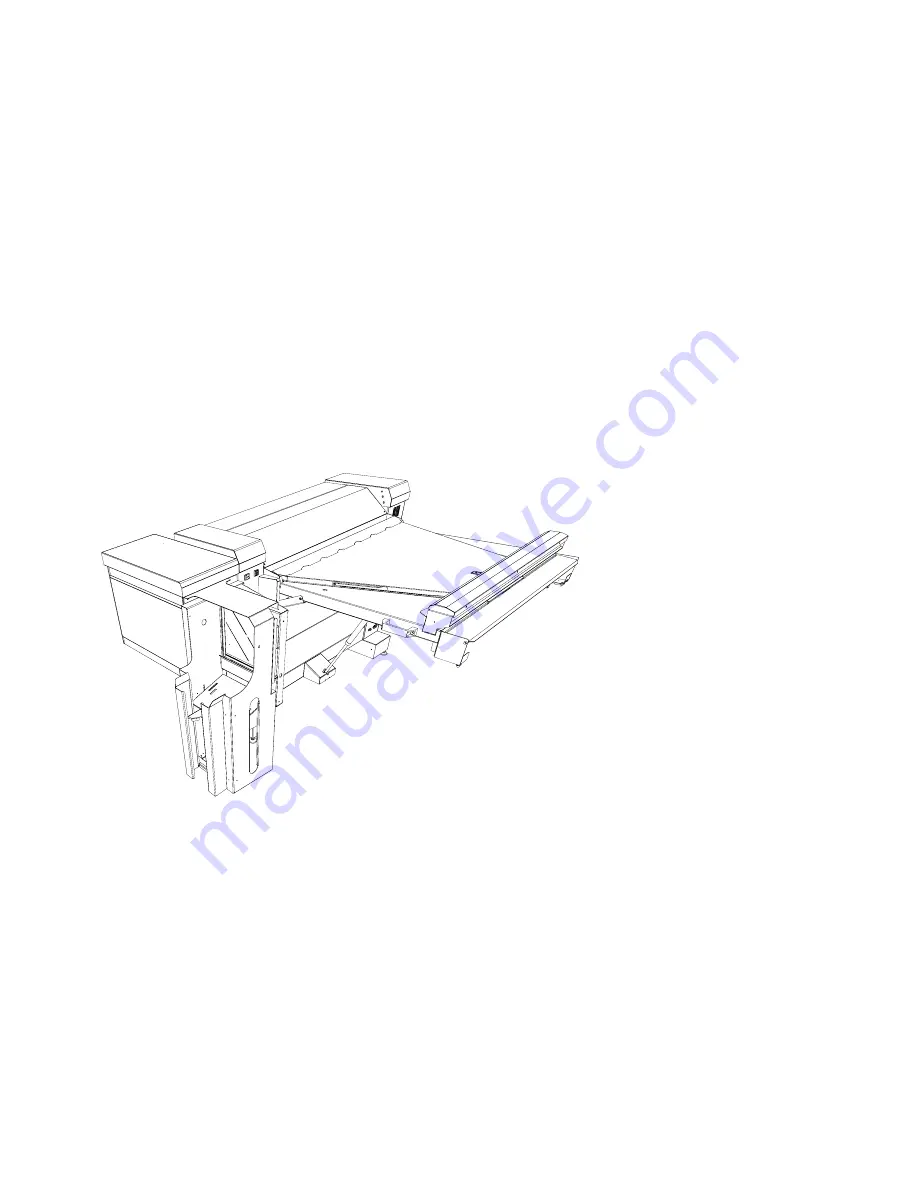
Page 9: ...Insures that the bridge remains fixed in the upright position when lifted BRIDGE DOOR Opens to remove media jams Unfolded prints are delivered to the top surface OUTPUT BIN Folded prints are delivered...
Page 10: ...er Operator Manual 9 Folder Options 112674 ALPHANUMERIC CONTROL OPTIONAL PUNCHING DEVICE Punching of three or four holes in the binding margin OPTIONAL SECOND BIN OPTIONAL BRIDGE ROTATION Provides a 9...
Page 11: ...A0 1189x841mm A0 1189x900mm A0 841x1189mm D 34x22inches D 36x24inches A1 841x594mm A1 841x594mm A1 841x600mm A1 841x594mm C 22x17inches C 24x18inches A2 594x420mm A2 594x420mm A2 594x420mm A2 420x594m...
Page 12: ...b 297mm m 25mm Face Up a b m Face Down a b m Program 190 Message Dimensions Appearance U1 03 190 a 190mm b 297mm Face Up b a Face Down a b Program 190 20 Message Dimensions Appearance U1 04 190 20 a 1...
Page 13: ...earance U1 08 ERICSSON a 190mm b 297mm m 20mm Face Down only a m b Program FRENCH Message Dimensions Appearance U1 09 FRENCH a 210mm b 300mm Face Up a b Face Down a b Program CUSTOM Message Dimensions...
Page 14: ...ce Up a b Face Down a b Program 12 WALLET Message Dimensions Appearance U1 16 WALLET 12 a 12 or 9 b 9 or 12 only perfect sizes 2mm a b Program 7 LANDSCAPE Message Dimensions Appearance U1 17 7 LANDSCA...
Page 15: ...mm Ericsson style can be used with ISO and Ericsson sizes To obtain a perfect Ericsson folded print use only Ericsson sizes Wallet 11 style can be used with Ansi and Architectural size To obtain a per...
Page 16: ...illustration Scroll Keys XXXX Enter key The two LED red and green show the status of the folder The red LED indicates when the folder is busy when it is not ready to fold when it is performing a self...
Page 17: ...T IMPLEMENTED a 04 LOWER POCKET SENSOR COVERED a 10 NOT IMPLEMENTED a 05 CROSS POCKETS SENSOR COVERED a 11 FIRST BIN FULL a 06 24V MISSING a 12 SECOND BIN FULL Other errors Code Description S Not sett...
Page 18: ...description of these submenus If the Folder does not support a particular function then this selection will not be allowed This would happen if the operator chooses punching without the optional punch...
Page 19: ...he scroll key to select the desired program and press Enter to select it The Custom folding program can be selected by the operator but its values fan folding depth cross folding depth and margin can...
Page 20: ...print to obtain equal panels The purpose of the EQUAL option is to obtain a folded print more flat and folded with one less cross fold That is why it does not work with all sizes and styles Only when...
Page 21: ...croll key to select the desired option and press Enter to select it Select FACE UP U3 01 to obtain all the folded prints oriented face up Select FACE DOWN U3 02 to obtain all the folded prints oriente...
Page 22: ...he bins are full the folder stops the print queue Once the prints are removed the print queue restarts SORTER u4 02 The prints will be stacked alternately one for each bin The sorter mode is a mechani...
Page 23: ...ll key to select the desired option and press Enter to select it 4 Select EXIT u5 00 to rise one level If an option is not available code E 14 NOT AVAILABLE SELECTION will appear WARNING The punching...
Page 24: ...ATION 3 03 LOCATION 4 04 STANDARD U6 02 Use this selection for standard sizes ROLL U6 03 Use this menu to set the roll width if the size is not standard LENGTH U6 04 If the size is not standard it is...
Page 25: ...o to the Counter submenu in the Numeric Control Panel in the Alphanumeric Control Panel u OPERATOR U7 COUNTER 4 Enter the last level of the menu to see COPIES FOLDED U7 01 Enter this submenu to view t...
Page 26: ...select a Standard size as follows Go to the STANDARD submenu U6 02 and press Enter to access to the three submenus ISO ISO ANSI ansi ARCH arch The folder shows as default the last selection made by th...
Page 27: ...its This method will allow faster access to the desired value 4 After the last setting go to the FEED IN message U6 06 but do not press Enter Let the display show FEED IN message which allows the Brid...
Page 28: ...hing option is set as default Refer to the Advanced Settings section In the AccXES Client Tools section some folding procedures are explained in detail How to Recognize Title Block and Document Orient...
Page 29: ...arameters Click on the Settings button Choose the Folding Program Use the checkbox Cross to activate deactivate the Cross Folder The Margin checkbox also does not affect the folder working The binding...
Page 30: ...l Solution User Guide for more details on Scanner usage 1 Get the A1 ISO document 2 Select mode Copier on the Scanner Keyboard 3 Click on the Finisher button on the Scanner keyboard Choose the Fold Pr...
Page 31: ...the folder control panel 4 Look at the Advanced Setting section for more options 5 Exit from the Finisher menu and feed the document How to Recognise the Title Block Location The picture below shows t...
Page 32: ...lock Location to Upper Right 2 Save the Job Template as 4 3 Change only the Title Block Location to Upper Left and save another Job Template as 1 4 Create the templates 2 and 3 in the same way With th...
Page 33: ...SIZE LANDSCAPE The file name could be DOCUMENT NAME A1 LANDSCAPE LOWER RIGHT XXX or shortened DOCUMENT NAME A1 LAND LR XXX This way the operator with the ACT can set all the finishing requirements si...
Page 34: ...A0 A1 A2 A3 3 Click on the Job Options icon and choose the Finishing Tab to set the folder options Here it is possible to select the Folder Type the Folding Method the Sort Bin and the Title Block Ch...
Page 35: ...7 5 1 and tag the checkbox Punch Untag the checkbox to deactivate punching Tagging the checkbox Punch with folding methods without margin does not activate the punching device The Margin checkbox also...
Page 36: ...entation it will be automatically folded in the other orientation Refer to the Problem Solving table to troubleshoot face orientation problems For example the folding style 198 only supports Face up I...
Page 37: ...se and Enter mentioned above suspend the queue only if the system is working and the display shows the program selected When the system is in Idle status these keys have their normal function which is...
Page 38: ..._____________________________________________________________________ _______________________________________________________________________________________________________________________ __________...
Page 39: ...Lower Pocket Jams procedure a 04 LOWER POCKET SENSOR COVERED Remove media jam from Lower Pocket and press Reset Refer to the Clearing Upper and Lower Pocket Jams procedure a 05 CROSS POCKETS SENSOR C...
Page 40: ...e or check for a jam in the pockets Refer to the Clearing Upper and Lower Pocket Jams procedure e 08 FOLDING ALARM 3 Perform the Clearing Fan Folder Jams procedure or check for a jam in the pockets Re...
Page 41: ...Eject Procedure Keep the Reset key pressed for more than two seconds Then when the reset key is pressed the rollers start If the reset key is pressed for less than two seconds after a five second del...
Page 42: ...o clear the jammed print automatically If the print is not cleared perform the following steps 1 Press and hold the Reset key for more than two seconds The rollers will then rotate and the Control Dis...
Page 43: ...he Mobile Guide Cover using the two latches B 3 Remove the jammed media 4 If media cannot be removed follow Clearing Mobile Roller Jam procedure 112611 Clearing Lower Pocket Jams 112617 1 Move the lat...
Page 44: ...or B and remove the conveyor guide A 112501 3 Unscrew the Adjusting Pin D 4 Pull the lever block anchor C down on each side while supporting the mobile roller 5 Remove the mobile pinch roller and the...
Page 45: ...d it is not clearable with the Manual Eject Procedure it is possible to remove the knife group and one of the entry shafts to access to the jammed print 112821 2 3 1 Open the Cross Right Door A 2 Try...
Page 46: ...movement and lay all of the group down on the floor 112824 4 Try to remove the jam If not possible operate on the spring support E to remove the entry shaft 5 Remove the jam 6 Remount all the parts B...
Page 47: ...o reload the media Incorrect documents face orientation or folder showing NOT FOLDABLE message A Wrong Title Block information B Size not deliverable with the selected orientation C The document is no...
Page 48: ...in 1 even if the operator selection is Bin 1 A The first bin is full B The sizes that exit the Cross Folder in vertical position Wallet Afnor are always stacked in the second bin A Empty the first bin...
Page 49: ...cal Specification Voltage Requirements 115 Vac 10 60Hz 230 Vac 10 50Hz Power Consumption 4 8 A 50 60Hz 0 6 A standby Audible Noise Impulse Average Continuous 69 dBA max 65 dBA max run NEGLIGIBLE NEGLI...
Page 50: ...rolls usage because it does not print all of the job twice with changing the roll for every document Instead it prints sequentially two copies of each document without loosing time due to changing the...
Page 51: ...perated in a commercial environment Operation of this equipment in a residential area is likely to cause interference in which case the user at his own expense will be required to take whatever measur...