3.5 Printing confidential documents - Secure Print -
71
Control Panel Operations
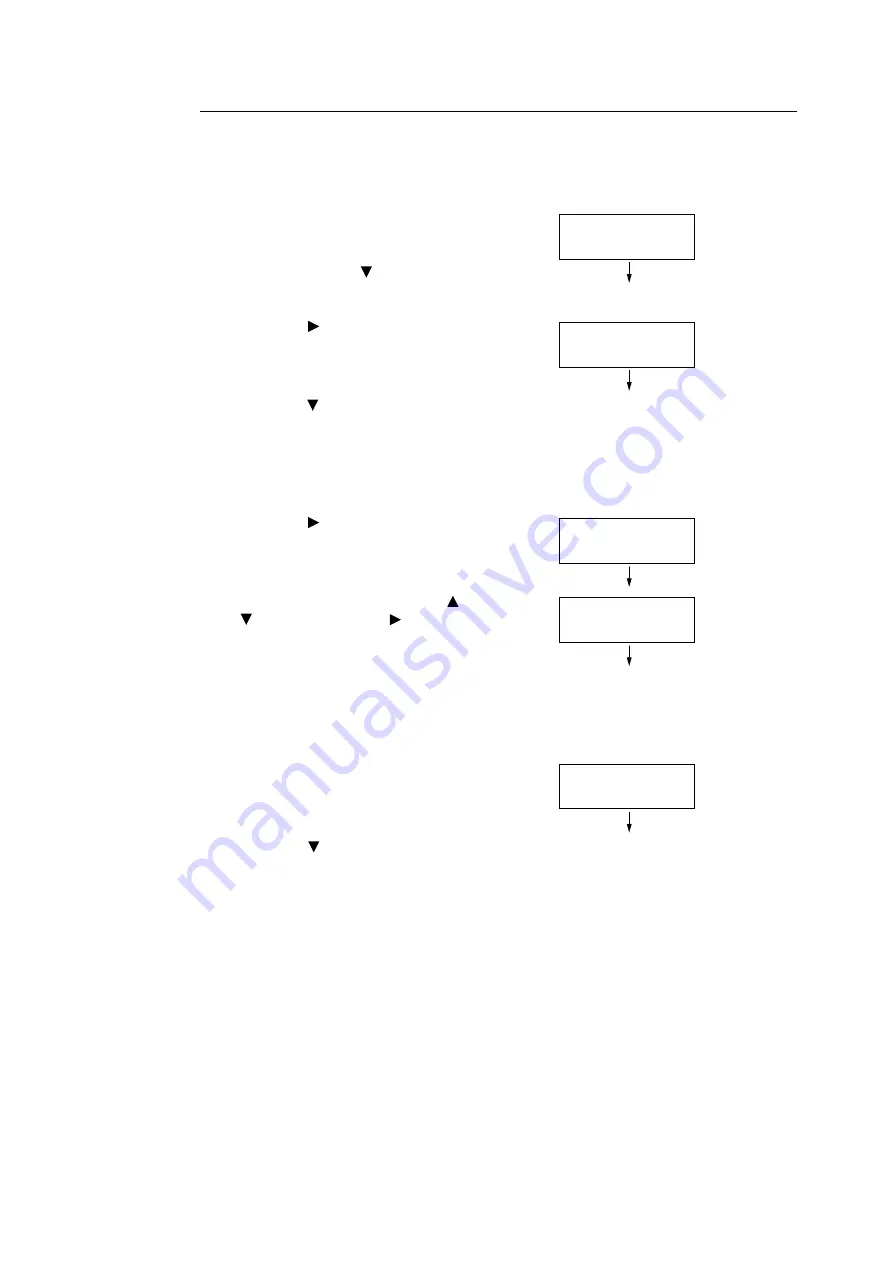
The following explains how to print a Secure Print job stored in the printer.
Note
• To delete a Secure Print job without printing it, select [Delete] after Step 8 in the following procedure.
1.
On the control panel, press the <Secure
Print/Sample Set> button.
If [Pte. Charge Print] appears on the
display, press the < > button until [Secure
Print] appears.
2.
Press the < > or <OK> button to select.
A user ID appears.
3.
Press the < > button until the desired user
ID appears.
Note
• The user ID is the ID set for [User ID] on the [Secure
Print] dialog box of the print driver.
4.
Press the < > or <OK> button to select.
A screen that allows you to enter a
password appears.
5.
Enter your password using the < > and
< > buttons. Use the < > button to move
the cursor.
Note
• Enter the password you specified for [Secure Print
Passcode] on the [Secure Print] dialog box of the print
driver. When a password is not specified, the control
panel will not prompt you for entry of a password.
6.
Press the <OK> button to apply the setting.
A document name appears.
7.
Press the < > button until the desired
document name appears.
Note
• The document name is the name (of up to 12 bytes)
specified for [Document Name] on the [Secure Print]
dialog box of the print driver.
• When more than one document is stored in the printer,
an [All documents] option is also available.
Print Menu
Secure Print
Select User ID
1001.12345678
POK key
[0 ]
POK key
[**7 ]
Select Document
1.Report
Summary of Contents for DocuPrint C2255
Page 1: ...DocuPrint C2255 User Guide ...
Page 176: ...176 6 Troubleshooting 2 Remove the jammed paper 3 Gently close cover C ...
Page 210: ...210 7 Maintenance 12 Close the front cover ...
Page 266: ...266 7 Maintenance 7 Rotate the lever to the right to lock it 8 Close the front cover ...
Page 313: ...Index 313 WSD 26 129 X XeroxStdAccounting 147 XPS 113 XPS file 309 ...


