124
5 Control Panel Settings
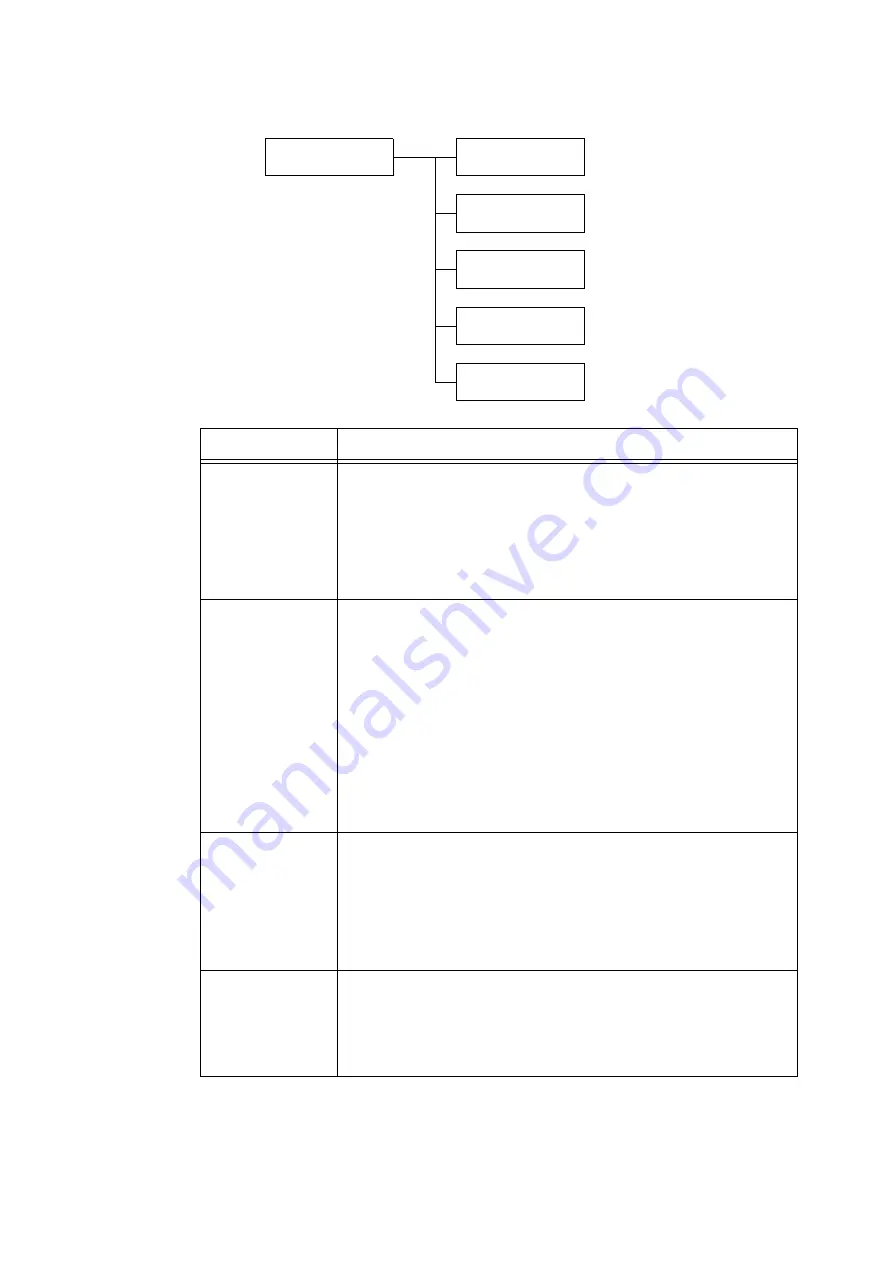
[USB-1 (2.0)]
Network/Port
USB-1(2.0)
USB-1(2.0)
Port Status
USB-1(2.0)
Print Mode
USB-1(2.0)
PJL
USB-1(2.0)
Auto Eject Time
USB-1(2.0)
Adobe Protocol
Setting
Description
Port Status
Sets whether to enable or disable the USB 2.0 (High Speed) port at printer
start-up.
• [Enabled] (default)
• [Disabled]
Important
• When there is not enough memory, either disable unused ports, or change
the memory allocation under [Allocate Memory].
Print Mode
Sets the method of processing data (language emulation).
• [Auto] (default)
After receiving data from a computer, the printer automatically detects its
language emulation and processes the data accordingly. *1 (See P. 171.)
• [PS] [ESCP] [HP-GL/2] [PCL] [TIFF] [KS] [KSSM] [KS5895]
After receiving data from a computer, the printer processes the data with the
selected print language.
• [HexDump]
Allows you to view data received from a computer by printing it in ASCII code
(hexadecimal format). *3 (See P. 171.)
Note
• [KS], [KSSM], and [KS5895] appear when the Korea Font ROM (optional) is
installed.
PJL
Sets whether to enable or disable PJL commands that are sent from the
computer.
PJL commands control print jobs, and are required to print jobs using the print
driver. Use of PJL commands allows you to specify the language emulation for
the next job while another language emulation is being processed by the
printer. *5 (See P. 171.)
• [Enabled] (default)
• [Disabled]
Auto Eject Time
Sets the time that data still remaining on your printer is automatically printed
and ejected when data has continuously not been received.
Set the time with the range 5 to 1275 seconds in 5-second increments. *2 (See
P. 171.) Jobs are judged as finished when the next data is not received within
the time set here, after the last data has been received.
• [30 Seconds] (default)
Summary of Contents for DocuPrint C2255
Page 1: ...DocuPrint C2255 User Guide ...
Page 176: ...176 6 Troubleshooting 2 Remove the jammed paper 3 Gently close cover C ...
Page 210: ...210 7 Maintenance 12 Close the front cover ...
Page 266: ...266 7 Maintenance 7 Rotate the lever to the right to lock it 8 Close the front cover ...
Page 313: ...Index 313 WSD 26 129 X XeroxStdAccounting 147 XPS 113 XPS file 309 ...


