USB
Xerox
®
B205 Multifunction Printer
User Guide
124
Scanning to a USB Drive
You can scan a document and store the scanned file on a USB Flash drive. The Scan to USB function
produces scans in .jpg, .pdf, .pdf (a), .xps, and .tif file formats.
Note:
•
If the device is in Power Saver mode, before proceeding with the USB scan, to wake the
device, press the Power On button.
•
Only USB Flash drives formatted to the typical FAT32 file system are supported.
To scan to a USB Flash drive:
1.
Insert the USB Flash drive into the USB memory port on the printer.
2.
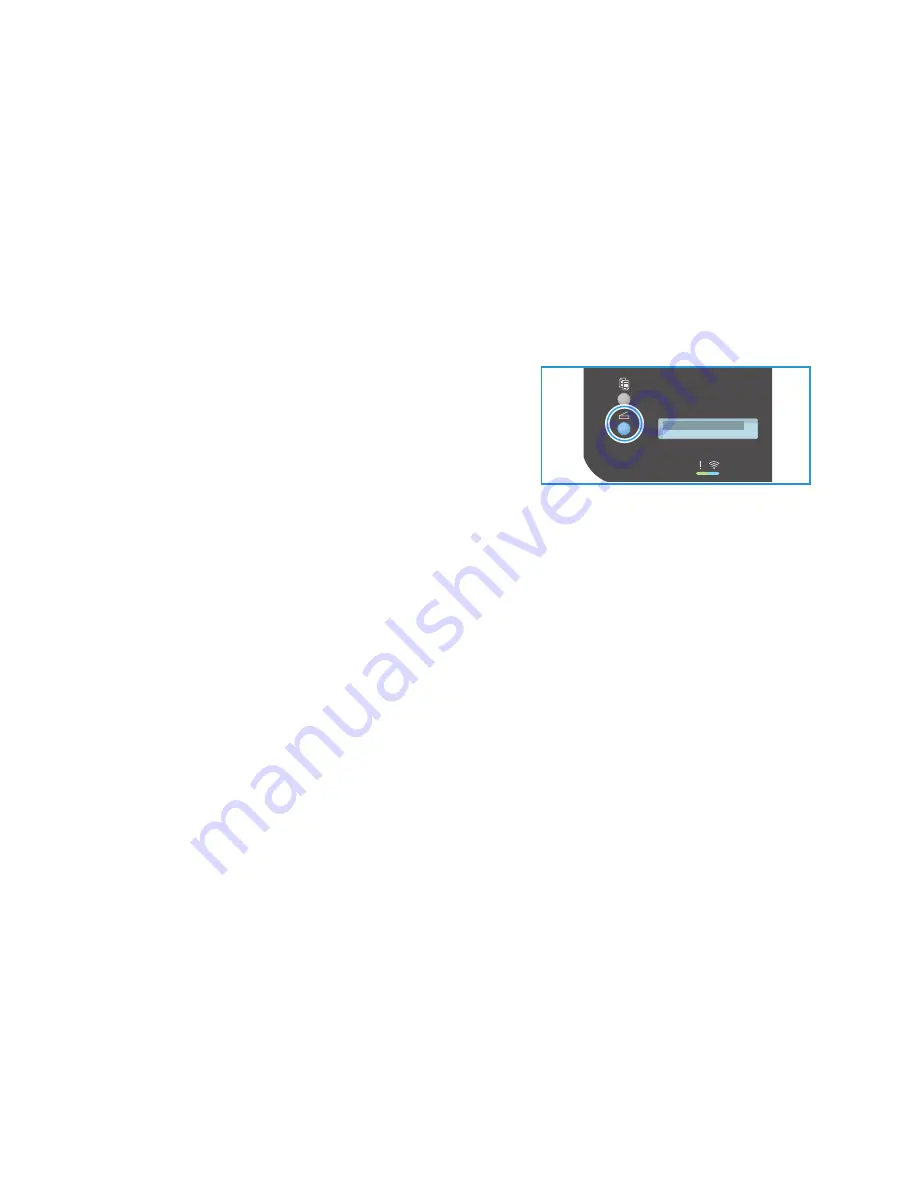
At the printer control panel, press the
Scan
button.
3.
Press the
up/down
arrows to display
Scan to USB
and
press
OK
.
The available space on the USB drive is displayed.
4.
The device begins scanning the original, and then asks if
you want to scan another page.
To scan another page, press the
up/down
arrows to select
Yes
and press
OK
. Load an original and
press
OK
. Otherwise, select
No
and press
OK
.
The images are scanned and saved on the USB drive.
5.
When you are finished, remove the USB Flash drive.
Summary of Contents for B205
Page 1: ...Version 1 0 august 2019 702P07600 Xerox B205 Multifunction Printer User Guide...
Page 43: ...More Information Xerox B205 Multifunction Printer User Guide 41...
Page 100: ...Setting Up the Services Xerox B205 Multifunction Printer User Guide 98...
Page 240: ...Software Verification Test Xerox B205 Multifunction Printer User Guide 238...
Page 269: ...Other Countries Xerox B205 Multifunction Printer User Guide 267...
Page 270: ......


