3 Copy
74
Copy
3
Edge Erase (Erasing Edges and Margin Shadows of the Document)
When you copy a document with the document cover open or when you copy a book,
the edges and center margin of the document may be printed as black shadows. The
Edge Erase feature allows you to erase such shadows.
Important •
Ensure that the orientation of the document and the [Original Orientation] setting of the
[Layout Adjustment] screen are the same.
Note
•
For 2-sided originals, the same edge erase amounts are set for the front and back sides.
•
If you set [Reduce/Enlarge], the edge erase amounts will be reduced or enlarged in
proportion to the ratio you configured.
For information on the areas that can actually be printed, refer to "Printable Area" (P.547).
1
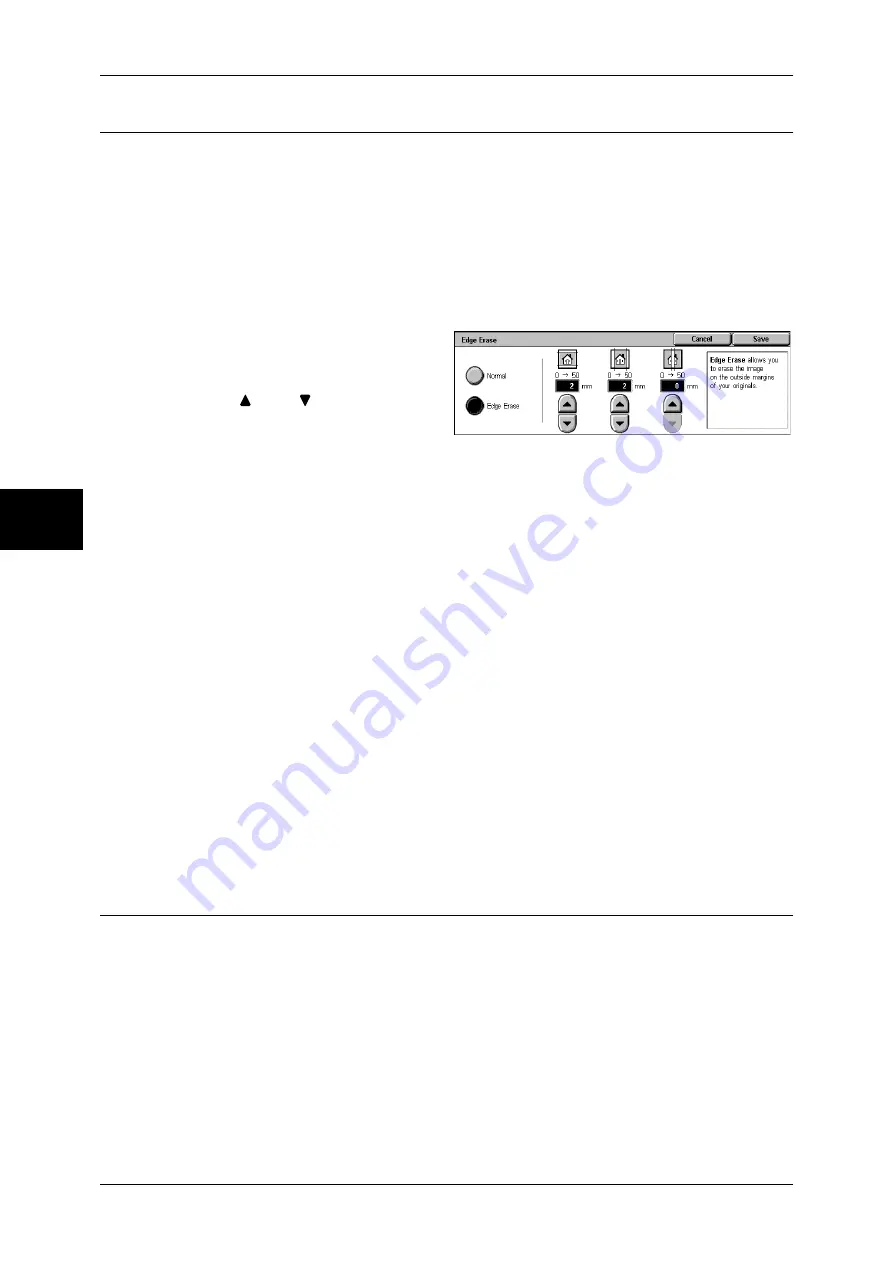
Select [Edge Erase].
2
Select [Edge Erase].
3
Use [
] and [
] to set the width to
erase for each of the top and
bottom, left and right, and center.
Normal
Sets the Edge Erase amounts to 2 mm for the top and bottom, and left and right edges.
If you do not want to erase edges, select [Edge Erase] and then specify 0 mm for the
required edges.
Edge Erase
Allows you to specify Edge Erase values.
z
Top & Bottom Erase
Erases the shadows of top and bottom edges of the document in accordance with
the orientation of the loaded document. You can set the edge erase width within the
range from 0 to 50 mm in 1 mm increments.
z
Left & Right Erase
Erases the shadows of left and right edges of the document in accordance with the
orientation of the loaded document. You can set the edge erase width within the
range from 0 to 50 mm in 1 mm increments.
z
Binding Erase
Erases the shadow in the center of facing pages of a bound document. You can set
the binding erase width within the range from 0 to 50 mm in 1mm increments.
Image Shift (Adjusting the Image Position)
This feature allows you to shift the position of document images so that the images are
placed on the left, right, top, bottom, or center of paper. You can also adjust the
amounts of the left, right, top, and bottom margins. If you make 2-sided copies, you can
adjust the image positions for [Side 1] and [Side 2] individually.
Important •
Ensure that the orientation of the document and the [Original Orientation] setting of the
[Layout Adjustment] screen are the same.
Note
•
The settings made for the Image Shift feature are set in accordance with paper. They are not
affected by the Reduce/Enlarge settings.
Summary of Contents for ApeosPort-II 3000
Page 1: ...ApeosPort II 5010 4000 3000 DocuCentre II 5010 4000 User Guide...
Page 14: ......
Page 54: ......
Page 139: ...Layout Adjustment 137 Fax 4 Off No stamp is added On A stamp is added...
Page 254: ......
Page 350: ......
Page 406: ......
Page 538: ......
Page 599: ...17 Glossary This chapter contains a list of terms used in this guide z Glossary 598...
Page 618: ......


