XJ128 and XJ128 Plus Printhead
XJ128 Guide to Operation
Xaar Document no: D031010302 Version A
Page 53
Photoshop
example:
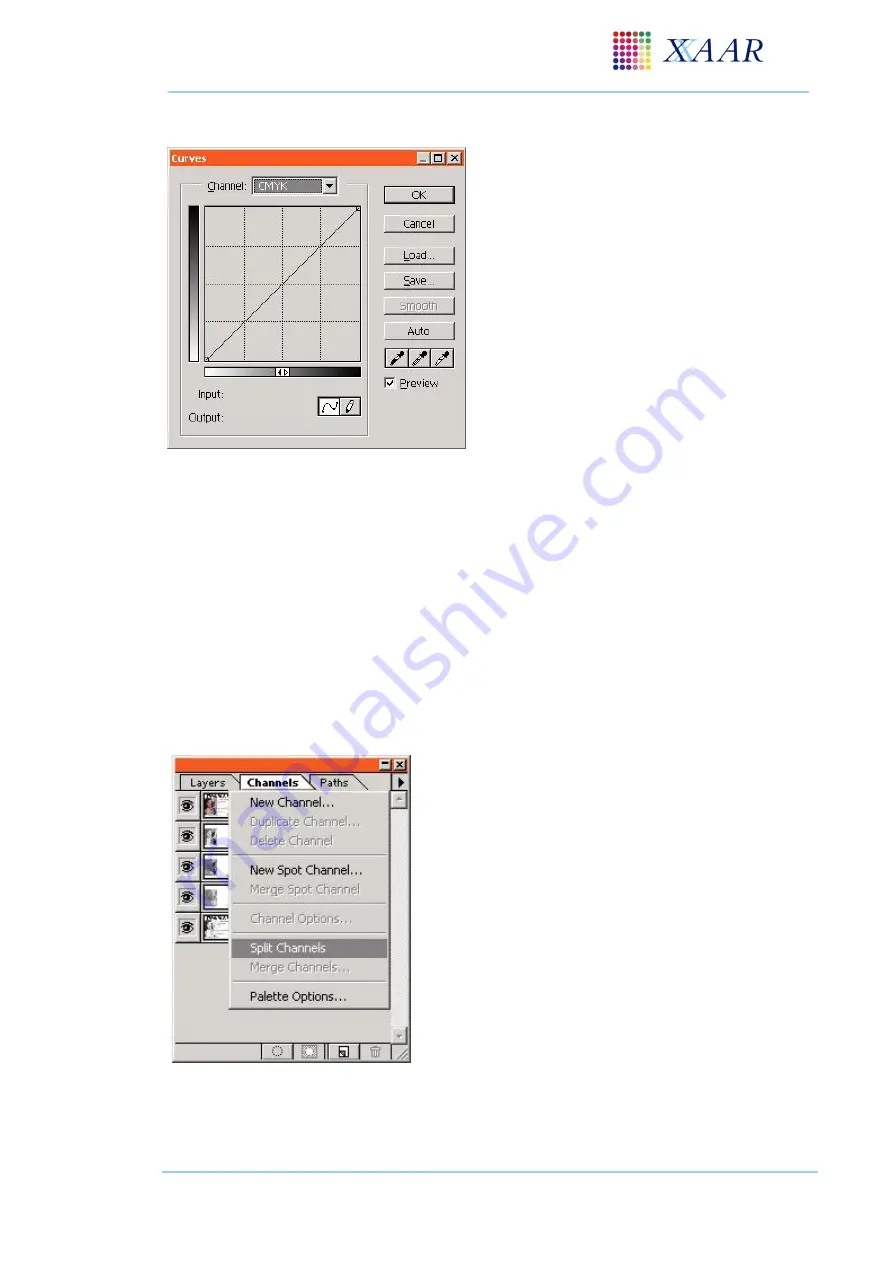
With the image selected chose the
‘
Image
’
menu followed by the
‘
Adjust
’
menu and
then
‘
Curves
’
The curve can be manually adjusted or a
previously saved curve file may be loaded.
These curves have a file format of .acv.
The image can be manipulated in two
ways. Either each channel can be adjusted
separately or all four component colours
can be adjusted at the same time. These
can be chosen from the drop down menu in
the curves dialogue box.
Figure 9.5 - Curves dialogue in Photoshop
Note: A curve (or any other form of image suppression) may only be performed on a
‘
CMYK
’
or
‘
greyscale
’
image format. It is not possible to adjust an image when it is in its final 1
-bit bitmap
printing format.
9.2.5 Splitting ink channels
Before printing a colour image it must be split into its component colour channels
–
C, M, Y and K.
This can be performed by a number of pieces of image processing software including Photoshop
.
Photoshop
example:
Ensure the image is selected and in correct colour
mode
From the
‘
window
’
menu select
‘
show channels
’
Select the small triangle from the resulting box to
pull down the channel menu. Select
‘
split
channels
’
Monochrome images of the 4 colour channels are
now produced
Figure 9.6 - Channels dialogue box in Photoshop


