background image

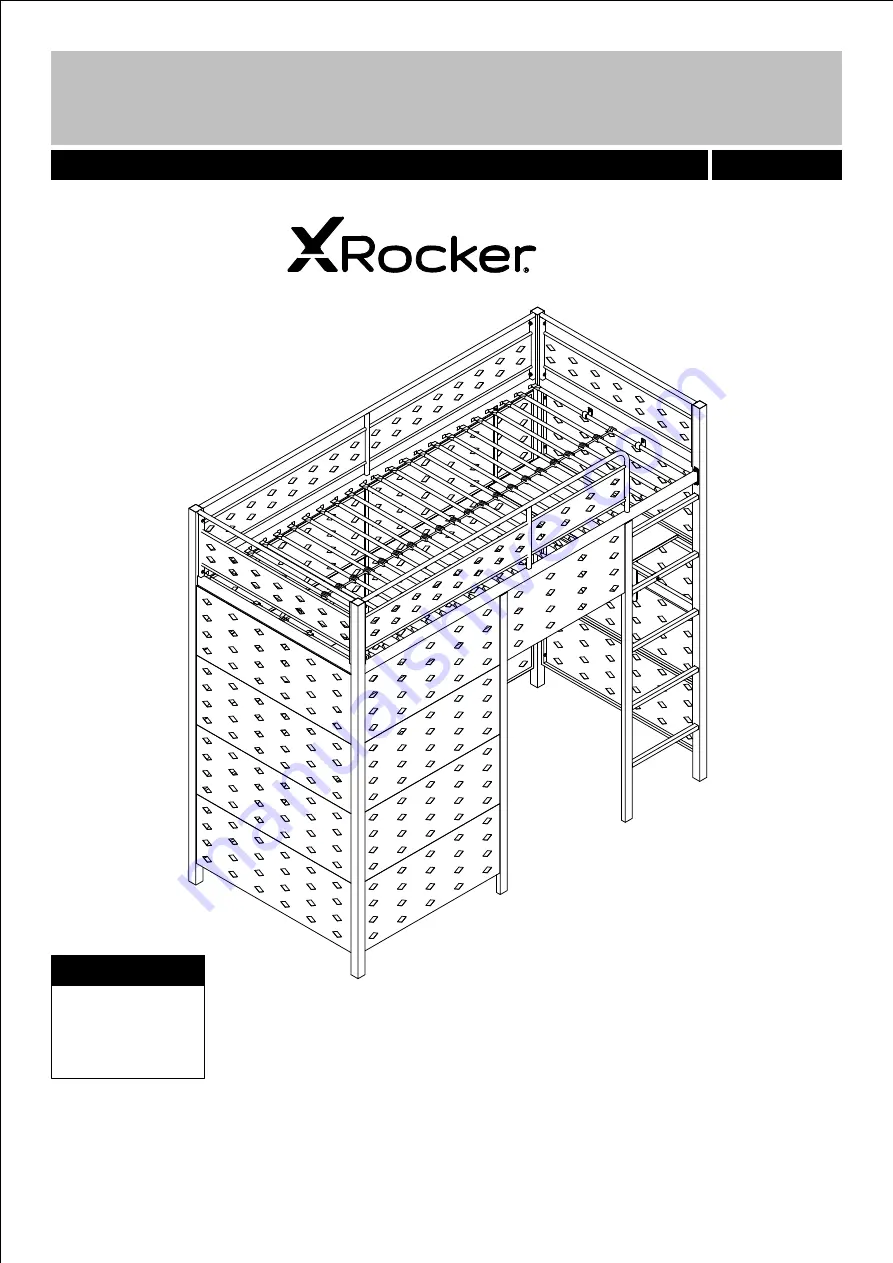
BATTLE DEN GAMING BUNK BED

IMPORTANT - READ CAREFULLY - RETAIN FOR FUTURE REFERENCE

1


Need Help?  Contact X Rocker at :

www.xrockeruk.com/pages/support

IMPORTANT: You must keep your original retail receipt as proof of purchase.

Dimensions 

Width -197.5cm

Depth - 96cm

Height - 183cm


JZ00-09/15/2020

Summary of Contents for BATTLE DEN 2020118

Page 1: ...CAREFULLY RETAIN FOR FUTURE REFERENCE 1 Need Help Contact X Rocker at www xrockeruk com pages support IMPORTANT You must keep your original retail receipt as proof of purchase Dimensions Width 197 5c...

Page 2: ...face during use Assemble on a soft level surface to avoid damaging the unit or your floor Keep these instructions for further use To ensure an easier assembly we strongly advise that al fittings are o...

Page 3: ...not exceed 75 mm or shall be more than 230 mm d WARNING Do not use the bunk bed high bed if any structural part is broken or missing e Always follow the manufacturer s instructions f The recommended s...

Page 4: ...Please check you have all the panels listed below Components Panels 4 1 2 3 4 7 7 13 12 22 31 53 53 53 53 53 53 14a 16 15 50 52a 52c 52c 52c 52c 52d 55a 55b 23a 23b 52a 52b 52b 55c 60 31...

Page 5: ...ase check you have all the panels listed below Components Panels 5 Post 01 x 1 1 2 3 4 Post 02 x 1 Post 03 x 1 Post 04 x 1 13 12 7 50 Rear Guard Rail x 1 Front Guard Rail x 1 End Guard Rail x 2 Shelf...

Page 6: ...nels listed below Components Panels 6 52b 52a Rear Mesh Panel 02 x 2 Rear Mesh Panel 01 x 2 53 Side Mesh Panel x 8 Front Mesh Panel 01 x 4 52c 52d Front Mesh Panel 02 x 1 22 Ladder x 1 23a Support Pos...

Page 7: ...ll the panels listed below Components Panels 7 55a 55b 55c Shelf Support Rail 02 x 1 Shelf Support Rail 03 x 2 14a 31 16 15 Slats x 24 Slat Spacer x 23 Plastic Plug x 48 Bracket x 4 Shelf Support Rail...

Page 8: ...30 35 40 45 50 55 60 65 70 75 80 85 90 95 100 105 110 115 120 125 130 135 140 145 150 155 160 165 170 0 5 10 15 20 25 30 35 40 45 50 55 60 65 70 75 80 85 90 95 100 105 110 115 120 125 130 135 140 145...

Page 9: ...Assembly Instructions 9 1 Step 7 Attach End Guard Rail x 1 to Post 01 and Post 02 with 1 C C 4mm 75 1 2 7 C 1 7 C 4PCS M6 X 30MM K 1PC 4MM 2...

Page 10: ...Assembly Instructions 10 2 Step C M6 X 30MM 4PCS K 1PC 4mm 75 3 7 4 3 7 C C 4MM 7 4 C 3 Attach End Guard Rail x 1 to Post 03 and Post 04 with...

Page 11: ...ons 11 3 Step 4mm 75 4 3 1 2 13 3 13 C M6 X 30MM 4PCS H I J K 4MM 1PC M6 Spring Washer 4PCS 4PCS 4PCS M6 Metal Washer M6 Plastic Washer C C H I J J I H Attach Rear Guard Rail to Post 02 and Post 03 wi...

Page 12: ...Assembly Instructions 12 4 Step 22 4 E M6 X 25MM 5PCS K 4MM 1PC 4mm 75 Attach Ladder to Post 04 with 22 4 E...

Page 13: ...M 2PCS M6 Spring Washer H I M6 Metal Washer 4PCS 4PCS 1PC K 4MM 4PCS M6 Plastic Washer J 2PCS M6 X 25MM E 1 4 12 4mm 75 12 1 4 C H I J C H I J E E H H I I J J Attach Front Guard Rail to Post 01 with a...

Page 14: ...Assembly Instructions 14 6 Step F M6 X 19MM 2PCS K 4MM 1PC 4mm 75 23a 22 12 12 12 23a 22 F F Attach Support Post 01 to Front Guard Rail with Then screw to Ladder 23a F 22 12 F...

Page 15: ...Assembly Instructions 15 7 Step 4mm 75 F M6 X 19MM 1PC K 4MM 1PC F 13 13 23b 13 23b F Attach Support Post 02 to Rear Guard Rail with 23b...

Page 16: ...Assembly Instructions 16 8 Step K 4MM 1PC A M6 X 45MM 4PCS 4mm 75 Attach Shelf Support Rail 03 x 2 to Shelf Support Rail 01 and Shelf Support Rail 02 with 55c 55b A 55a 55c 55c 55a 55b A A A A...

Page 17: ...4PCS K 4MM 1PC F M6 X 19MM 3 23b 4 22 55a 55b 55a 23b 55b 3 F F B Attach Shelf Support Rail 01 to Post 03 and Post 04 with then Shelf Support Rail 02 to Support Post 02 and Ladder with 55a 55b 3 4 23b...

Page 18: ...Assembly Instructions 18 10 Step 4MM K 1PC D M6 X 28MM 4PCS D D D D 4mm 75 50 55c 55b Attach Shelf to Shelf Support Rail 03 x 2 and Support Rail 02 with 55c 50 55b D...

Page 19: ...Assembly Instructions 19 11 Step K 4MM 1PC E M6 X 25MM 32PCS 4mm 75 1 2 53 3 4 53 53 3 E E 53 53 53 Attach Side Mesh Panel x 8 to Post 01 Post 02 and Post 03 Post 04 with 53 1 2 3 4 E...

Page 20: ...Assembly Instructions 20 12 Step 4mm 75 E M6 X 25MM 16PCS K 4MM 1PC 1 52c 23a 1 52c E E Attach Front Mesh Panel 01 x 4 to Post 01 and Support Post 01 with 52c 52c 52c 52c 1 23a E 23a 52c E E...

Page 21: ...Assembly Instructions 21 13 Step E M6 X 25MM 4PCS K 4MM 1PC 4mm 75 52d 23a 22 23a E E Attach Front Mesh Panel 02 to Support Post 01 and Ladder with 52d 23a 22 E 52d E E 22...

Page 22: ...6 X 35MM 6PCS 2 E M6 X 25MM 16PCS 3 2 52a 52a 52b 52b L 1PC Wrench E E B G 52b 52a 52a 52b Attach Rear Mesh Panel 01 x 2 and Rear Mesh Panel 02 x 2 to Post 02 and Post 03 with 52b 52a E Attach Rear Me...

Page 23: ...Assembly Instructions 23 15 Step 4mm 75 F M6 X 19MM 4MM K 1PC 4PCS 3 4 60 3 60 F F Attach TV Mount to Post 03 and Post 04 with 60 3 F 4...

Page 24: ...mbly Instructions 24 16 Step 12 14a 15 13 13 13 14a 14a a Secure the Slats to Rear Guard Rail and Front Guard Rail b Secure the Plastic Plug to Rear Guard Rail and Front Guard Rail a b 14a 13 12 15 13...

Page 25: ...Assembly Instructions 25 17 Step 16 14a 16 14a Secure Slats Spacer to Slats 16 14a...

Page 26: ...Assembly Instructions 26 18 Step M6 X 19MM 4PCS F K 4MM 1PC 7 7 31 4mm 75 31 7 31 14a 7 31 14a 14a Attach Bracket x 4 to End Guard Rail x 2 with 31 7 F F...

Page 27: ...Instructions 27 19 Step 100 4mm Note The TV mount mates with M6 screw If you re using M4 screw to assemble the TV screen please use part M washer as provided to make sure M4 screw could be also workab...

Reviews: