2720 HD
Saw Guide
Please Read Carefully!
Parts List:
Part Description
Quantity
2720B
X-Large Saw Guide Base - 26" capacity . . . .1
2720T
29-1/2" One Track - Saw Fence . . . . . . . . . . .1
2715A
16" Work Fence w/Grip Tape . . . . . . . . . . . . .1
MF005
1/2" Flat Head Screw . . . . . . . . . . . . . . . . . . . .4
MF010
3/4" Flat Head Screw . . . . . . . . . . . . . . . . . . . .2
5760B
Oval Nut . . . . . . . . . . . . . . . . . . . . . . . . . . . . . . .6
Identify and verify that you have all the parts listed.
You'll need a #3 Phillips screwdriver for assembly. Read
thru the instructions at least once before any assembly.
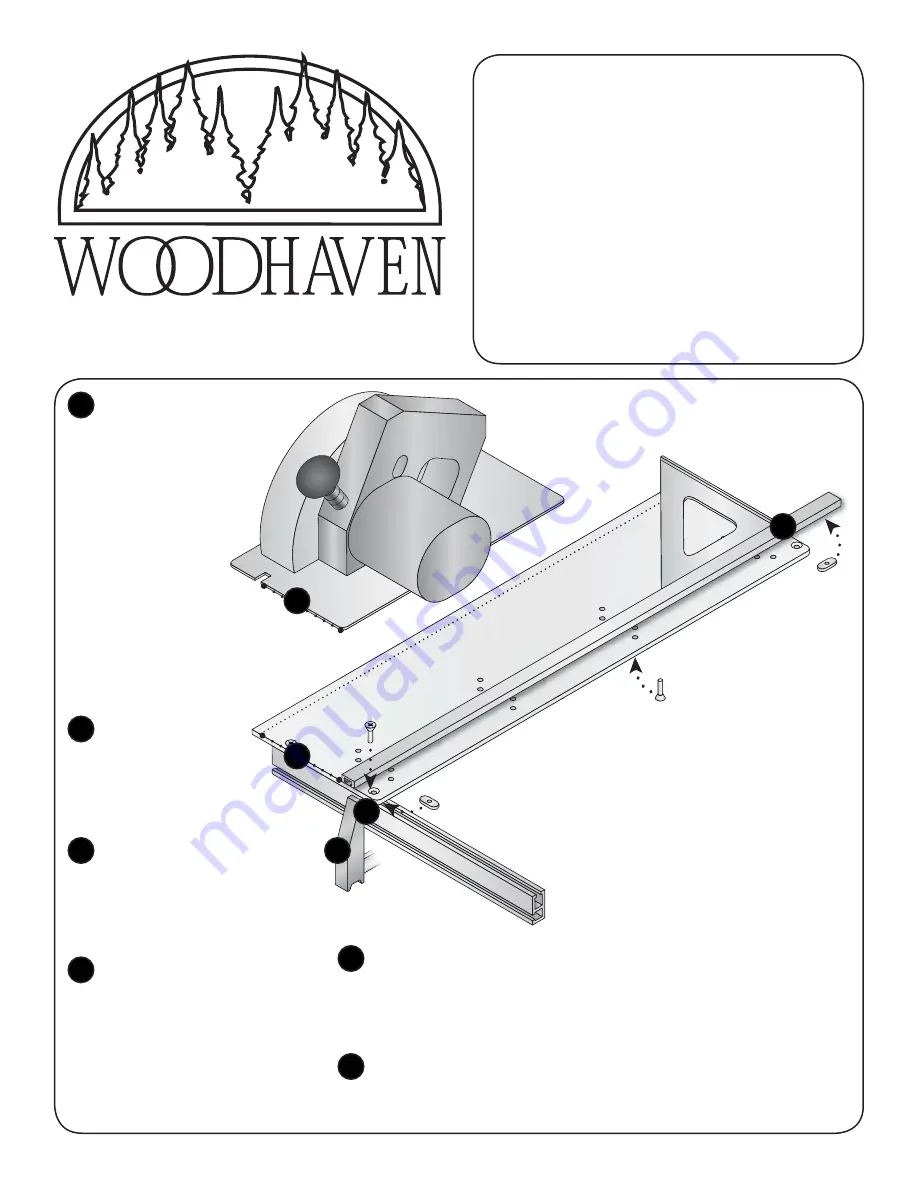
The Work Fence
(2715A)
can
be mounted at the front
(shown)
or back
(shown on back
page)
of the Guide Base
(2720B)
depending on your preferance.
Where you mount it also
depends on whether your saw
is a right or left hand model
(right hand shown)
. Install
the Work Fence, with
its grip tape facing the
Guide Base and even
with the front or back edge
of the Guide Base, using two 3/4"
flat head screws
(MF010)
and two oval
nuts
(5760B - flat side first)
. Position its
end at least 1" away from the Guide Base
edge to clear the eventual blade path.
Determine position
of Saw Fence
(2720T)
from the edge of the
Guide Base by measuring
the wide part of your saws
base edge-to-blade distance.
Based on this measurement,
select the mounting holes for the
Saw Fence to the Guide Base that
will allow a clean cut along the entire
edge of the Guide Base while removing the
least amount
(1/2" or less)
of material.
Install and square the Saw Fence
in selected position on Base using
four 1/2" flat head screws
(MF005)
and four oval nuts
(5760B - flat side
first)
. Position one end of the Saw Fence
even with the outfeed edge of the Base
and the opposite end overhanging the
infeed edge of the Base about 2-3/4".
The overhanging Saw Fence is the
end you start feeding the saw from.
5760B x2
5760B x4
MF005 x4
MF010 x2
2720B
27
20
T
Cl
am
p
Ri
gh
t-H
an
d
Ci
rc
ul
ar
Sa
w
271
5A
Squa
re
B
A
B
C
D
D
A
E
C
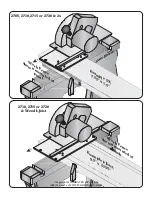
Set the cut depth of your saw so the underside of the saw
motor clears the top of the 3/8" tall Saw Fence. Approximate
max depth of cut with a 7-1/4" saw is 2-3/16".
Clamp or hold the HD Saw Guide/Work Fence against a scrap piece of
2x material, power on your saw and run it along the Saw Fence to trim the
Guide Base. It is now zeroed out with a clean edge and ready for use.
Use the zero clearance edge to position the
HD (Heavy Duty) Saw
Guide
where required on the work, clamp or hold it in position and
make the cut. Can be used outside without damage from rain, etc.
E
F


