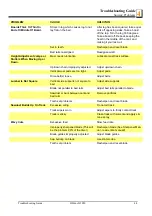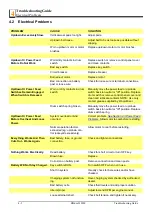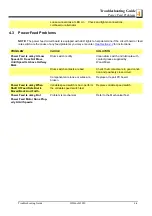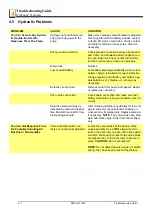
Sawmill Alignment
Pre-Alignment Procedures
5
5-1
doc012020
Sawmill Alignment
SECTION 5 SAWMILL ALIGNMENT
5.1
Pre-Alignment Procedures
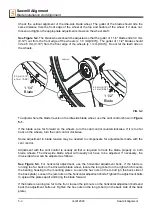
The Wood-Mizer sawmill is factory aligned. Two alignment procedures are available to realign the
sawmill if necessary. The Routine Alignment instructions should be performed as necessary to solve
sawing problems not related to blade performance. The Complete Alignment procedure should be
performed approximately every 1500 hours of operation (sooner if you regularly transport the sawmill
over rough terrain).
Routine Alignment Procedure:
1.
Install and track the blade (
).
2.
Check the angle of the blade in relation to the bed rails and adjust the lower track rollers if necessary
(
).
3.
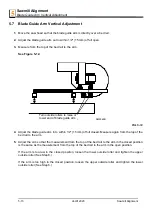
Check and adjust the vertical alignment of the blade guide arm (
).
4.
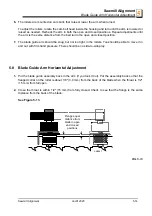
Check and adjust the horizontal alignment of the blade guide arm (
).
5.
Check and adjust the vertical angle of the blade guides (
).
6.
Check and adjust the horizontal angle of the blade guides (
).
7.
Check and adjust the spacing between the blade guide flanges and the back of the blade (
).
8.
Check and adjust the horizontal angle of the side supports (
9.
Check and adjust the vertical angle of the side supports (
10.
Check that the blade height scale accurately displays the actual distance from the bottom of the
blade to the bed rails and adjust if necessary (
).
Complete Alignment Procedure:
Perform all steps in this section to completely realign the sawmill.
5.2
Frame Setup
Stationary sawmills should be setup on firm, level ground before proceeding with alignment. Shim
the feet so the weight of the sawmill is evenly supported.
Portable sawmills should also be setup on firm, level ground:
LT40S:
Adjust the two middle outriggers on the main frame tube down just enough to lift weight from

