


15
UI Element Description
Network
For network settings in the switcher
’
s LAN port.
IP Mode
Select an IP mode from DHCP and Static.
By default, it
’
s set as
Static
.
IP Address
Set IP address manually for the switcher when Static mode is selected.
Netmask
Set subnet mask manually for the switcher when Static mode is selected.
Gateway
Set gateway address manually for the switcher to communicate with another
network that uses different communication protocols when Static mode is
selected.
DNS Server
1
Set DNS server manually for the switcher to ensure normal network
communication.
DNS Server
2
Apply
Click to save and perform current settings.
Note:
After changing the IP settings, please refresh the Web UI page to
re-login.
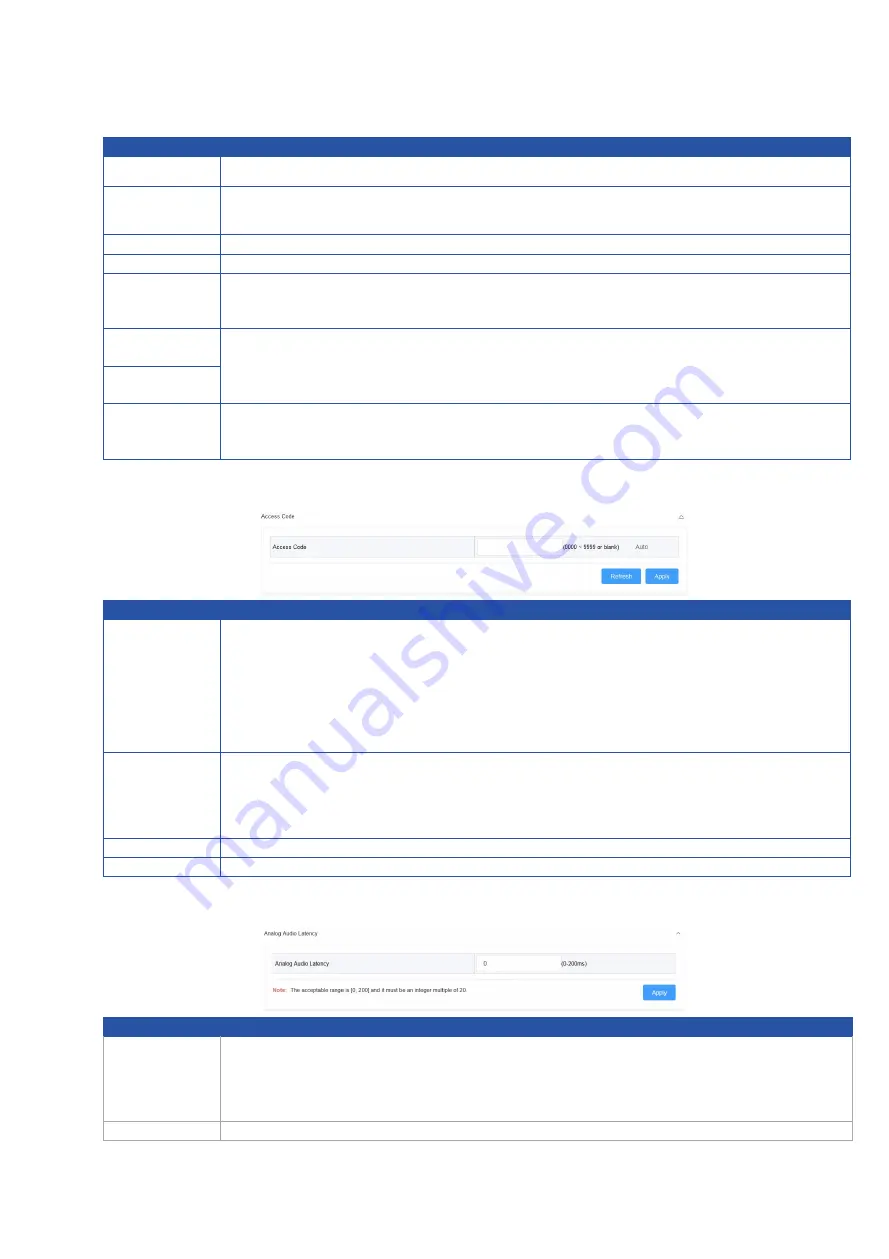
Access Code
UI Element Description
Access
Code
Enter a four-digit access code to help prevent users from accidentally
connecting to an unintended device and protect from an unauthorized access.
When an access code is configured, it appears on the upper right corner of
the display.
If you don
’
t want to set access code, you can enter nothing here.
By default, it
’
s set as blank.
Auto
When
“
Auto
”
is checked, the switcher will randomly generate a four-digit
access code in the following cases:
The switcher switches to Guide Screen for output.
The switcher reboots.
Refresh
Click to refresh to the latest access code.
Apply
Click to perform current settings.
Analog Audio Latency
UI Element Description
Analog
Audio
Latency
Input a digit to set the latency time for analog audio signal output.
By default, it
’
s set as zero.
Note:
The digit should be within the range from 0 to 200 and must be an
integer multiple of 20.
Apply
Click to perform current settings.


