background image

14_


menu settings

menu settings

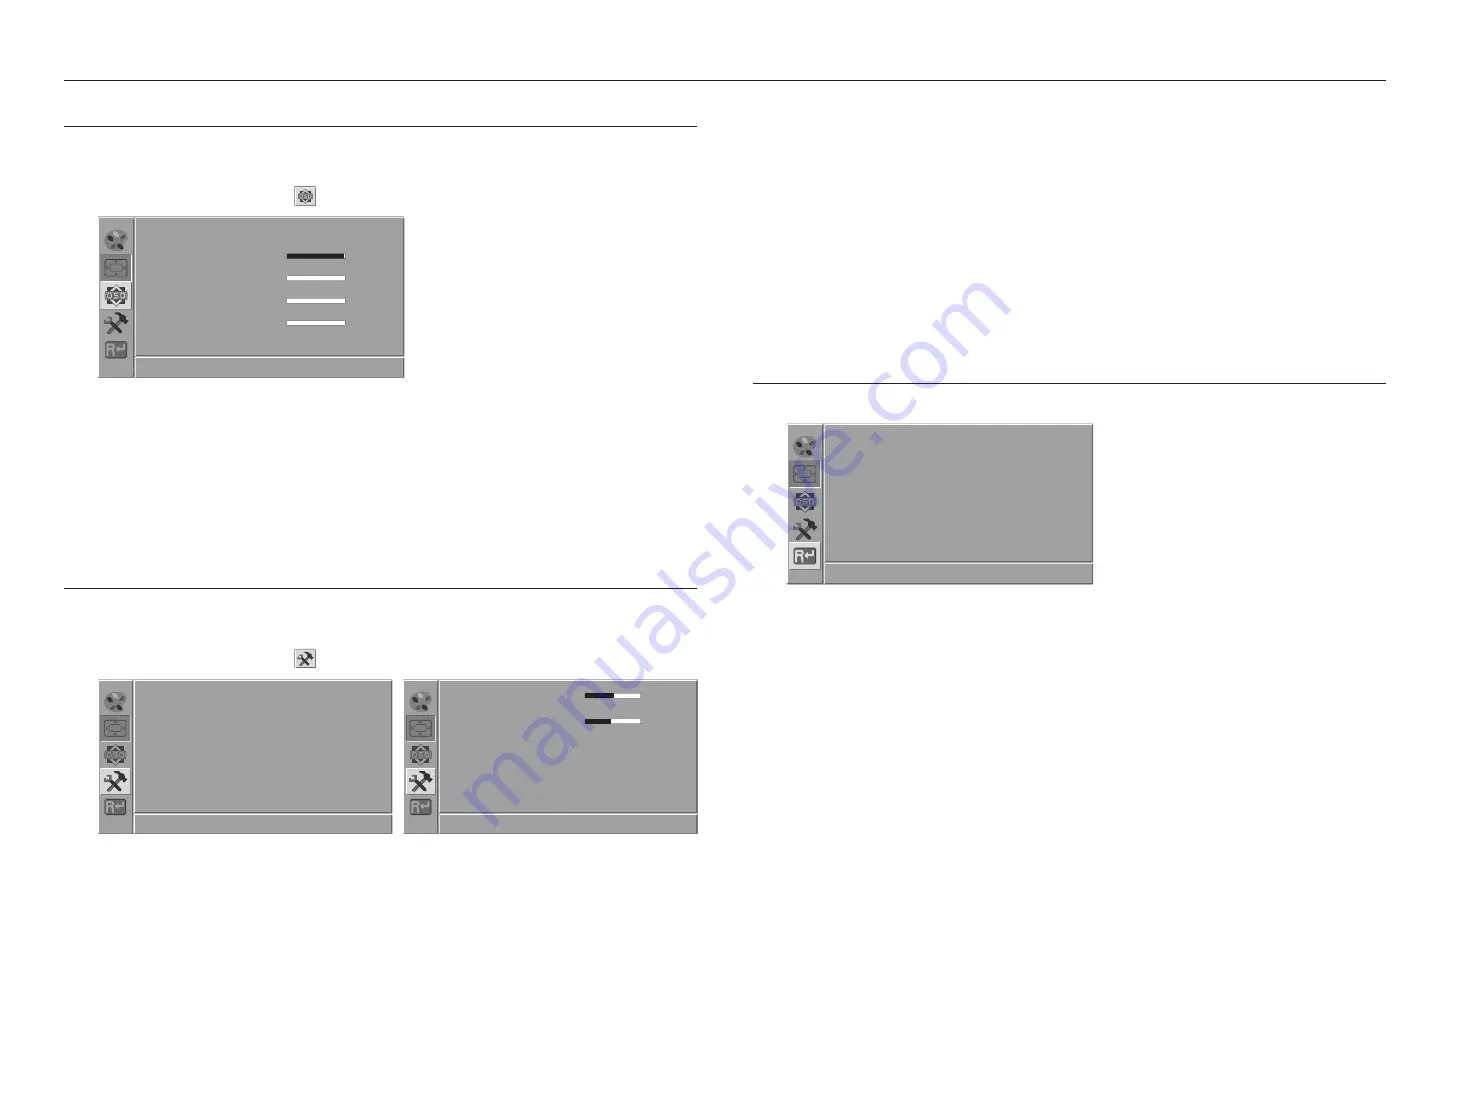
OSD SETTINGS

Sets up OSD values.

1. 

Press the [

MENU

] button to enter the main menu.

2. 

Press the 

$

/

%

 button to select [ 

 ] icon, and then press the [

OK

] button.

Language English

OSD H.Pos  

99  - 

 +

OSD V.Pos  

 +

OSD Time Out 

 +

Transparency  

 +

1280x1024@60Hz


~

Language : Select the screen language. The initial value is set to <

English

>.


~

OSD H.Pos : Moves the screen of the menu to the left or right.


~

OSD V.Pos : Moves the screen position of the menu up or down.


~

OSD Time Out : The menu screen disappears if the screen does not change for a certain period of time.


~

Transparency : Sets the transparency of the menu screen.

SYSTEM SETTINGS

Configures the system.

1. 

Press the [

MENU

] button to enter the main menu.

2. 

Press the 

$

/

%

 button to select [ 

 ] icon, and then press the [

OK

] button.

Scene  

PC   Game   Movie   Eco

Input  

HDMI                          DP

Aspect Ratio  

16:9           Auto         4:3

Active Contrast 

On                             Off

Response Time  

On                             Off

1280x1024@60Hz

Dark Brightness  

50  - 

 +

Volume  

48  - 

 +

Mute  

On                             Off

DDCCI 

On                             Off

1280x1024@60Hz


~

Scene : Select a screen mode appropriate for your viewing environment.


-

PC : A screen mode appropriate for document editing and internet environment.


-

Game : A screen mode appropriate for games.


-

Movie : A screen mode appropriate for movies.


-

Eco : A screen mode that saves energy by adjusting the screen brightness.


~

Input : You can select an input mode.


~

Aspect Ratio : You can select a screen size you want.


-

16:9 : Screen ratio is 16:9.


-

Auto : The optimal aspect ratio changes to 4:3 or 16:9 depending on the input signal.


-

4:3 : Screen ratio is 4:3.


~

Active Contrast : Setting Active Contrast to [

On

] adjusts the contrast of the screen. 


~

Response Time : Determines the use of the response time.


~

Dark Brightness : Adjusts the dark intensity of the screen.


~

Volume : Adjusts the volume.


~

Mute : Determines the use of the mute function.


~

DDCCI : Determines the use of the communication between computer and monitor.

RESET

Resets the monitor settings to default.

Reset

1280x1024@60Hz

Summary of Contents for SMT-4343

Page 1: ...SMT 4343 SECURITY LED MONITOR User Manual ...

Page 2: ...e reproduced distributed or changed partially or wholly without formal authorization Disclaimer Hanwha Techwin makes the best to verify the integrity and correctness of the contents in this document but no formal guarantee shall be provided Use of this document and the subsequent results shall be entirely on the user s own responsibility Hanwha Techwin reserves the right to change the contents of ...

Page 3: ...torms or when unused for long periods of time 14 Refer all servicing to qualified service personnel Servicing is required when the apparatus has been damaged in any way such as power supply cord or plug is damaged liquid has been spilled or objects have fallen into the apparatus the apparatus has been exposed to rain or moisture does not operate normally or has been dropped Standards Approvals J A...

Page 4: ...Keep heating appliances as far away from the power cord or the product as possible Otherwise this may result in electric shock or fire Do not install it in a badly ventilated location such as a bookcase or closet Otherwise this may result in fire due to an increase in the internal temperature When putting the product down make sure to put it down softly Otherwise this may result in damage to the s...

Page 5: ...to move the product turn off the power and disconnect the power plug and all the cables connected to the product Otherwise it may result in electric shock or fire Ensure that children do not hang onto the product or climb up onto the product The product may fall and cause personal injury or death If you do not use the product for a long period of time disconnect the power cord from the power outle...

Page 6: ...LATION 10 10 Before Installing the Product 10 Installing Wall Mount Parts CONNECTING WITH OTHER DEVICE 11 11 Things to check before connection 11 Connecting with external devices 12 Power Supply MENU SETTINGS 13 13 Screen OSD menu settings 13 Video settings 14 osd settings 14 System settings 14 Reset APPENDIX 15 15 Product Overview 16 Troubleshooting ...

Page 7: ...nts are included in addition to the main unit Accessory category and quantity may differ depending on sales region Stand is not provided please purchase a stand and install it separately Security LED Monitor Power Cord Quick Start Guide SOURCE POWER 1 2 3 4 5 6 7 8 9 0 MUTE PICT MODE MENU VO L EXIT INFO SLEEP OK Remote Control Remote Control Battery AAA HDMI Cable ...

Page 8: ...appears AUTO MENU HDMI DP Press the button while the menu screen is displayed to move the menu or adjust the value If you press the button while the menu screen is not displayed the external input menu appears AUTO MENU HDMI DP If you press the button while the menu screen is displayed the menu screen disappears AUTO MENU HDMI DP Turns the power to the product on off Name Description of functions ...

Page 9: ... theft lock slot at the back of the product 4 Lock the locking device An anti theft locking device can be purchased separately Refer to the instruction manual supplied with the lock for detailed information on how to use it You can purchase a lock at most stores specializing in electronics or via the Internet REMOTE CONTROL If another display is used with this product in the same space where the r...

Page 10: ...ar to the floor Please refer to the nearest store when installing on other materials Installing on an inclined wall may cause the product to fall which can result in serious injury When using a VESA mount select a product that can hold 4 times the weight of the monitor When you purchase our wall mount kit you will find a detailed installation guide and all parts required for assembly Do not use sc...

Page 11: ...t you want to connect CONNECTING WITH EXTERNAL DEVICES Connect the power cable after all cables have been connected Disconnect the power cable before connecting external devices You can connect the product to external devices in various ways Select the correct connection method for your external devices J After connecting the external device select the connected external device by pressing the SOU...

Page 12: ... device connecting with other device CONNECTS POWER Plug the power cable in the socket Press the power button on the back of the monitor or press the power button on the remote controller to turn on the power AUTO MENU HDMI DP ...

Page 13: ...menu press the _ buttons to adjust the adjustment value 5 Press the MENU button to exit M To return to the previous screen press the MENU button If you do not press any buttons for a certain period of time the OSD menu screen will disappear You can set the time up to 60 seconds in OSD settings OSD time out VIDEO SETTINGS Sets the screen brightness color etc 1 Press the MENU button to enter the mai...

Page 14: ...t On Off Response Time On Off 1280x1024 60Hz Dark Brightness 50 Volume 48 Mute On Off DDCCI On Off 1280x1024 60Hz Scene Select a screen mode appropriate for your viewing environment PC A screen mode appropriate for document editing and internet environment Game A screen mode appropriate for games Movie A screen mode appropriate for movies Eco A screen mode that saves energy by adjusting the screen...

Page 15: ...English _15 APPENDIX appendix PRODUCT OVERVIEW Unit mm 966 6 560 4 73 5 400 200 100 100 ...

Page 16: ...ting the volume Problems and Symptoms Troubleshooting The image appears but no sound plays When using external devices Make sure that the audio cable is properly connected to the audio input terminal of the product Check the audio output options of the external device For example if HDMI is connected to the monitor you may need to change the audio options of the cable box to HDMI If the product is...

Page 17: ...ronic accessories should not be mixed with other commercial wastes for disposal Correct disposal of batteries in this product Applicable in the European Union and other European countries with separate battery return systems This marking on the battery manual or packaging indicates that the batteries in this product should not be disposed of with other household waste at the end of their working l...

Page 18: ......

Reviews: