Prior to Serial Number (Ref No. 12*)
See Serial number page or call
manufacturer.
Read these instructions before using the machine.
MODELS:
Operating instructions (ENG)
CV2410125760
CVC2410125770
86349370-BM09/13/13
Page 1: ...to Serial Number Ref No 12 See Serial number page or call manufacturer Read these instructions before using the machine MODELS Operating instructions ENG CV24 10125760 CVC24 10125770 86349370 BM 09 1...
Page 2: ...d deposits the debris in the debris tray and filter bags The unit also has an accessory wand and hose for cleaning small areas and non floor surfaces Warranty Registration Thank you for purchasing a W...
Page 3: ...um Diverter Valve 60 Console 62 Console Mounting 64 Control Panel 1 From Serial Number 11 66 Control Panel 2 From Serial Number 11 68 Control Panel 1 Prior To Serial Number 11 70 Control Panel 2 Prior...
Page 4: ...teries Brush Deck Drive Motor Service Schedule Machine Troubleshooting The PARTS LIST section contains assembled parts illustrations and corresponding parts list The parts lists include a number of co...
Page 5: ...e is suitable for commercial use for example in hotels schools hospitals factories shops and offices for more than normal housekeeping purposes Maintenance and repairs must be done by qualified person...
Page 6: ...pour les bureaux les cha nes de magasin que pour un usage domestique normal L entretien et les r parations de la machine doivent tre effectu es par un personnel qualifi Si de la mousse ou du liquide s...
Page 7: ...on carefully Know when these conditions can exist Locate all safety devices on the machine Please take the necessary steps to train the machine operating personnel FOR SAFETY DO NOT OPERATE MACHINE Un...
Page 8: ...fs de s curit sur la machine Il est conseill de prendre les mesures n ces saires pour former le personnel op rateur POUR VOTRE S CURIT NE PAS MANOEUVRER LA MACHINE Lorsqu on n est pas exp riment ou qu...
Page 9: ...e promptly replace them EMPLACEMENT DE L TIQUETTE DE S CURIT REMARQUE Ces dessins indiquent l emplacement des tiquettes de s curit sur la machine Si tout moment les tiquettes deviennent illisibles con...
Page 10: ...vacuum motor 72 cfm 33 98 liters per second Maximum suction of vacuum motor 47 3 inches of water 11 7 kPa Bag Capacity 1100 in 18L Mass GVW 613 lbs 280 kg Weight empty without batteries 250 lbs 115 kg...
Page 11: ...est pas pr vu l usage des personnes enfants y compris avec des possibilit s physiques sensorielles ou mentales r duites ou le manque d exp rience et de connaissance moins qu ils aient t donn s la surv...
Page 12: ...sembly vacuum motor paper vacuum bag and post filter The vacuum draws the dirt off the floor as the machine moves forward The vacuum motor provides suction to draw the fine dirt into the vacuum bag an...
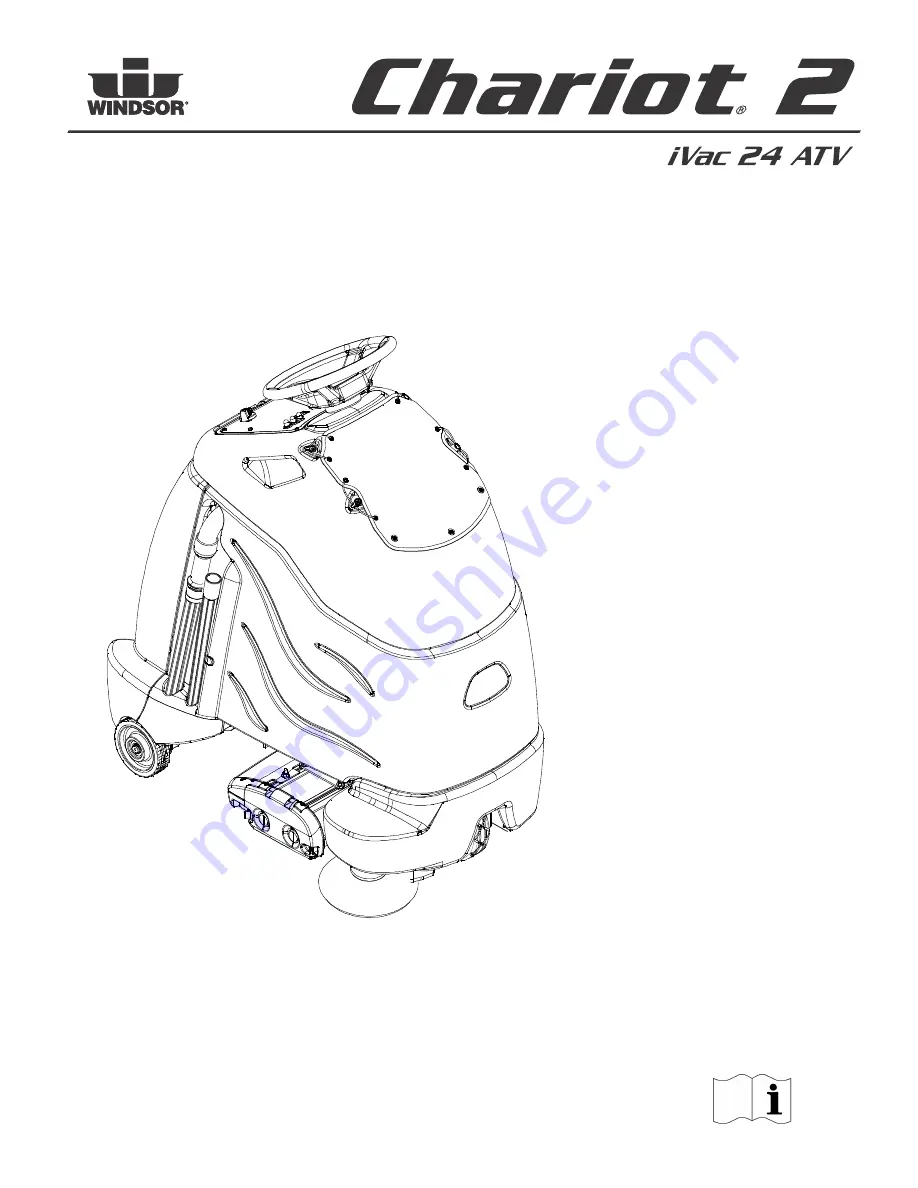
Page 13: ...13 Operations Components 1 Accessory Hose 2 Brush Deck 3 Console 4 Control Panel 5 Main Cover 6 Pedal Platform 7 Rear Cover 8 Side Broom 9 Vacuum Bag 1 2 3 4 5 6 7 8 9 86349370 Chariot iVac 24...
Page 14: ...14 Operations Drive Controls 1 2 3 4 5 6 7 8 9 10 86349370 Chariot iVac 24...
Page 15: ...e at any time and apply parking brake To shut the machine power off push the Emergency Stop Switch this will also engage the parking brake and cause the machine to stop immediately To reset the machin...
Page 16: ...RN BUTTON The horn is activated by pressing the horn button 6 STEERING WHEEL The steering wheel turns the front wheel causing the machine to change direction 7 SPEED CONTROL Controls the maximum speed...
Page 17: ...and vacuum operation The drive remains functional Return the unit to the charging station and charge the batteries NOTE Continuing usage may damage the batteries When the machine is left overnight wit...
Page 18: ...used for deep vacuuming In this mode the machine will propel at a slow speed The floating brush deck is in the down position The brushes will agitate the side broom will bring debris into the path of...
Page 19: ...brake is functioning correctly 2 Stand on the operator platform Throttle pedal must be in neutral position 3 Turn the machine power on by turning key switch clockwise to the ON position 4 Check the po...
Page 20: ...motor will continue once movement of machine begins Overlap the brush path and avoid transporting over previously cleaned areas Recommended Path To Begin Vacuuming When operating the machine around pe...
Page 21: ...open top of machine 4 Remove backing from vacuum bag s sealing tag Seal top of bag 5 Remove full vacuum bag from vacuum bag housing 6 Clean vacuum bag housing and remove any debris 7 Tilt back panel...
Page 22: ...ake and steering for proper operation Check vacuum bag fullness and change if necessary Clean brushes and check wear Remove bearing cap Clean bearings and cap Empty debris tray Charge batteries Clean...
Page 23: ...23 Front Batteries 1 Cover Retainer Latch 2 Rear Cover 3 Battery Connector Machine 4 Batteries 5 Battery Tray 1 2 3 4 5 86349370 Chariot iVac 24...
Page 24: ...harge level below 25 specific gravity below 1 155 Keep all metallic objects off the top of the batteries as they may cause a short circuit Replace worn or damaged cables and terminals Check the electr...
Page 25: ...de protection lorsque vous travaillez avec des batteries Charge batteries in a well ventilated area Chargez les batteries dans un endroit bien ventil Battery Maintenance 1 When cleaning the batteries...
Page 26: ...gs are taken when the battery electrolyte is any temperature other than 80 F 27 C the reading must be temperature corrected To find the corrected specific gravity reading when the temperature of the b...
Page 27: ...shut off when the batteries are fully charged 1 Stop the machine in a clean well ventilated area next to the charger 2 Turn OFF machine FOR SAFETY Before leaving or servicing machine stop on level sur...
Page 28: ...or servicing the machine stop on level surface turn off machine and remove key 2 Open the console cover 3 Tilt the rear cover back The rear cover can also be removed for better access 4 If equipped wi...
Page 29: ...h 1 Disconnect battery charger from outlet 2 Connect wire from EZlamp to charger battery cable 3 Connect AC cord to outlet All LED s should be on NOTE If red and green LED s do not flash repeat steps...
Page 30: ...tripped reset it by pressing the exposed button If a circuit breaker continues to trip the cause of the electrical overload should be found and corrected 1 5 Amp Protects the deck actuator 18 Amp Prot...
Page 31: ...bracket 3 Loosen screw on left side to allow tank to rotate to the left do not remove screw This will allow better access for valve removal NOTE Remove the post filter for easier access 4 Remove the t...
Page 32: ...32 Maintenance Brush Deck 1 Debris Tray 2 Brush Deck Door 3 Side Broom 4 Deck Lift Actuator 4 1 2 3 86349370 Chariot iVac 24...
Page 33: ...e shaft Make sure it is fully seated and is driven by the deck system 2 Rotate the brush end caps until the indicator lines on the ends are vertical 3 Lower the brush door and secure with spring clips...
Page 34: ...tor Carbon Brush Replacement 1 Scribe alignment mark on motor barrel to motor cap Remove two bolts 2 Remove end cap from motor NOTE Motors contain two wave washers in cap Do not lose these 3 Release b...
Page 35: ...uum motor Replace motor 9 Reverse steps to install NOTE If vacuum motor is not mounted as shown vacuum may not seal properly resulting in poor performance VACUUM MOTOR BRACKET VACUUM ASSEMBLY MOUNTING...
Page 36: ...e drive wheel straight ahead set the steering wheel straight ahead and gently align the steering shaft coupling and slide onto the lower shaft 9 Slowly close the cover and make sure the shaft slides w...
Page 37: ...asily Disengage on a level surface Rotate lever firmly in direction of arrow Inclines When navigating an incline the machine may come to a stop Turn the machine off Wait 5 minutes and start the machin...
Page 38: ...frame and a Tie down wrap point on the vacuum bag housing Tie down devices must be of the proper type and strength The combined strength of all tie downs must be strong enough to lift two times the we...
Page 39: ...obstacle threshold curb etc Remove obstacle or push machine away from obstacle Controller overheated Allow cool down period Loose motor connection Check wires and connections from controller to motor...
Page 40: ...t sealed shut assure hose is tight in hose holder Bag or debris tray are full Empty tray replace bag Vacuum diverter valve not actuating Check for debris Check electrical connections Check timer circu...
Page 41: ...ct your service agent 4 The battery charge level has fallen below the battery Lockout Level and the controller is inhibiting brush and vacuum functions Charge the battery 5 Not used 6 The controller i...
Page 42: ...42 Notes 86349370 Chariot iVac 24...