NOTE:
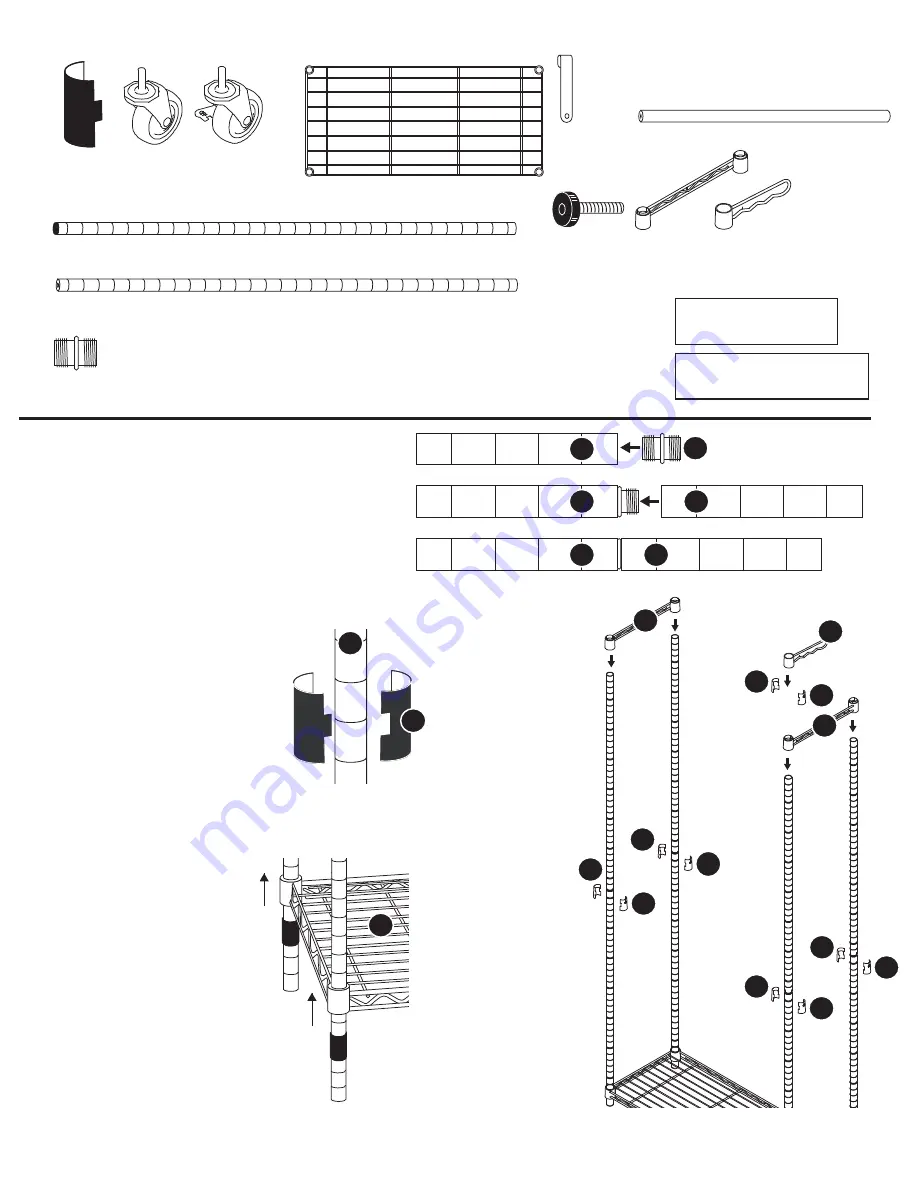
part D has a plastic cap on one end
NOTE:
part E has a small, threaded hole on one end
A
26 ea
Sleeve
B
2 ea
Wheel
C
2 ea
Locking wheel
G
2 ea
Shelf
H
4 ea
Hanging rod
bracket
J
4 ea
Screw
K
2 ea
Middle
support
L
1 ea
Valet
D
4 ea
Top pole
F
4 ea
Threaded connector (may already be connected to D or E)
E
4 ea
Bottom pole
I
2 ea
Hanging rod
6070-3366 Supreme Double Rod Garment Rack
©
2011 Whitmor, Inc.
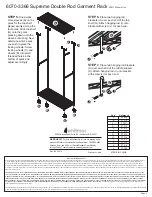
STEP 1.
Connect part (D) and part (E) by
screwing part (F) into the open end of one of the
black poles (there is a small ridge in the middle
of part (F) at the center). Screw the other black
pole into the threaded connector (F) until it
meets the other black pole. Repeat for remaining
poles.
STEP 2.
Start at the bottom (the
end with the small threaded hole,
see diagram above), snap two
plastic sleeves (A) onto poles at
desired intervals. The sleeves are
marked with a directional arrow to
show proper placement. Use
grooves on poles to ensure even
shelf placement among the four
poles. NOTE: Place only enough
sleeves to assemble bottom shelf.
This step will be repeated after
bottom shelf is in place.
STEP 4.
Snap eight
more sleeves (A) on
the poles at the
desired level for
placement of the
middle hanging bar,
preferably about the
center. Make sure
each set of sleeves
are evenly placed
among the four poles.
Slide middle support
(K) down the poles
until they fit snug on
the sleeves. Next,
snap two additional
sleeves (A) onto the
preferred pole for the
hanging valet (L).
Slide the hanging
valet (L) down the
pole until it rests
firmly on the sleeves.
This product's intended use
is for storing clothes.
Assembly Time:
Less than 30 minutes.
Tools Needed:
No additional tools
required.
D
F
D
E
D
E
A
D
STEP 3.
Slide black
poles with plastic cap on
top through shelf corners
until shelf (G) rests firmly
on sleeves. Push or
gently tap the shelf down
at corners to level shelf.
Page 1
G
A
A
A
A
A
A
A
A
A
A
K
K
L


