ITEM NO.: SV - 39 REVISED JAN 22, 2013
Printed in Vietnam
- 1 -
`
Description Item No.
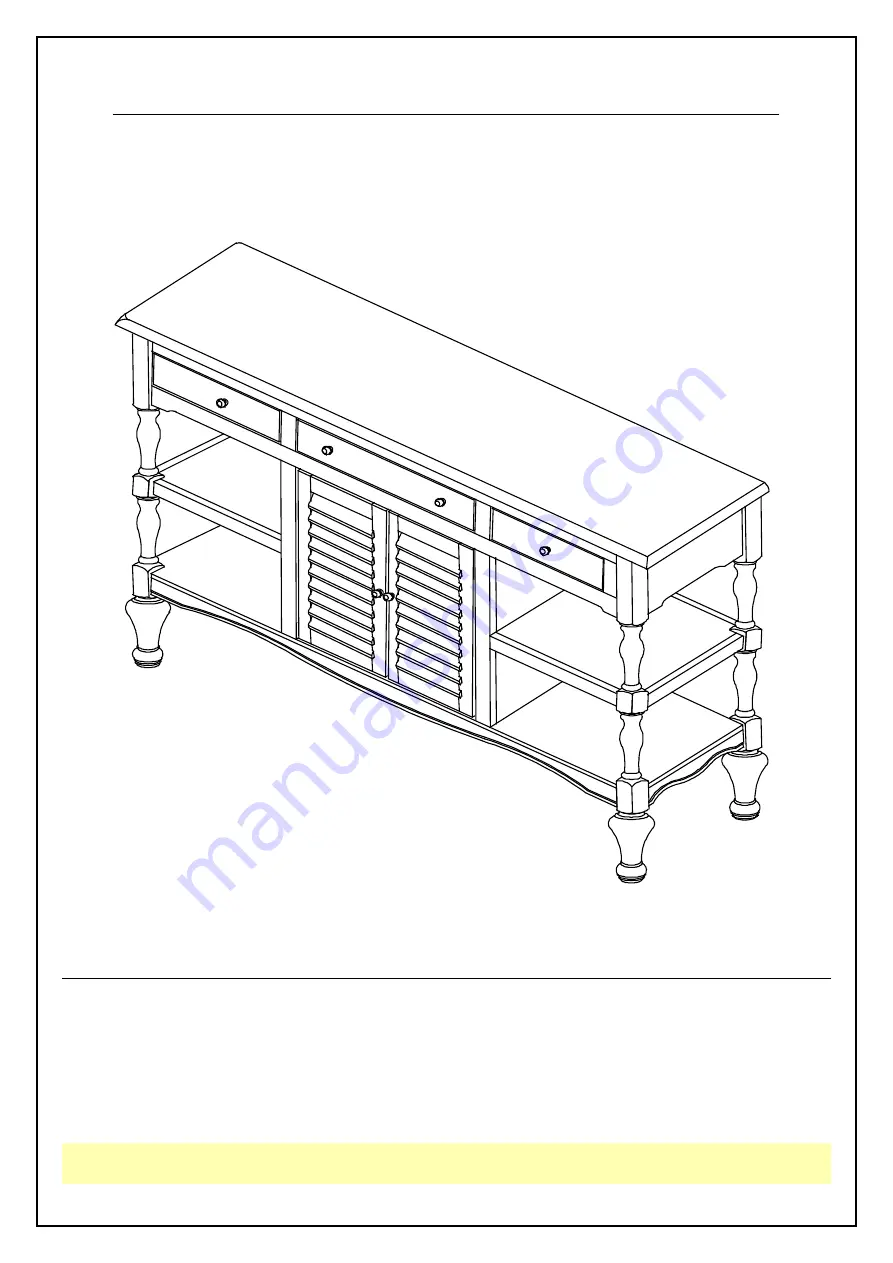
: OLDE WORLD SERVER : SV-39
ASSEMBLY INSTRUCTIONS
THIS ITEM IS PACKED IN 2 CARTONS
Page 1: ...ITEM NO SV 39 REVISED JAN 22 2013 Printed in Vietnam 1 Description Item No OLDE WORLD SERVER SV 39 ASSEMBLY INSTRUCTIONS THIS ITEM IS PACKED IN 2 CARTONS ...
Page 2: ...If a part is missing or defective please contact the store where purchased If hardware is missing or you need help with assembly please call toll free 888 944 8396 IMPORTANT NOTE Place all wooden parts on a clean and smooth surface such as a rug or carpet to avoid the parts from being scratched Remove all wrapping material including staples packing straps before you start to assemble DO NOT tighte...
Page 3: ...e following parts NO Description Qty Sketch NO Description Qty Sketch A Table top 1 B Bottom panel 1 C Leg 4 PART LIST SV 39B When unpacking please be careful not to discard any parts with the packaging Before continuing please make sure you have the following parts NO Description Qty Sketch NO Description Qty Sketch D Side panel L R 2 E Side shelf 2 F Door L R 2 G Back panel 1 I Center shelf 1 ...
Page 4: ...y Sketch 1 Short bolt M6x30mm 12 2 Long bolt M6x50mm 8 3 Hexagon nut M8x7mm 8 4 Flat washer 8 5 x 19mm 8 5 Lock washer 8 5 x 13mm 8 6 Flat Washer 6 5 x 19mm 20 7 Lock Washer 6 5 x 11mm 20 8 Shelf support bracket 4 9 Knob 35x30mm 6 10 Pan head screw M4x30mm 6 11 Door pin 5 2 13x1 2mm 7x10mm 4 12 Long screw M4x30mm 1 13 Steel band 1 14 Screw M3 5 x15mm 6 15 Screw M3 5 x15mm 12 16 Warning label 3 17 ...
Page 5: ...e panel D to top A with bolts 1 washers 6 and 7 as shown below Tighten with allen key 17 STEP 2 Attach doors F from STEP 1 to top A and bottom B with door pins 11 Attach bottom panel B to side panel D with bolts 1 and washers 6 and 7 as shown below Tighten with allen key 17 ...
Page 6: ...nel D as shown below Attach legs C to top A with washers 4 and 5 and nuts 3 Tighten with the wrench 18 Attach legs C to side shelf E and bottom panel B with bolts 2 and washers 6 and 7 as shown below Tighten with allen key 17 STEP 4 Attach back panel G with screws 15 Tighten with a screwdriver TEP 4 ...
Page 7: ...he center shelf I on the shelf support brackets 8 and secure with screws 14 as shown below Tighten with a screwdriver STEP 6 Attach knobs 9 to front of drawers and doors F with screws 10 Tighten with a screwdriver Stick the Warning labels 15 on side of drawers before use ...
Page 8: ...SV 39 REVISED JAN 22 2013 Printed in Vietnam 8 STEP 7 Attach steel band 13 to the unit with screws 14 Then attach the steel band to a wall with screw 12 as shown below to secure the product and prevent tipping ...