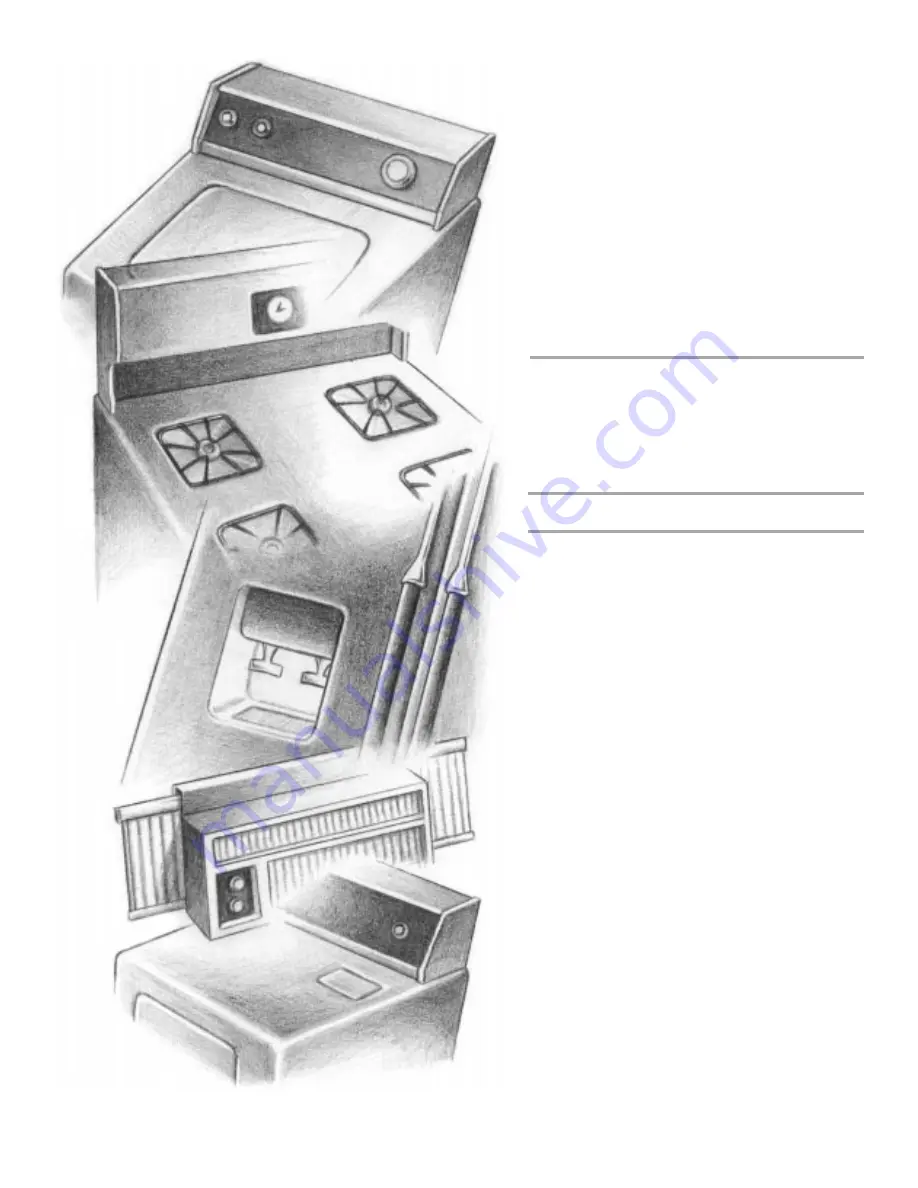
SIDE BY SIDE
REFRIGERATOR
Use & Care Guide
Table of Contents ............................................ 2
2188766
Page 1: ...SIDE BY SIDE REFRIGERATOR Use CareGuide Table of Contents 2 2188766 ...
Page 2: ... Ice Maker and Storage Bin 13 REFRIGERATOR FEATURES 14 Refrigerator Shelves 14 Flip up Shelf 14 Adjustable Flip up Shelf 14 Deli Drawer 14 Convertible Vegetable Meat Drawer Crisper and Covers 15 Convertible Vegetable Meat Drawer Temperature Control 15 Crisper Humidity Control 15 Wine or Can Bottle Rack 15 Utility Bin 16 FREEZER FEATURES 16 Freezer Shelf 16 Freezer Basket or Bin 16 DOOR FEATURES 16...
Page 3: ...in this manual and on your appliance Always read and obey all safety messages This is the safety alert symbol This symbol alerts you to potential hazards that can kill or hurt you and others All safety messages will follow the safety alert symbol and either the word DANGER or WARNING These words mean IMPORTANT SAFETY INSTRUCTIONS WARNING To reduce the risk of fire electric shock or injury when usi...
Page 4: ...e water line connections NOTE Do not install the refrigerator near an oven radiator or other heat source nor in a location where the temperature will fall below 55 F 13 C WARNING Excessive Weight Hazard Use two or more people to move and install refrigerator Failure to do so can result in back or other injury When Moving Your Refrigerator Your refrigerator is heavy When moving the refrigerator for...
Page 5: ...clogs more easily Water Pressure A cold water supply with water pressure of between 30 and 120 psi 207 827 kPa is required to operate the water dispenser and ice maker If you have questions about your water pressure see Troubleshooting or call a licensed qualified plumber Reverse Osmosis Water Supply If a reverse osmosis water filtration system is connected to your cold water supply the water pres...
Page 6: ...h the doorway of your residence Measure the door opening to determine whether to remove the refrigerator handles or the doors Electrical Shock Hazard Disconnect power before removing doors Reconnect both ground wires before operating Failure to do so can result in death or electrical shock 5 Door Removal 6 1 Do Not Remove Screw 1 Top Right Hinge 2 Base Grille 1 Handle Removal Optional Door Alignme...
Page 7: ...tubing remains attached to the freezer door and pulls through the bottom left hinge Make sure you protect the dispenser tubing from damage 8 Remove top right hinge cover and screws as shown see Graphic 6 Do not remove screw 1 9 Lift the refrigerator door straight up off bottom hinge 10 It may not be necessary to remove the bottom hinge to move the refrigerator through a doorway Both bottom hinges ...
Page 8: ...igerator on before the water line is connected turn the ice maker OFF Connecting to Water Line 1 Unplug refrigerator or disconnect power 2 Turn OFF main water supply Turn ON nearest faucet long enough to clear line of water 3 Locate a in to 1 in 1 25 cm to 3 18 cm vertical COLD water pipe near the refrigerator NOTE Horizontal pipe will work but drill on the top side of the pipe not the bottom This...
Page 9: ...cond water strainer install it in the in 6 35 mm water line at either tube connection Obtain a water strainer from your nearest appliance dealer 7 Plug in refrigerator or reconnect power 8 Flush the water system See the Water System Preparation section NOTE Allow 24 hours to produce the first batch of ice Allow 3 days to completely fill ice container Style 3 1 Unplug refrigerator or disconnect pow...
Page 10: ...compartments The fan speed may increase as you open the doors or add warm food Rattling noises may come from the flow of refrigerant the water line or items stored on top of the refrigerator Water dripping on the defrost heater during a defrost cycle may cause a sizzling sound As each cycle ends you may hear a gurgling sound due to the refrigerant flowing in your refrigerator Contraction and expan...
Page 11: ...all outside of the glass IMPORTANT You do not need to apply a lot of pressure to the lever in order to activate the ice dispenser Pressing hard will not make the ice dispense faster or in greater quantities 3 Remove the glass to stop dispensing NOTE The first few batches of ice may have an off flavor from new plumbing and parts Throw the ice away Also take large amounts of ice from the ice bin not...
Page 12: ...imes within 10 seconds The indicator light will change from red to green when the system is reset Non indicator Water Filter on some models If your refrigerator does not have the water filter status light you should change the water filter cartridge every 6 to 9 months depending upon your usage If the water flow to the water dispenser or ice maker decreases noticeably before 6 months have passed r...
Page 13: ...ge bin and the ice cubes will raise the wire shutoff arm to the OFF arm up position 2 To manually turn the ice maker off lift the wire shutoff arm to the OFF arm up position and listen for the click to make sure the ice maker will not continue to operate To increase ice production rate Normal Ice Production In normal ice production mode the ice maker should produce approximately 7 to 9 batches of ...
Page 14: ...elf supports 2 Replace the shelf frame by guiding the rear shelf hooks into the shelf supports Tilt the front of the shelf up until rear shelf hooks drop into the shelf supports Check to make sure that the shelf is securely in position Flip upShelf onsomemodels To raise or lower the shelf 1 Raise the shelf by pulling forward on the lever located at the bottom front of the shelf and lift until the ...
Page 15: ... vegetables at their optimal storage temperatures which need to be warmer than those for meat IMPORTANT If food starts to freeze move the control to the left less cold Remember to wait 24 hours between adjustments Doing so gives the temperature of the food time to change Meat Storage Guide Store most meat in original wrapping as long as it is airtight and moisture proof Rewrap if necessary See the...
Page 16: ...s that may slide off freezer shelves To remove and replace the freezer basket or bin 1 Remove basket or bin by sliding it out to the stop 2 Lift the front of the basket or bin and slide it out the rest of the way 3 Replace the basket or bin by positioning it on the side wall guide rails Lift the basket or bin front slightly while pushing it past the guide rail stops and slide basket or bin in the ...
Page 17: ...teel refrigerator looking like new and to remove minor scuffs or marks it is suggested that you use the manufacturer s approved Stainless Steel Cleaner Polish IMPORTANT This cleaner is for Stainless Steel parts only Do not allow the Stainless Steel Cleaner Polish to come into contact with any plastic parts such as the trim pieces dispenser covers or door gaskets If accidental contact does occur cl...
Page 18: ...e light shield by inserting the left tab into the freezer wall Align top tab with screw hole and replace screw PowerInterruptions If the power will be out for 24 hours or less keep both refrigerator doors closed to help food stay cold and frozen If the power will be out for more than 24 hours do one of the following Remove all frozen food and store it in a frozen food locker Place 2 lbs 907 g of d...
Page 19: ... drain pan Is the refrigerator defrosting The water will evaporate It is normal for water to drip into the defrost pan Is it more humid than normal When it is humid expect that the water in the defrost pan will take longer to evaporate The motor seems to run too much Is the room temperature hotter than normal The motor will run longer under warm conditions At normal room temperatures expect your m...
Page 20: ...spiral in the ice storage bin Dump the ice cubes and clean the ice storage bin completely Allow 24 hours for the ice maker to restock Do not try to remove the melted ice with a sharp object You could damage the ice storage bin Is ice stuck in the delivery chute Clear the ice from the delivery chute with a plastic utensil Do not use anything sharp to remove the ice You could cause damage Is the ice...
Page 21: ...erator when the room air is humid Is the food packaged correctly Check that all food is securely wrapped Wipe off damp food containers before placing in the refrigerator Are the controls set correctly for the surrounding conditions See Using the Controls Was a self defrost cycle completed It is normal for droplets to form after the refrigerator self defrosts The doors will not close completely Are...
Page 22: ... If you need further assistance you can write to Whirlpool Corporation with any questions or concerns at Whirlpool Brand Home Appliances Customer Interaction Center for KIRKLAND SIGNATURE Appliances 553 Benson Road Benton Harbor MI 49022 2692 Please include a daytime phone number in your correspondence Accessories Replacement filters To order cleaner or replacement filters call 1 800 442 9991 and ...
Page 23: ... 90 of the filter s rated life is used the filter indicator light changes from green to yellow When 100 of the filter s rated life is used the filter indicator light changes from yellow to red and it is recommended that you replace the filter Use replacement cartridge L500 part 4392857 2003 suggested retail price of 29 95 U S A 39 95 Canada Prices are subject to change without notice The product i...
Page 24: ...the appliance 7 Replacement parts or repair labor costs for units operated outside the United States 8 Any labor costs for replacement of the water filter during the limited warranty period WHIRLPOOL CORPORATION SHALL NOT BE LIABLE FOR INCIDENTAL OR CONSEQUENTIAL DAMAGES Some states do not allow the exclusion or limitation of incidental or consequential damages so this exclusion or limitation may ...