


ActiveScale™ P100 Support Guide
50
Important:
If you remove more than one drive, record the order that the drives
were removed so that they can be placed back in the proper location. Consider
labeling each drive.
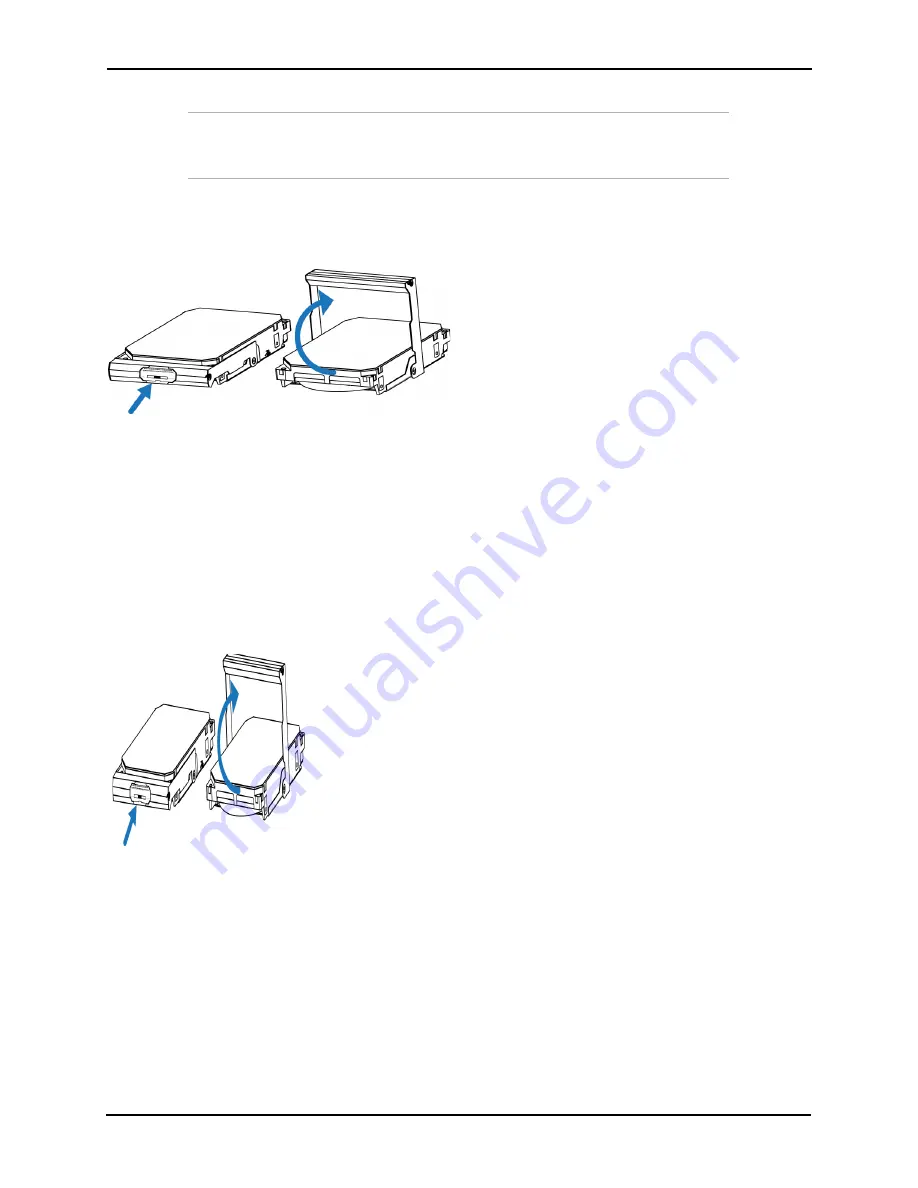
a. Locate the drive carrier handle release button.
b. Press the release button and swing the drive carrier handle upward.
Figure 3-35. Drive handle operation
The drive is now free from the tray and can be removed.
Repeat these steps for all required drives. If you are removing drives as part of a Storage Node
replacement, remove all of the drives. If you are returning a faulty drive, record the serial number for
return purposes.
-
3.3.1.3 Installing a 3.5 inch drive
To install a replacement 3.5 inch drive:
1. Position the drive carrier handle on the replacement drive in the upward position
Figure 3-36. Drive handle operation.
2. Align the drive in the drive tray with the power and data connectors facing toward the rack and set it
in the drive tray.
3. Swing the drive carrier handle down. The drive should slide into place and there should be a click
when the drive is secured.
4. Slide the drive tray back into the system.
5. Check to make sure that the drive has been reintegrated and the status is
Online
. If the status is
Degraded
,
Decommissioning
, or
Decommissioned
, wait for approximately 15 minutes and check
Summary of Contents for ActiveScale P100
Page 103: ...ActiveScale P100 Support Guide 101...
Page 104: ...ActiveScale P100 Support Guide 102...
Page 120: ...ActiveScale P100 Support Guide 118...
Page 124: ...ActiveScale P100 Support Guide 122...
Page 131: ...ActiveScale P100 Support Guide 129...
Page 132: ...ActiveScale P100 Support Guide 130...


