


ActiveScale™ P100 Support Guide
107
h. Repeat the previous steps to attach the other rail to the rack.
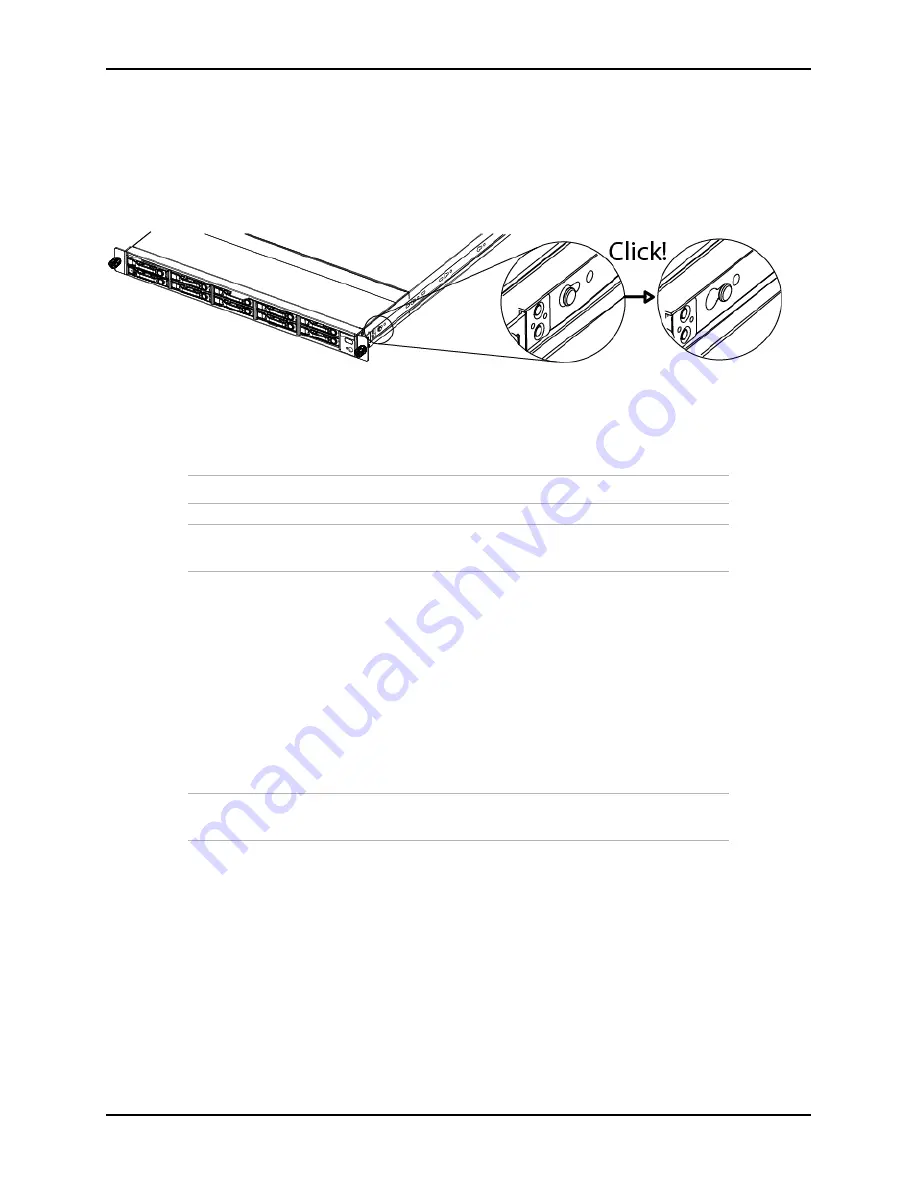
2. Attach the inner rails to the node.
a. Align the holes in the inner rail with the pegs on the side of the node.
b. Slide the rail forward to lock it in place.
Figure 7-5. Locking the inner rail to the node
c. Secure the inner rail to the node using one of the screws.
Repeat these steps to attach the second rail.
7.4.2 Installing a System Expansion Node into the rack
Important:
Install components into the rack from bottom to top.
Important:
The System Expansion Node weighs 27 lbs (12.2 kg), take
precautions when lifting.
To install a System Expansion Node:
1. Re-extend the outer rails from the rack.
2. Align the rails on the node to the rails attached to the rack
3. Push the node into the rack. On the sides of the rail, pull the blue tabs forward to allow the inner rail to
slide all the way in.
4. With the node inserted fully into the rack, screw the thumb screws on the front of the system into the
node.
Repeat these steps to install all of the System Expansion Nodes.
Important:
You can install all of the System Expansion Nodes into the rack at
once. However, the nodes must be powered on and configured one at a time.
7.5 Connecting the System Expansion Node kit networking cables
Use the following table and image to cable each System Expansion Node.
Summary of Contents for ActiveScale P100
Page 103: ...ActiveScale P100 Support Guide 101...
Page 104: ...ActiveScale P100 Support Guide 102...
Page 120: ...ActiveScale P100 Support Guide 118...
Page 124: ...ActiveScale P100 Support Guide 122...
Page 131: ...ActiveScale P100 Support Guide 129...
Page 132: ...ActiveScale P100 Support Guide 130...


