Chapter 7: Verifying Lanes
•
79
3
Choose where to store the log file by clicking the folder icon.
If you want to change the location shown in the window that
opens, click the magnifying glass icon next to the file name. (If
you create a new file, add a .csv file extension to the end of the
filename.)
4
Click
OK
when done.
5
To begin logging, click the switch icon. When you’re done,
click it again to stop. Record the traffic that passes on the road
during the same interval.
6
To view the file, click on the folder icon, and then the magnify-
ing glass icon at the bottom of the window that opens. You can
also navigate to the file on your computer: C://ProgramFiles/
Wavetronix/SmartSensor Manager HD vX.X.X/bin. The file that
was created will be a .csv spreadsheet that can be opened in
Microsoft Excel.
7
Compare the logged data to what was detected on the road-
way. If they match, the lanes are set up properly.
If the detections don’t match traffic
You may be able to improve accuracy by adjusting lane properties
and thresholds (covered later in this chapter), double-checking
the alignment (covered in the previous chapter), or changing the
mounting locations. If all else fails, contact your dealer or support@
wavetronix.com.
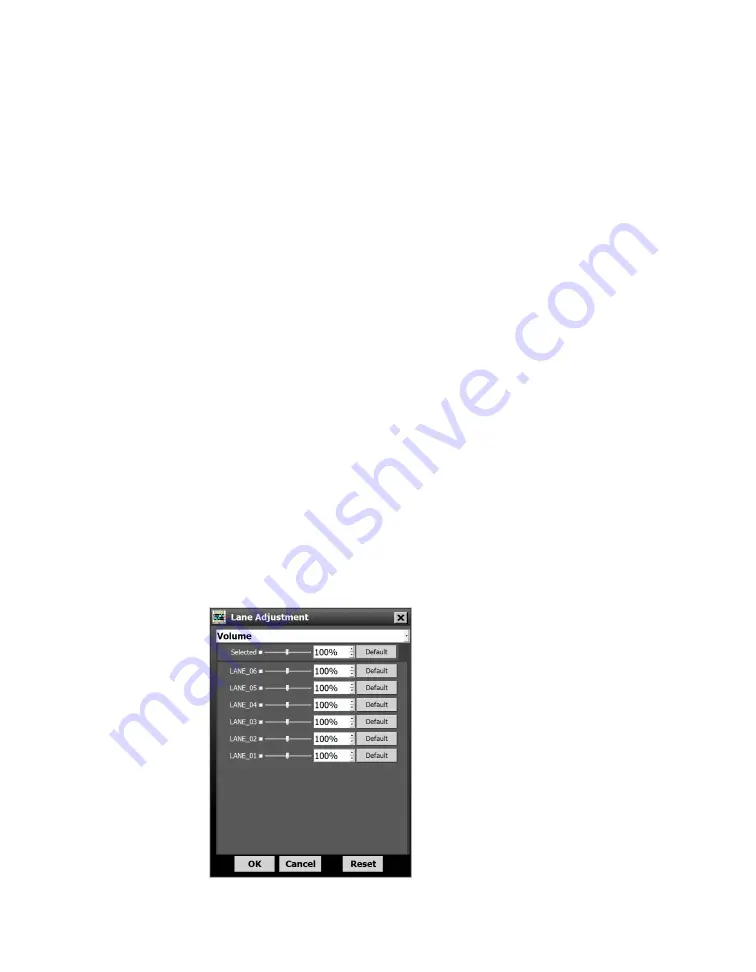
Lane adjustment
Figure 75.
Lane Adjustment window
Note.
These settings
allow you to try to
fix problems you
noticed during
the verification
process. If adjusting
these doesn’t fix
your problem,
contact your
dealer or support@
wavetronix.com.
Summary of Contents for SmartSensor HD
Page 1: ...SmartSensor HD USER GUIDE...
Page 2: ...SmartSensor HD USER GUIDE Provo Utah 801 734 7200 www wavetronix com...
Page 7: ......
Page 105: ......
Page 109: ...www wavetronix com...


