


Document #10-32813 Rev A; June 07, 2019
Page
28
of 69
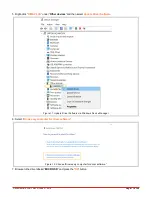
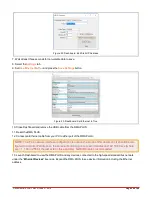
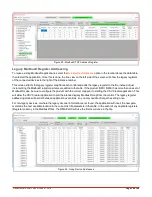
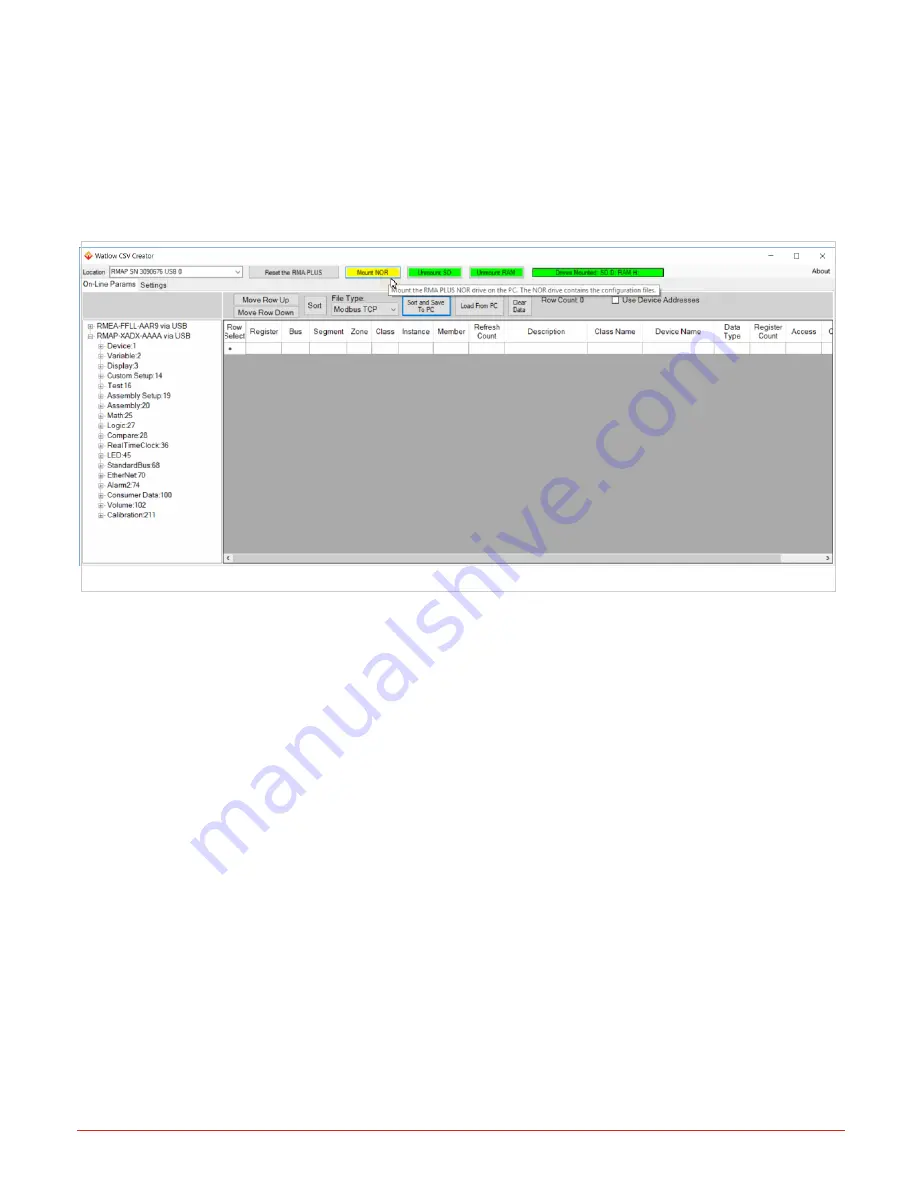
• Green = one or more of the drives is mounted to the PC. Text on the bar shows which drives are mounted, and indic-
ates the drive letter given to the drive by your PC.
Individual yellow or green color coded buttons next to this status bar may be used to mount or unmount each drive.
The NOR Flash drive must be mounted in order to save files to it. When the NOR Flash drive is mounted to the PC, the
Sort and Save
button is directed to the NOR FLASH drive. When the NOR Flash drive is unmounted, the
Sort and
Save
function is directed to the PC. After selecting Sort and Save button you can change the path and filename in the
save dialog.
Figure 26: CSV Creator UI - Mount Drive Buttons
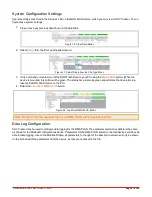
Saving Configuration Files
You may save files to the NOR FLASH drive of the RMA PLUS, or to your PC, or both. To save files to the RMA PLUS
you must have a USB connection and the device must be mounted to the PC. To save a backup copy of the con-
figuration files to your PC, unmount the NOR Flash drive, select
Sort and Save to the PC
, and choose the desired
path, or use Windows File Explorer to copy the file to or from the RMA PLUS.
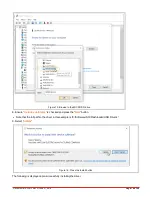
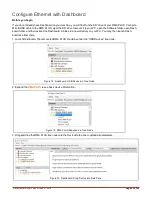
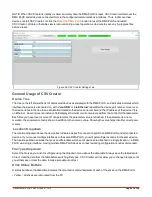
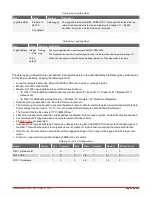
Configuring Modbus® Registers
CSV Creator allows the user to build a Modbus® configuration file by selecting File Type “Modbus® TCP”, “Modbus®
RTU 6”, or “Modbus® RTU 7”. These settings are stored in a file called “ModbusTcp.csv”, “ModbusRTU6.csv”, or “Mod-
busRTU7.csv” on the “NOR FLASH” drive of the RMA PLUS. In order to configure Modbus® TCP, parameters for the
RMA PLUS, and any slave devices, using user-assigned Modbus® register addresses, the default File Type is used
(See File Type pulldown menu). The menu also contains options to configure either of the Modbus® RTU interfaces via
different files on the RMA PLUS. The application is initially setup to configure Modbus® TCP via the File Type pulldown
menu, as shown in the image below.
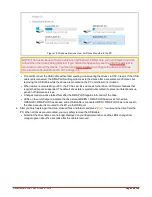
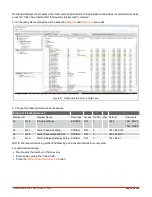
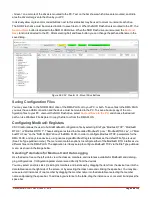
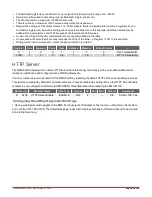
Selecting Parameters for Modbus® and Data Logging
Use the device tree on the left side to view the classes, members, and instances available for Modbus® and data log-
ging configurations. Configuration parameters are read directly from the devices.
You may select an entire class (including its members and instances) by dragging the item from the device tree into the
data table area on the right side of the screen, or by selecting the class name and clicking the space bar. You may like-
wise select all instances of one member by dragging the member name into the data table or selecting the member
name and pressing the space bar. To add a single instance to the table, drag the instance over, or select it and press the
space bar.


