Doc. P/N:
WSP-009-008
Version: V1.3
Issue Date:
April 2014
28
m
ark
e
naBle
When this button is enabled all marks will be shown on top
of the map/chart. When disabled, all marks will be hidden
from the chart display.
This allows the user to see the seafloor detail which the
mark may obscure.
t
ext
B
Ox
These options effect what is shown in the Text Box overlay
on the main window.
►
Depth At Cursor
: Shows the depth value at the mouse
cursor.
►
Bearing From Vessel
: The angle from the centre of the
vessel to the mouse cursor.
►
Distance From Vessel
: Distance from centre of the
vessel to the mouse cursor.
►
Latitude, Longitude
: Shows the latitude and longitude
at the mouse cursor position.
►
Speed over Ground
: Shows the vessel’s speed relative
to the seafloor (calculated from GPS position).
p
rOfile
O
ptiOns
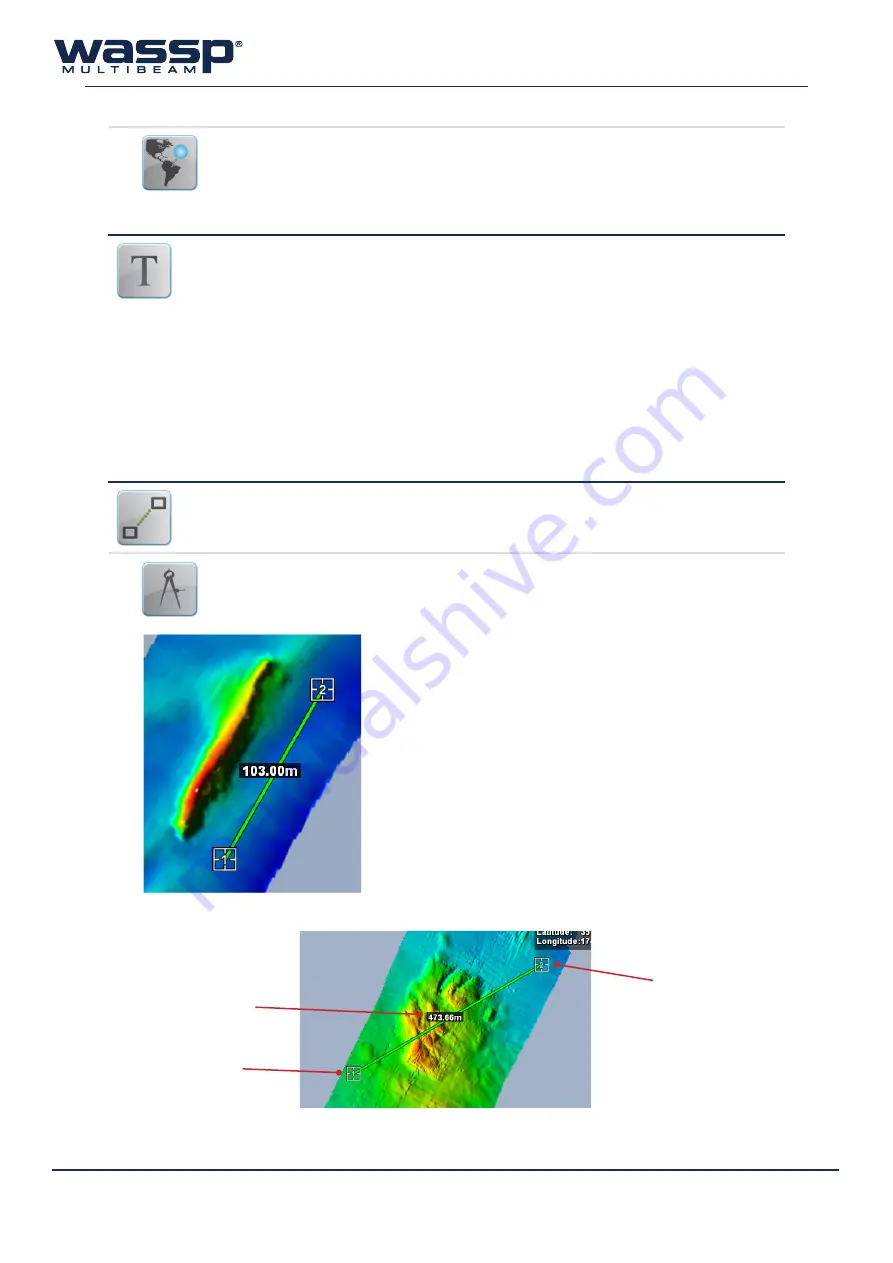
These tools can be used to measure the distance between
two points on the chart display. The seafloor profile between
these two points can be viewed in the Profile Window.
a
dd
m
easure
When the
Add Measure
button is clicked and highlighted,
the next two left mouse clicks will add two measure markers
on the main window.
After placing marker #1 the distance between both markers
will be displayed on the line between them.
When placing marker #2 the line will then be anchored in
place.
At this point, both markers can be re-located by clicking and
dragging each marker to a new location.
The purpose of each marker is to provide a measuring tool
between two points on the map as well as providing a cross-
section of the seafloor depths between the two marks in the
profile window.
Click the Add Measure button again to remove the current
markers.
Distance between the
two measure points
Measure Point #1
Measure Point #2
Figure 11. Add Measure Tool


