©2018 Warn Industries, Inc. WARN® and the WARN logo are trademarks of Warn Industries Inc.
8
101799A0
I N S T A L L A T I O N I N S T R U C T I O N S
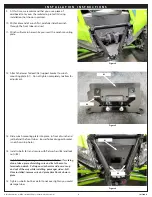
Figure 4
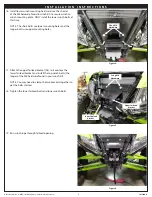
Figure 14
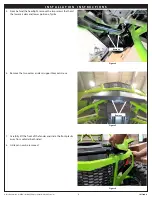
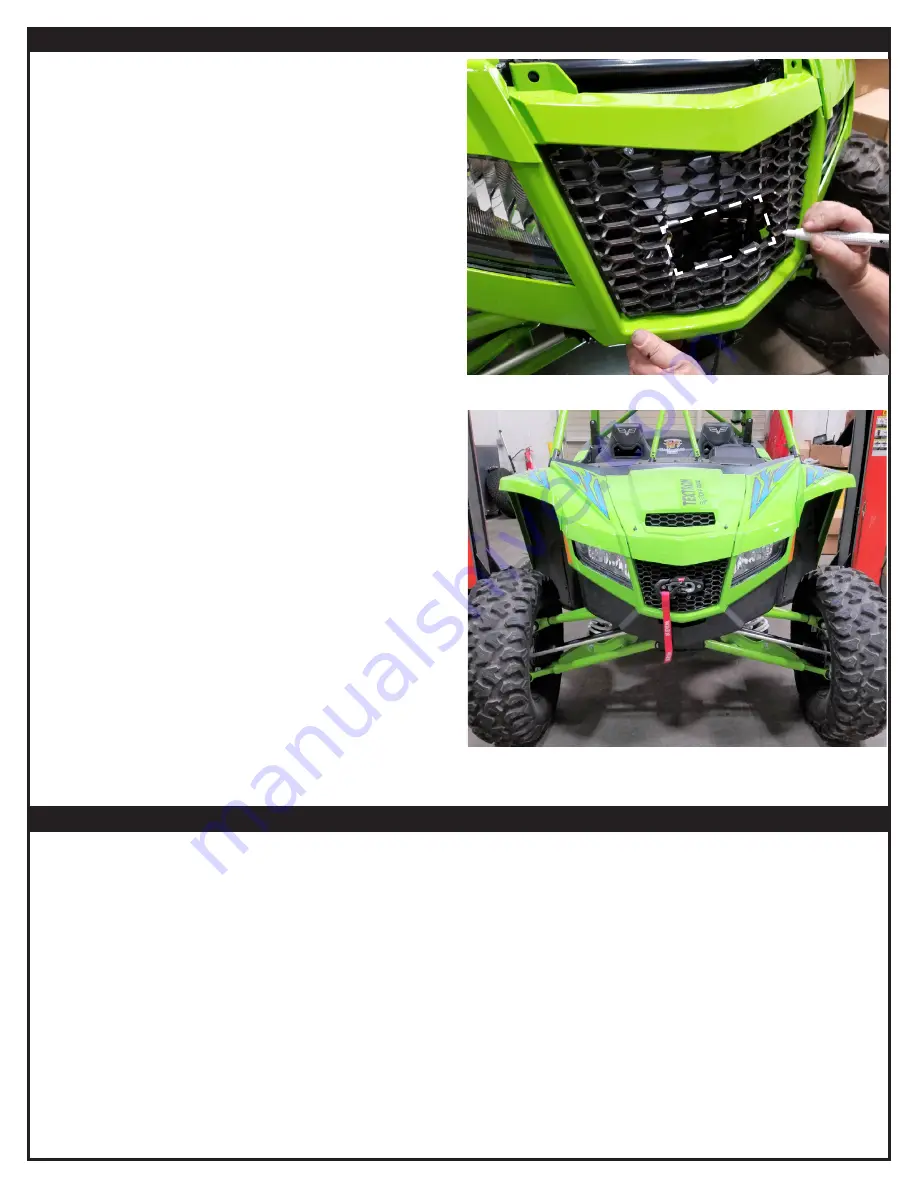
20. You will now need to cut grille for fairlead bracket opening.
21. With assistance, reposition the front plastic back into place.
22. Using a white marker, outline where to cut grille for the
fairlead mounting bracket opening.
23. Place front plastic on flat sturdy surface. Carefully cut
fairlead bracket opening.
24. Return front plastic in place. Secure the top portion of the
front plastic only (with hardware previously removed), this
will allow the bottom portion to stay loose for easier access
when installing fairlead.
25. Attach the fairlead to the mount using the longer supplied
socket head fairlead bolts from this kit (B5). Secure with
nuts from fairlead kit.
26. Complete the front plastic installation (securing lower half)
using hardware previously removed.
27. Reinstall air dam.
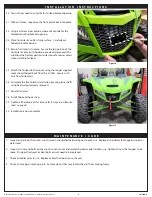
28. Install hook and hook strap.
29. Tighten all hardware at this time (
refer to torque specification
chart on page 3
).
30. Installation is now complete.
M A I N T E N A N C E / C A R E
1. Inspect all parts on the winch, winch mount, and related hardware prior to each use. Replace all hardware that appears rusted or
deformed.
2. Inspect all nuts and bolts on the winch, winch mount and related hardware prior to each use. Tighten all nuts that appear to be
loose. Stripped, fractured, or bent bolts or nuts need to be replaced.
3. Check all cables prior to use. Replace cables that look worn or frayed.
4. Check all moving or rotating parts. Remove debris that may inhibit the part from moving freely.


