Installation & Operation Manual for
WarmlyYours Towel Warmers
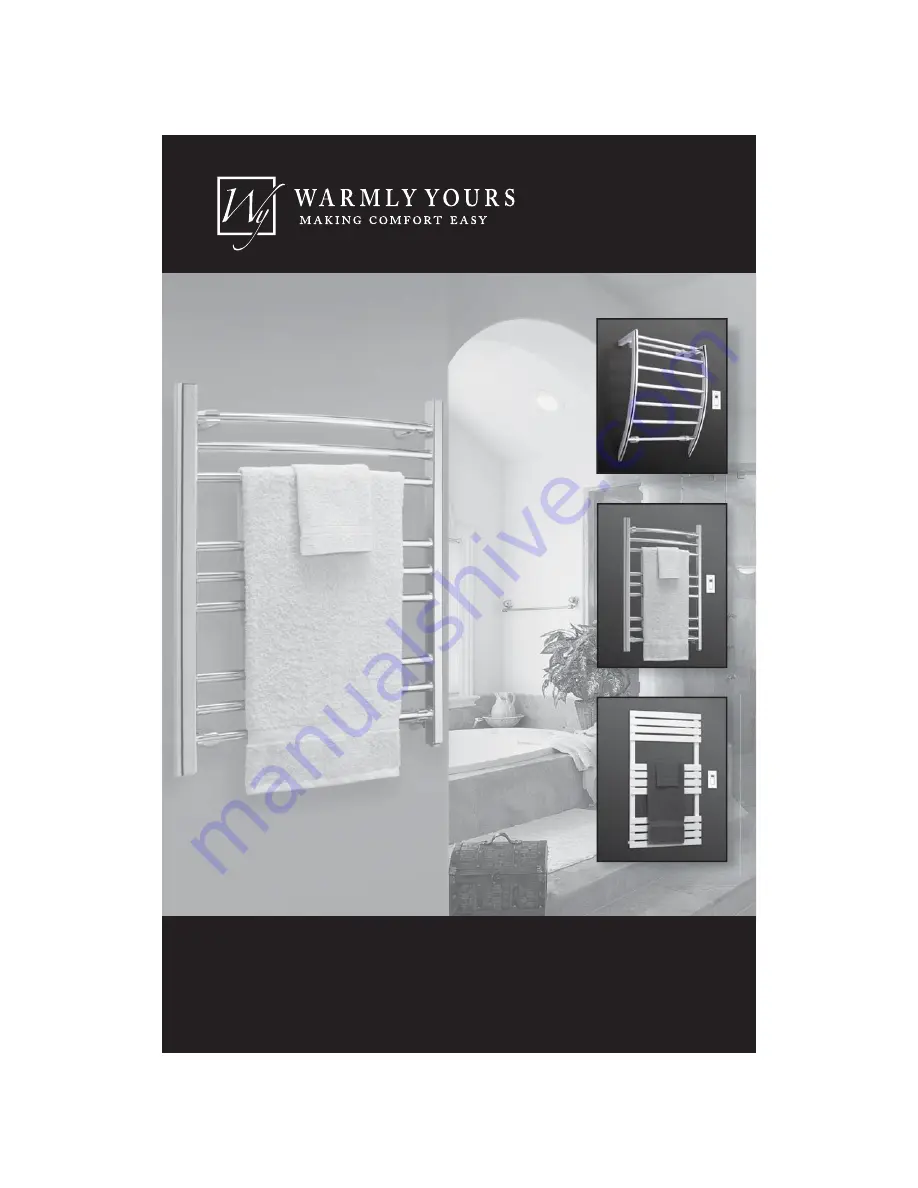
Page 1: ...Installation Operation Manual for WarmlyYours Towel Warmers...
Page 2: ...el Warmer must be properly grounded All wiring must be in accordance with the National Electrical Code and should be performed by a licensed professional who is certi ed to do electrical wiring Never...
Page 3: ...or a large sheet of paper and lay on a at surface with brackets facing downwards C Mark the location of the following the electrical collar the location of the brackets D Use the template as a guide t...
Page 4: ...ons shown are distances between the center of anchor points This example shows 16 on center construction Your situation may vary depending on your stud spacing WARNING Locations of electrical box and...
Page 5: ...d Note Dimensions shown are distances between the center of anchor points This example shows 1 6 on center construction Your situation may vary depending on your stud spacing WARNING Locations of elec...
Page 6: ...his example shows 1 6 on center construction Your situation may vary depending on your stud spacing WARNING Locations of electrical box and anchor points may vary Measure all dimensions prior to rough...
Page 7: ...6 Use the template as a guide to mark the wall with the correct locations of the four brackets Ensure that the electrical collar is lined up with the center of the electrical box Also at least two of...
Page 8: ...7 A C D B Bracket Assembly D iagrams Porto no d e f g h 1 C d e 3 A B f 2 A B g h 4...
Page 9: ...C should face downwards Repeat Step 2 for the three remaining brackets Step 3 Insert rubber pads h 2x into A and B Clamp A and B around the Towel Warmer horizontal bar with A on the top Insert screw g...
Page 10: ...Bracket Assembly Diagrams Riviera Catalina A B c f B A A B 9 d c f e...
Page 11: ...where necessary R ep eat S tep 2 fo r th e th ree remain in g brackets S tep 3 Screw part B into the positions on the Towel Warmer R ep eat S tep 3 fo r th e th ree remain in g brackets S tep 4 Hang T...
Page 12: ...slide electrical wires through rubber O ring on electrical plate Refer to Diagram A Do not remove rubber o ring from electrical plate under any circumstances Step 10 Adjust the Towel Warmer to desired...
Page 13: ...of the box Step 13 Screw the adjustable collar out and tighten it against the faceplate on the electrical box ensuring the rubber seal is in position and sealed correctly inside the collar Refer to D...
Page 14: ...following running time number of towels type of towels and ambient room temperature Automatic Mode Programmable Timer allows up to 1 4 events or 2 ON OFF cycles per day Easy programming allows you to...
Page 15: ...zone 2 areas which are occasionally subject to high humidity and therefore suitable for installation in damp locations such as bathrooms Connection Method The heating wire is connected to a UL 1 4 AWG...
Page 16: ...y WarmlyYours com Inc will provide the following remedy If the Product is determined to be defective in materials and workmanship and has not been damaged as a result of misuse or misapplication Warml...
Page 17: ...X 4 STUD 51mm x 102mm 2 X 4 STUD 51mm x 102mm Appendix A1 Rough In Diagram Riviera Note Dimensions shown are distances between the center of anchor points This example shows 16 on center construction...
Page 18: ...TER OF STUD 5 1 2 140mm 2 3 8 60mm 14 9 16 370mm 17 Appendix A2 Rough In Diagram Catalina Note Dimensions shown are distances between the center of anchor points This example shows 16 on center constr...
Page 19: ...OX FOR TIMER 2 x 4 ELECTRICAL BOX TOWEL WARMER HOT LOAD black or red LINE black NEUTRAL white LOAD blue 120 a c HOT NEUTRAL GROUND GROUND green yellow 120 Volt TIMER NEUTRAL LOAD white 18 Appendix B W...